

Written by StreamYard
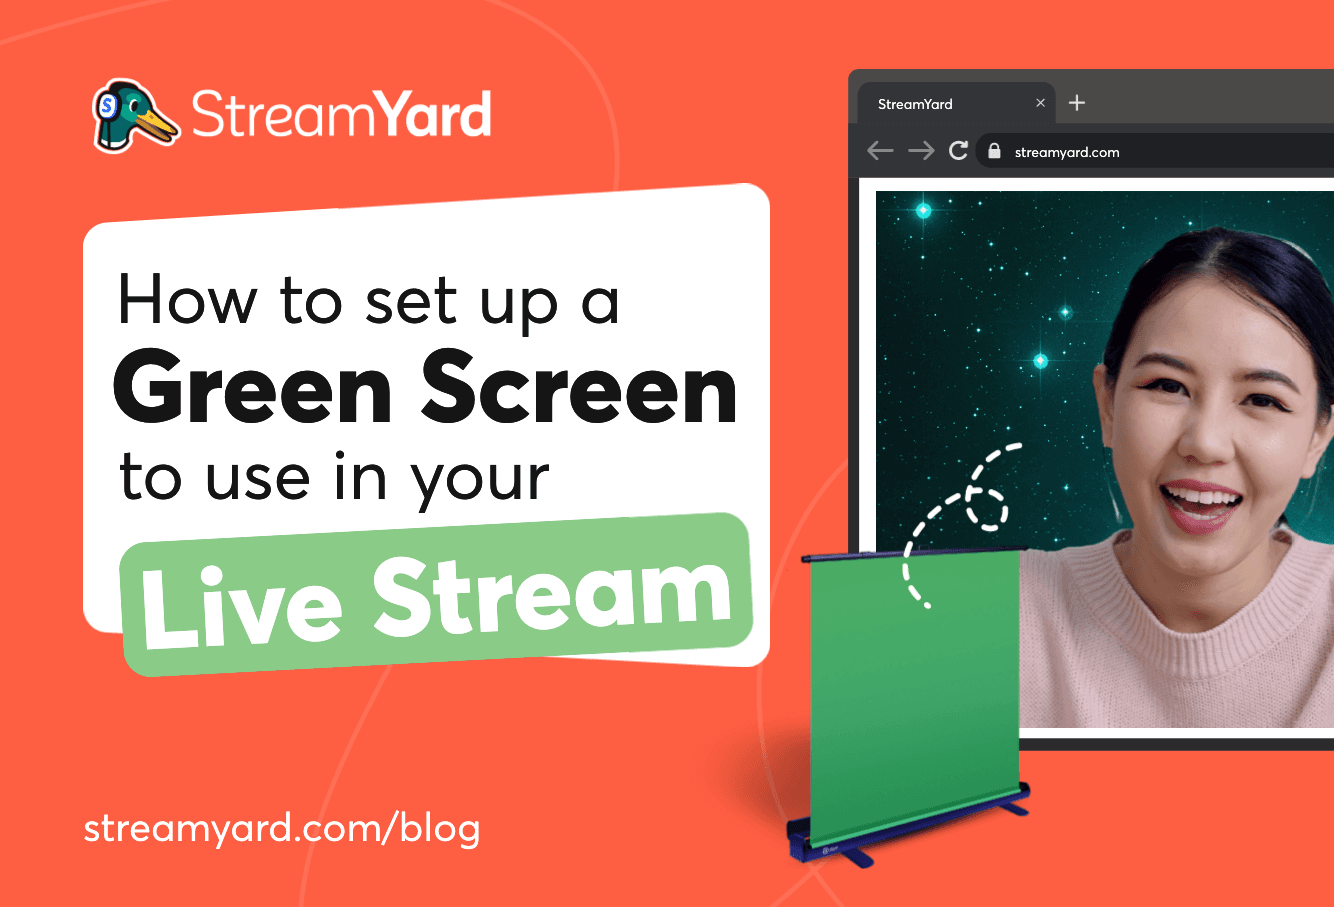
How To Set Up A Green Screen For Live Streaming
Wondering how to set up a green screen for live streaming? It’s not as hard as you may think. With proper lighting and a clean background, you’ll master this skill to create those awesome-looking live broadcasts in no time.
What Is A Green Screen?
Green screen or Chroma key is a smart way to edit and replace the background from your videos with a background of your choice. Many creative professionals, videographers, film editors, YouTubers, and video producers may need to change and replace backgrounds (even foregrounds) to fit their video content. In fact, making a video with a transparent background also requires using a green screen.
With a green screen, it makes it easy to add a variety of live-motion videos, photos, and Hollywood-style effects to your scene.
Many video editing software such as Adobe Premiere Pro, Final Cut Pro, HitFilm Express, and Apple iMovie allow you to work with green screen for “Chroma Key processing” during edits or post-production.
You can remove the background and replace it with something else through editing software.
But, hey, green screens aren't just for videos-on-demand.
In fact, live streamers are increasingly using them to take their live broadcasts to the next level. We will be discussing how they do that.
But, first, if you're looking for the best green screens out there, be sure to check our top recommendations.
How Does A Green Screen Work?
Chroma keying works by "keying out" or digitally removing a solid color (usually green) background from behind a person or an object. In the past, it was primarily used during the post-production or editing process.
Today though, you can use green screen software for live streaming and replace your background in seconds.
This way if you have a messy background, you can opt for a green screen set or virtually any backdrop, to cover up what is behind you.
If you're concerned about clutter, another alternative to using chroma key software is to create a blurry background. This way you can mask your background. Here is how to achieve a blurry background look.
Why Use A Green Screen?
While some people prefer to use a physical background, others might lean towards using a green screen instead. The primary reason to use this tool is to edit and change the background of the videos you create. Others could be to:
- Replace an otherwise messy background or a background that you are not comfortable using in your live streams and videos
- Present a recognizable background, primarily for familiarity and branding, or both
- Have options to present different backgrounds when the need arises
- Hide your location
Another reason to use a green screen is so you can brand your live stream and promote your business.
If you're looking to turn a drab or cluttered space into a clean space, consider some of these backdrop ideas when you are live streaming or creating videos.
Some broadcasters also run multiple live stream shows and wish to reinforce brand identity. Using a green screen can reduce the need to have different backgrounds for each show. Instead, you can easily replace the background depending on the show you're running at the time.
This way you can maintain a professional appearance while helping you stay on brand.
How To Set Up A Green Screen For Live Streaming
While shooting with a green backdrop saves you time and resources and gives you creative freedom (not to mention flexibility), if you don't set it up right or you're not using it correctly, you risk undoing any benefits you’d otherwise get.
So, here's how to set up your green screen to enhance your live streams, along with examples shared by our fellow StreamYard users:
1. Light Up The Screen: Screen First, Subject Next!
Like how audio is an essential part of your live streams, lighting is your friend when it comes to chroma keys. While you can buy a "green screen kit" that includes a green screen and lighting, some of them don't provide enough light to key out your background correctly.
Keep in mind not to use a single light source for both your chroma key and yourself. Instead, light up your screen evenly first. This includes adding light to both the left and the right sides of the green screen. Adding light sources to the subject comes next.
Production experts suggest even lighting on your green screen at about 40 to 50 percent luminance.
Then, proceed to set up light sources to reflect off of you.
If you can't set up at least three light sources (LED light bulbs are available) for yourself to bring out the best results, sit near a well-lit window that pulls in direct sunlight.
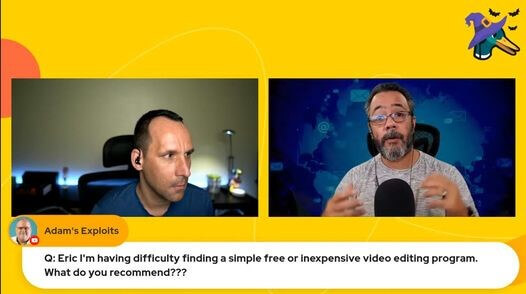
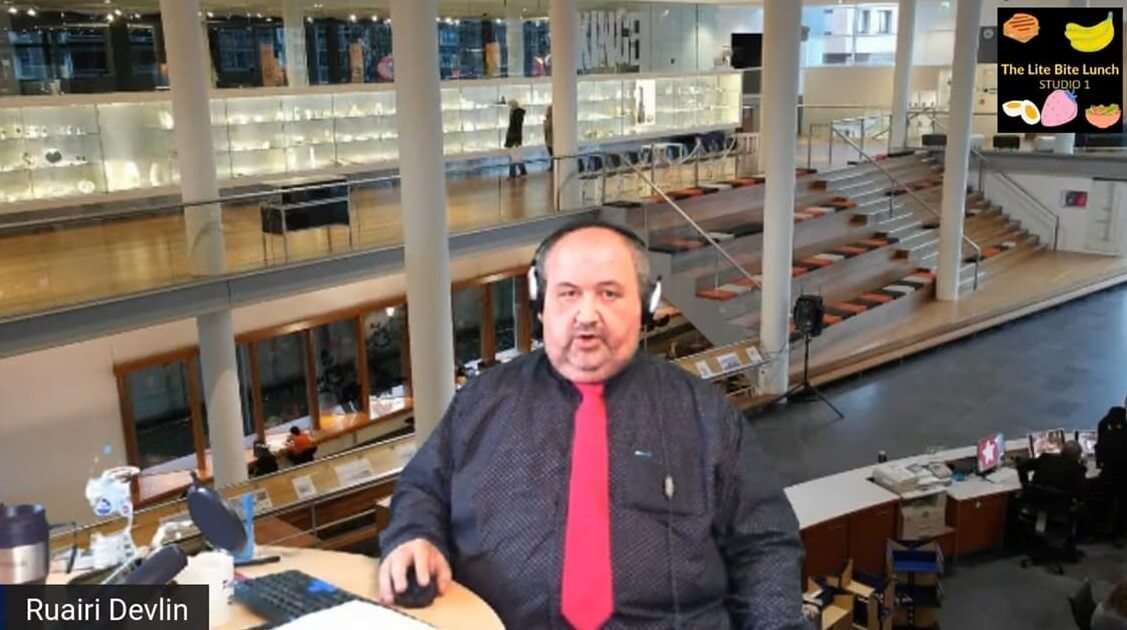
In this example, Eric Belardo does a great job keying out the background thanks to a well-lit green backdrop. He can now easily replace his background anytime he wants, with minimal effort.
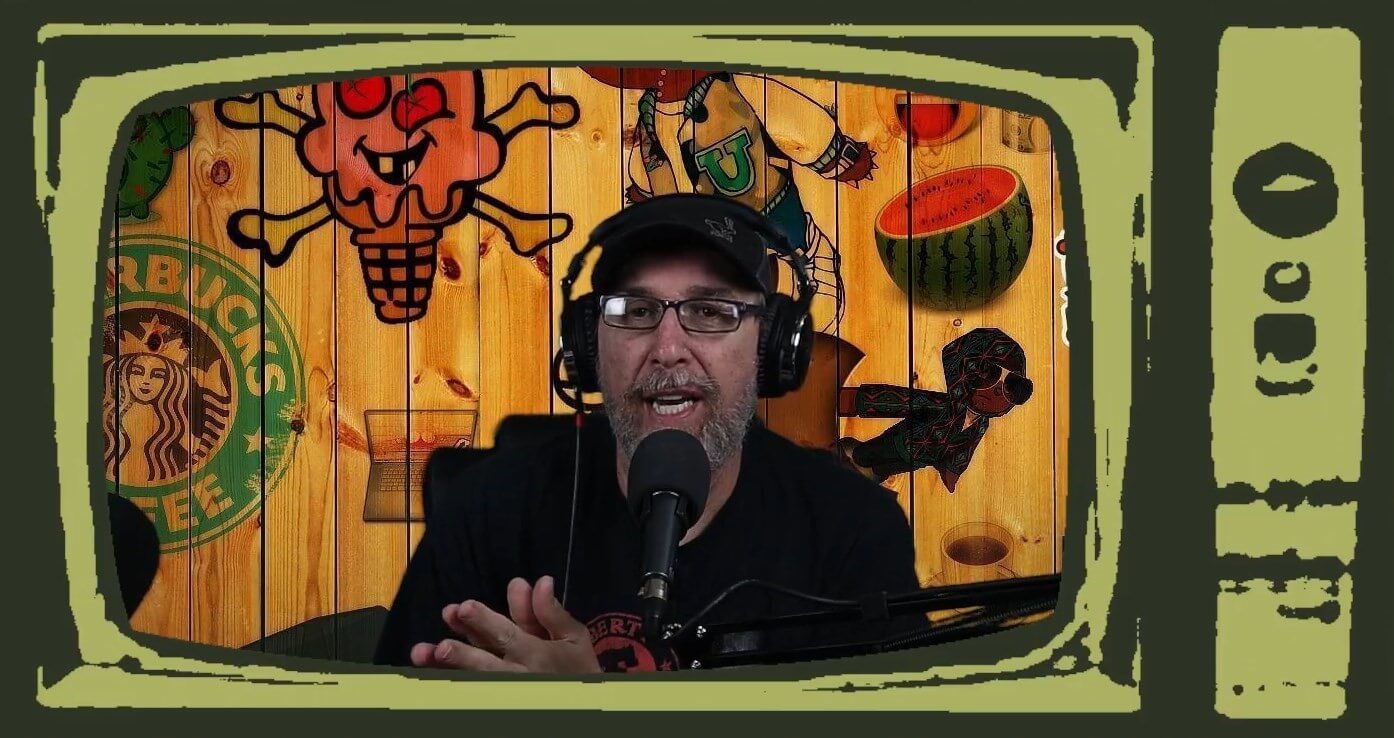
Hassaan Shah does a great job as well blending a physical environment with a virtual background:

Pro Tip: If you think you have enough lighting, add more. A well-lit green screen studio makes it easier to create separation between human skin tones and the background.
To achieve better lighting in your scenes, check out these tips.
2. Mind The Space Between You And The Screen
When it comes to the distance between you and the green screen, be as far from the screen as possible (not just behind the chair you sit on or a few feet away from your live screen setup).
If you are too close to the background, you'll create a shadow. To achieve good keying, you also need to remove the shadow when you're too close, or there isn't enough lighting.
This allows you to accurately replicate the lighting you arranged for the green screen over to yourself.
Plus, the farther the distance between you (the subject) and the green screen (aim for 10 to 15 ft), the better it will be. This way, you won’t be cutting off parts of the person who is on screen.
Want some inspiration?
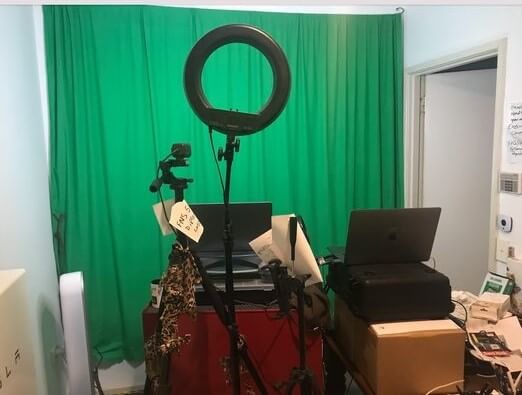
Look at Goshgar Mammadov's green screen setup here:
3. Lock The Content And The Frames You Need
It's best if you decide the exact frame you'll shoot videos or live streams in. After shooting your videos, complete a rough edit for the whole green screen footage first (before splitting up the videos or making any edits). Some people will even mark the floor with gaffer tape to indicate where they need to stand if they move around in between takes.
Once you know what you’ll primarily be working on, that’s when you start “keying out”, replacing the chroma key effect with the backgrounds you want, and do color corrections, etc.
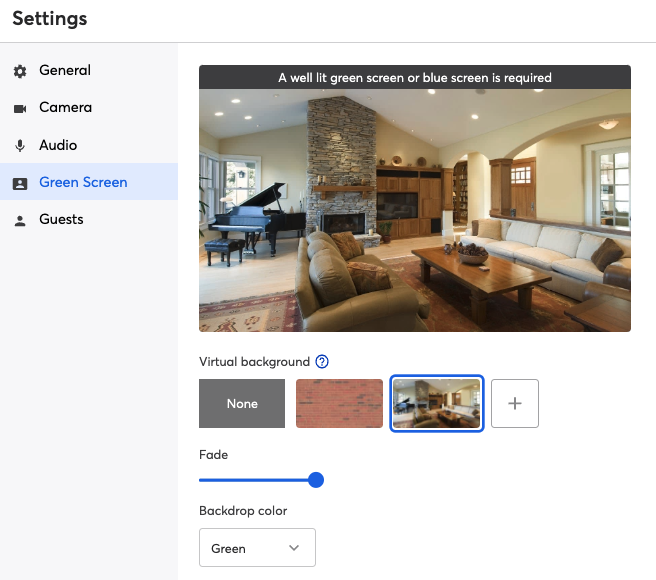
If you're using a green screen effect for live streaming, you will remove the background during the broadcast. For example, you can do it in the StreamYard broadcast studio.
Here is how to set up the green screen feature within StreamYard whether you're only recording a video or live streaming.
Note: If you notice that your background is not being removed (also known as chroma keying when using a green screen), you may not have enough light on your screen. Thus, when setting up your green screen, you'll want to ensure you have optimal lighting for consistent shade.
Additionally, make sure that the screen is flat and wrinkle-free. Plus, don't wear green. This can make it extremely difficult to remove the background.
For instance, Carlos Phoenix is wearing clothing that does not conflict with his green screen:

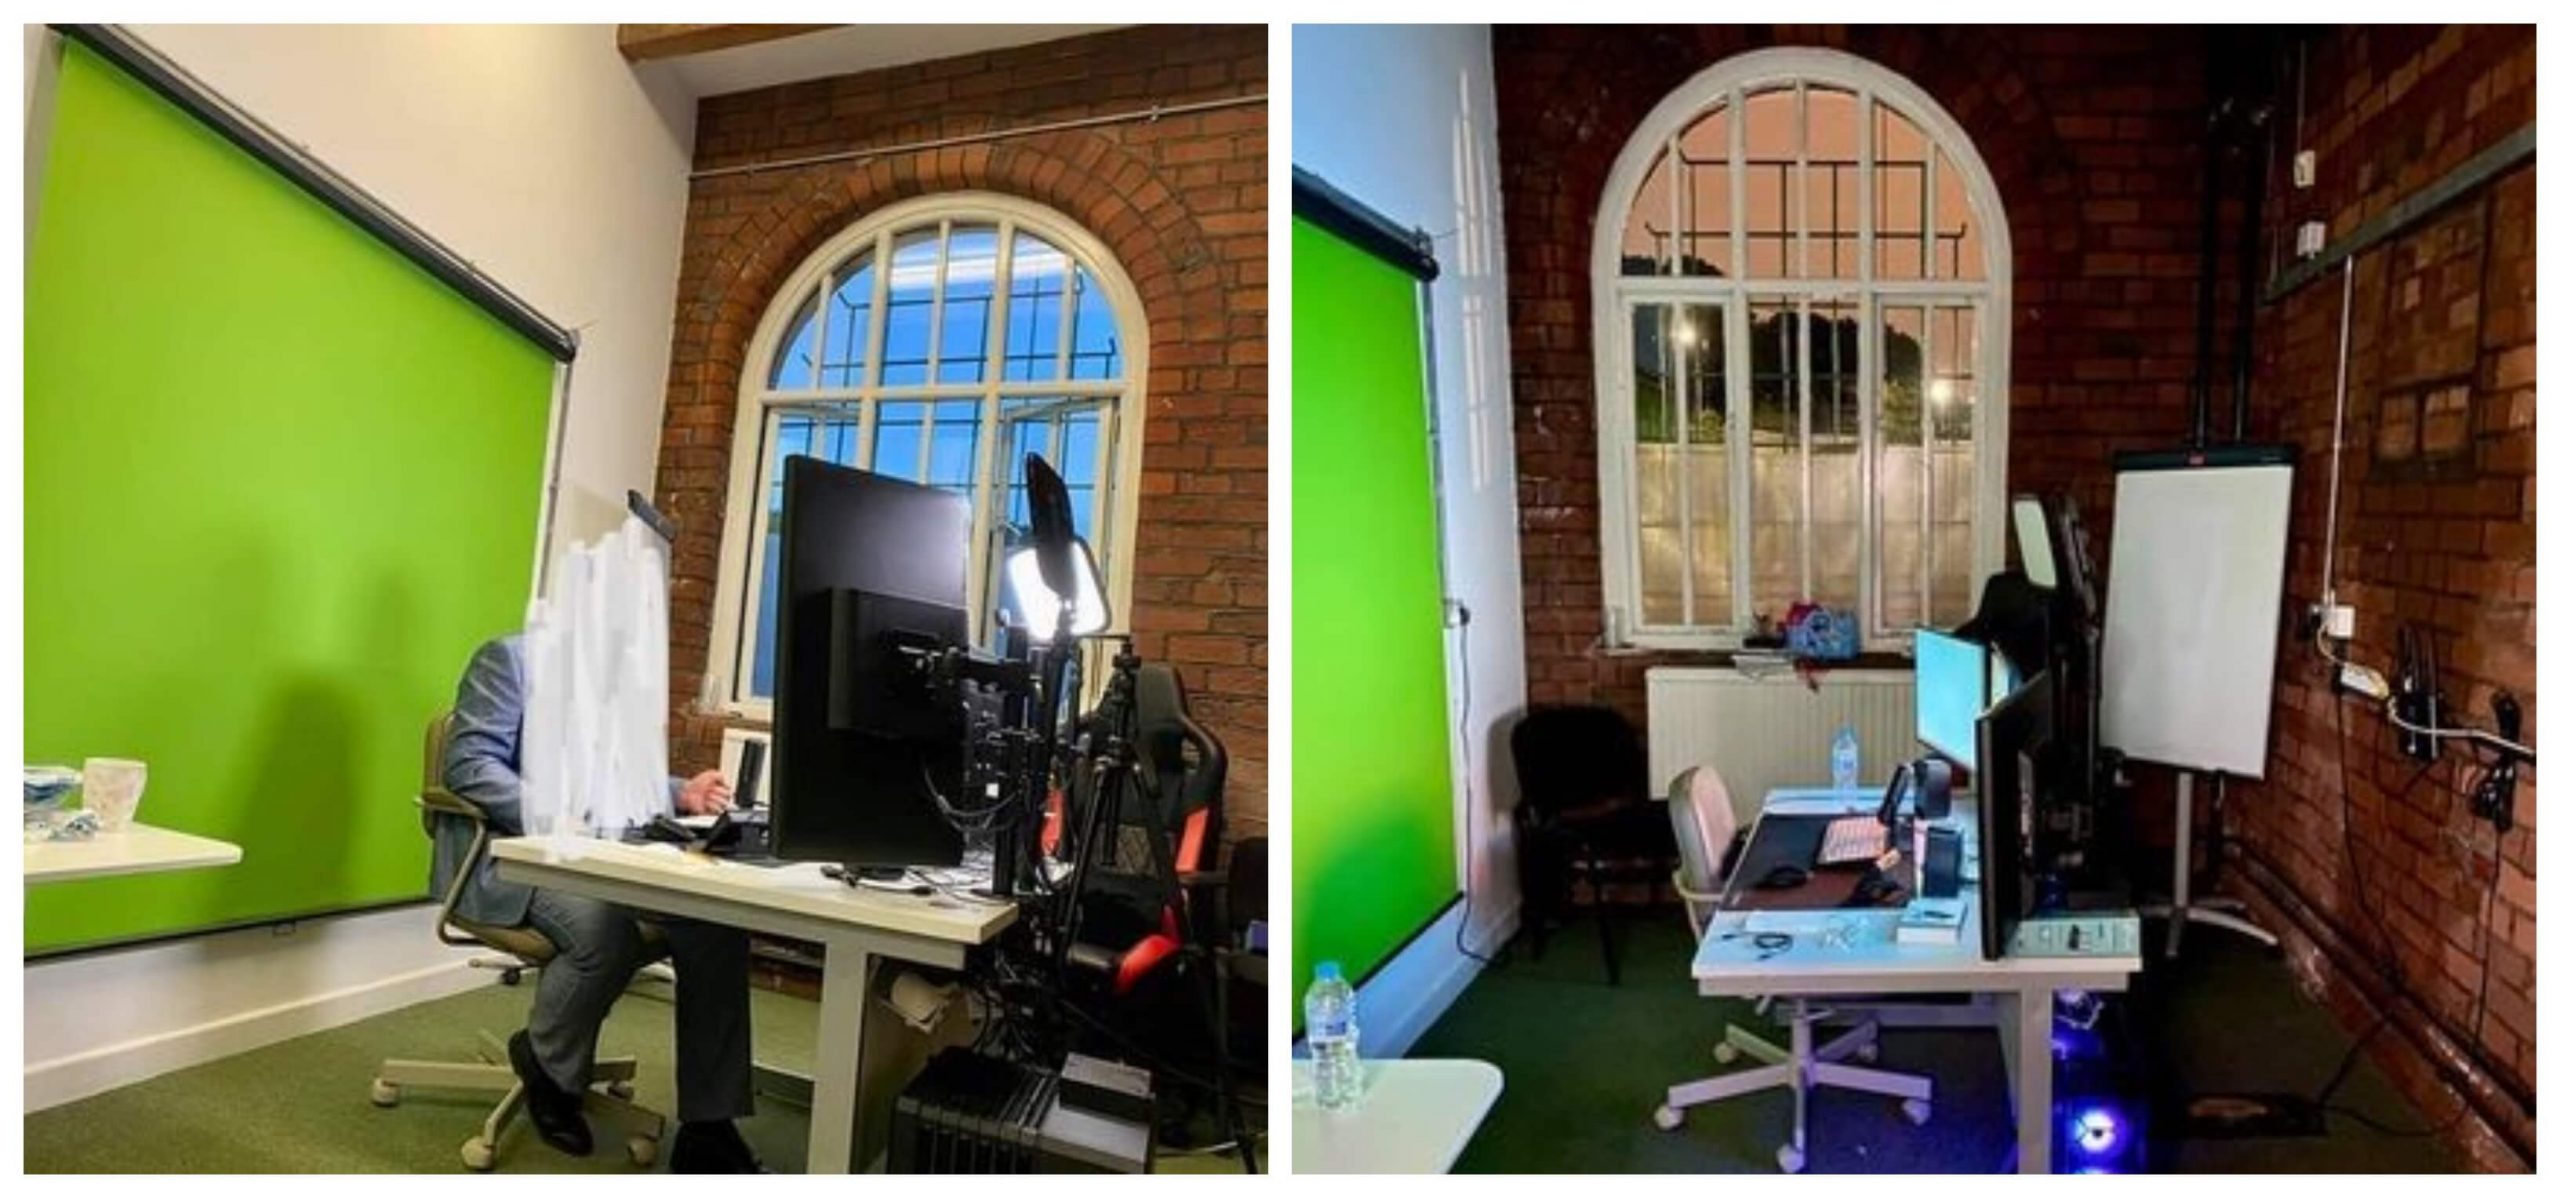
Even if you don't have as much space to work with, you can still achieve amazing results with less real estate. See how Michael Evans has set up a green screen for his live streams:
And this is how the results look:

Outstanding!
4. Focus On Positioning Yourself Right
While it seems like a primary step, it's the easiest to overlook - especially when you direct your efforts on the other aspects of setting up a green screen backdrop.
Apart from having enough light on your green screen and maintaining proper distance from it, ensure that your chosen background fits you. Remember, the result shouldn't focus on the width alone. You also need to consider the style/design of the background, and it should align with you (or your subject) on the screen.
For example, check out how Graham Tappenden removed his chair from the background to make the entire scene look more seamless.

Pro Tip: If you want to sell the look, be sure that you match your environment. For example, if your background is an outdoor scene, you wouldn't want an office chair in the shot.
5. Figure Out What You Want On The Screen
Live streamers who incorporate green screen backgrounds into their live streams must be wary of how good their other live streaming tools or equipment look with their chosen background.
For instance, we agree that a microphone is one of the most essential components when it comes to creating high-quality live streams. If you plan to incorporate a green screen effect, be sure your microphone fits with the "look" that you're going for. In this case, they may want to use a lavalier microphone, that isn't as obtrusive as a condenser microphone like a Blue Yeti.

6. Choose The Right Background Picture
While you can use just about any picture as a background, ensuring that you choose the one that defines your live stream type or the message you want to convey is a smart move.
So, before you go live with your own green screen background, double-check if the picture you're using aligns with the type of live stream you're running to avoid looking like it's being imposed on the background.
Pexels is an excellent place to source free pictures or videos for your background.
As you set up a green screen, consider having all your favorite backgrounds in one place to avoid scrambling when you're about to hit "go live" and end up with something that seems out of sync.
Here is an example from Forrest Phillips who is using a green screen in their live stream:

Take a look at another fantastic example of a well-used green screen.
Nancy Lewis Hill made sure that her attire blended with her virtual background that she incorporated into her live stream.

7. Jazz It Up With Overlays
There's no shortage of live stream overlays you can use. But if you think you can't use an overlay with a green screen, think again. You can always complement your background with an overlay.
In this example, John Truncali uses a green screen, but also added an overlay to bring everything together:
If you intend to superimpose overlays on your virtual backgrounds you can create some really cool live footage. Just make sure they are all well-aligned.
Take a look at how Bridgetti Lim Banda does that as she uses overlays together with a chroma key when live streaming:

8. Test Before You Go Live
Okay, now on to the testing stuff!
Before going live with the green screen, test how it looks. Adjust the background footage and the lights and then go to StreamYard to add your virtual background. Once done, record a test shot to see how it turns out -- like Esther Szczerba can be seen doing here:

Tweak the lights or tighten up your green cloth (if you're using one) for those perfect results.
And, if you encounter a "color spill," try to minimize the green screen exposure or position yourself a bit further from the backdrop.
Pro Tip: If you're looking for a budget green screen, consider using paper or even a poster board if a green screen muslin backdrop isn't in your budget.
FAQs On How To Set Up A Green Screen
Do I Need To Have A Green Screen?
It's not necessary. You could just shoot live streams with the right kind of cameras and tripods. In fact, you can shoot everything you need with just a smartphone, if you are up for it.
For most live streaming enthusiasts, using green screens is essential if they want to take their live broadcasts several notches up. Many prefer using them for branding and giving their streams a professional look by switching to custom backgrounds.
Some people will use them if they don't have an actual office. They can transport viewers to a more professional space.
If I Have To Do Just One Thing To Get Good Results From Green Screens, What Should I Do?
Focus on lighting as you set it up. As mentioned earlier, light the green screen evenly at first and then focus the lights on yourself. Setting up green screen studios right is paramount, but it may take a few tries.
Once you have your setup ready, removing the background is as easy as going to Cam/Mic > Green Screen inside of your StreamYard dashboard, and enabling the virtual background option.
You can then switch between pre-loaded backgrounds or add your own.
Depending on the color of your screen, you can switch between either green or blue screen.
Can I Use A Green Screen For Pre-recorded Videos?
These primarily offer a way to add flexibility to your video footage and live streams. Any video you edit can have green screens to edit background footage and make it your own.
What Color Do I Need To Use For My Green Screen?
Ideally, you'll want to use a solid green background. Green screens also come in a shade of blue as well. Blue screen or green - either of these works. Just make sure you're not wearing those colors. Otherwise, they will be removed when you key out the background.
Can I Just Use A Virtual Background Without A Green Screen?
When you go for a green screen when live streaming, it will be much easier to replace the background in real-time.
Do I Need A Powerful Computer To Use A Green Screen?
Removing the background requires quite a bit of computer processing. You'll want to have a strong computer. Otherwise, you will tax your system. If you're trying to remove the background and live stream at the same time, if your machine doesn't have enough video resources, it may struggle to key out the background.
All Ready To Set Up A Green Screen For Success?
By using a green screen, you can enhance the look of your live streams and even add a little branding to each show that you do.
What other questions might you have about using a green background for live streaming? Share them in the comment sections below and let those green screens or blue screens add more awesomeness to your live broadcasts.