

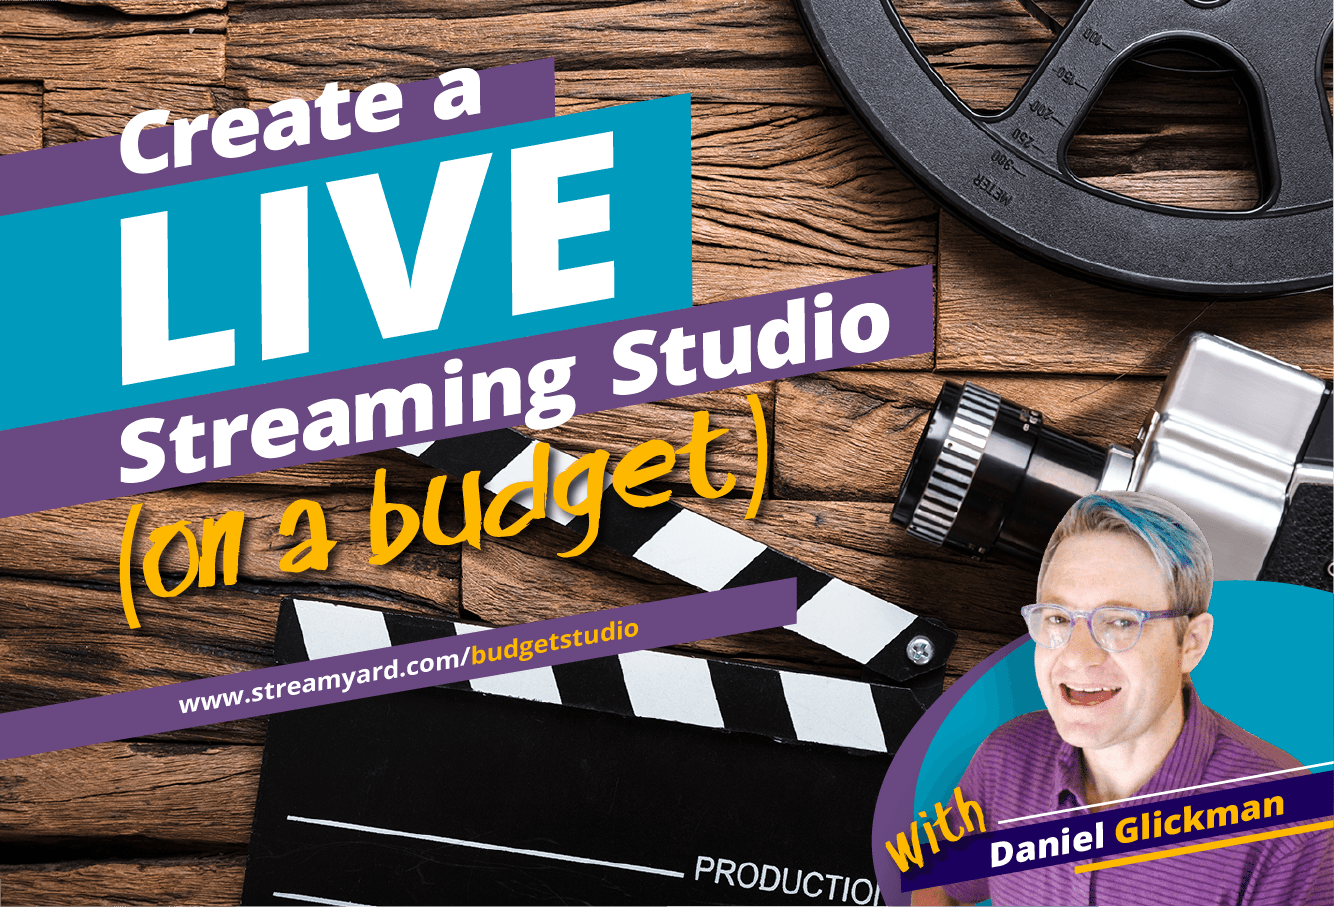
Written by Daniel Glickman
Setting Up a Home Video Studio on a Budget
"How do I set up a home video studio?"
"How much does it cost to set up a home video studio on a budget?"
"What is needed for video production?"
People often ask me these questions when they look at my home studio in my videos. So, if you strive to share the best video content with a setup that's as good as it can get on a budget, read on.
Full disclosure: The internet is plagued with advice on building a YouTube studio or a home video studio, for that matter. But most of the content out there is sponsored or contains affiliate links, which means those recommended-products are often incentivized. This post, however, is intentionally aimed at the video content creators who are looking for genuine recommendations and advice. It's purely based on my experience and knowledge about the video industry in general, and live streaming in particular.
If you have better ideas, please share them in the comment section, and I'll be glad to add them to my future content.
WHAT DO YOU NEED FOR YOUR HOME VIDEO STUDIO?
Here are the essentials you need while setting up your home video studio:
- Lighting
- Camera
- Audio
- Space
- Setup & Desktop
In this guide, you'll find all your home video studio related answers in no time flat. Let's begin.
LIGHTING
When it comes to lighting, there are quite a few options that aren't crazy expensive. From LED panel lights to ring lights, you can add several lights to your room to make it look better and brighter. But let's start with the most important of them all: natural light.
Natural Light
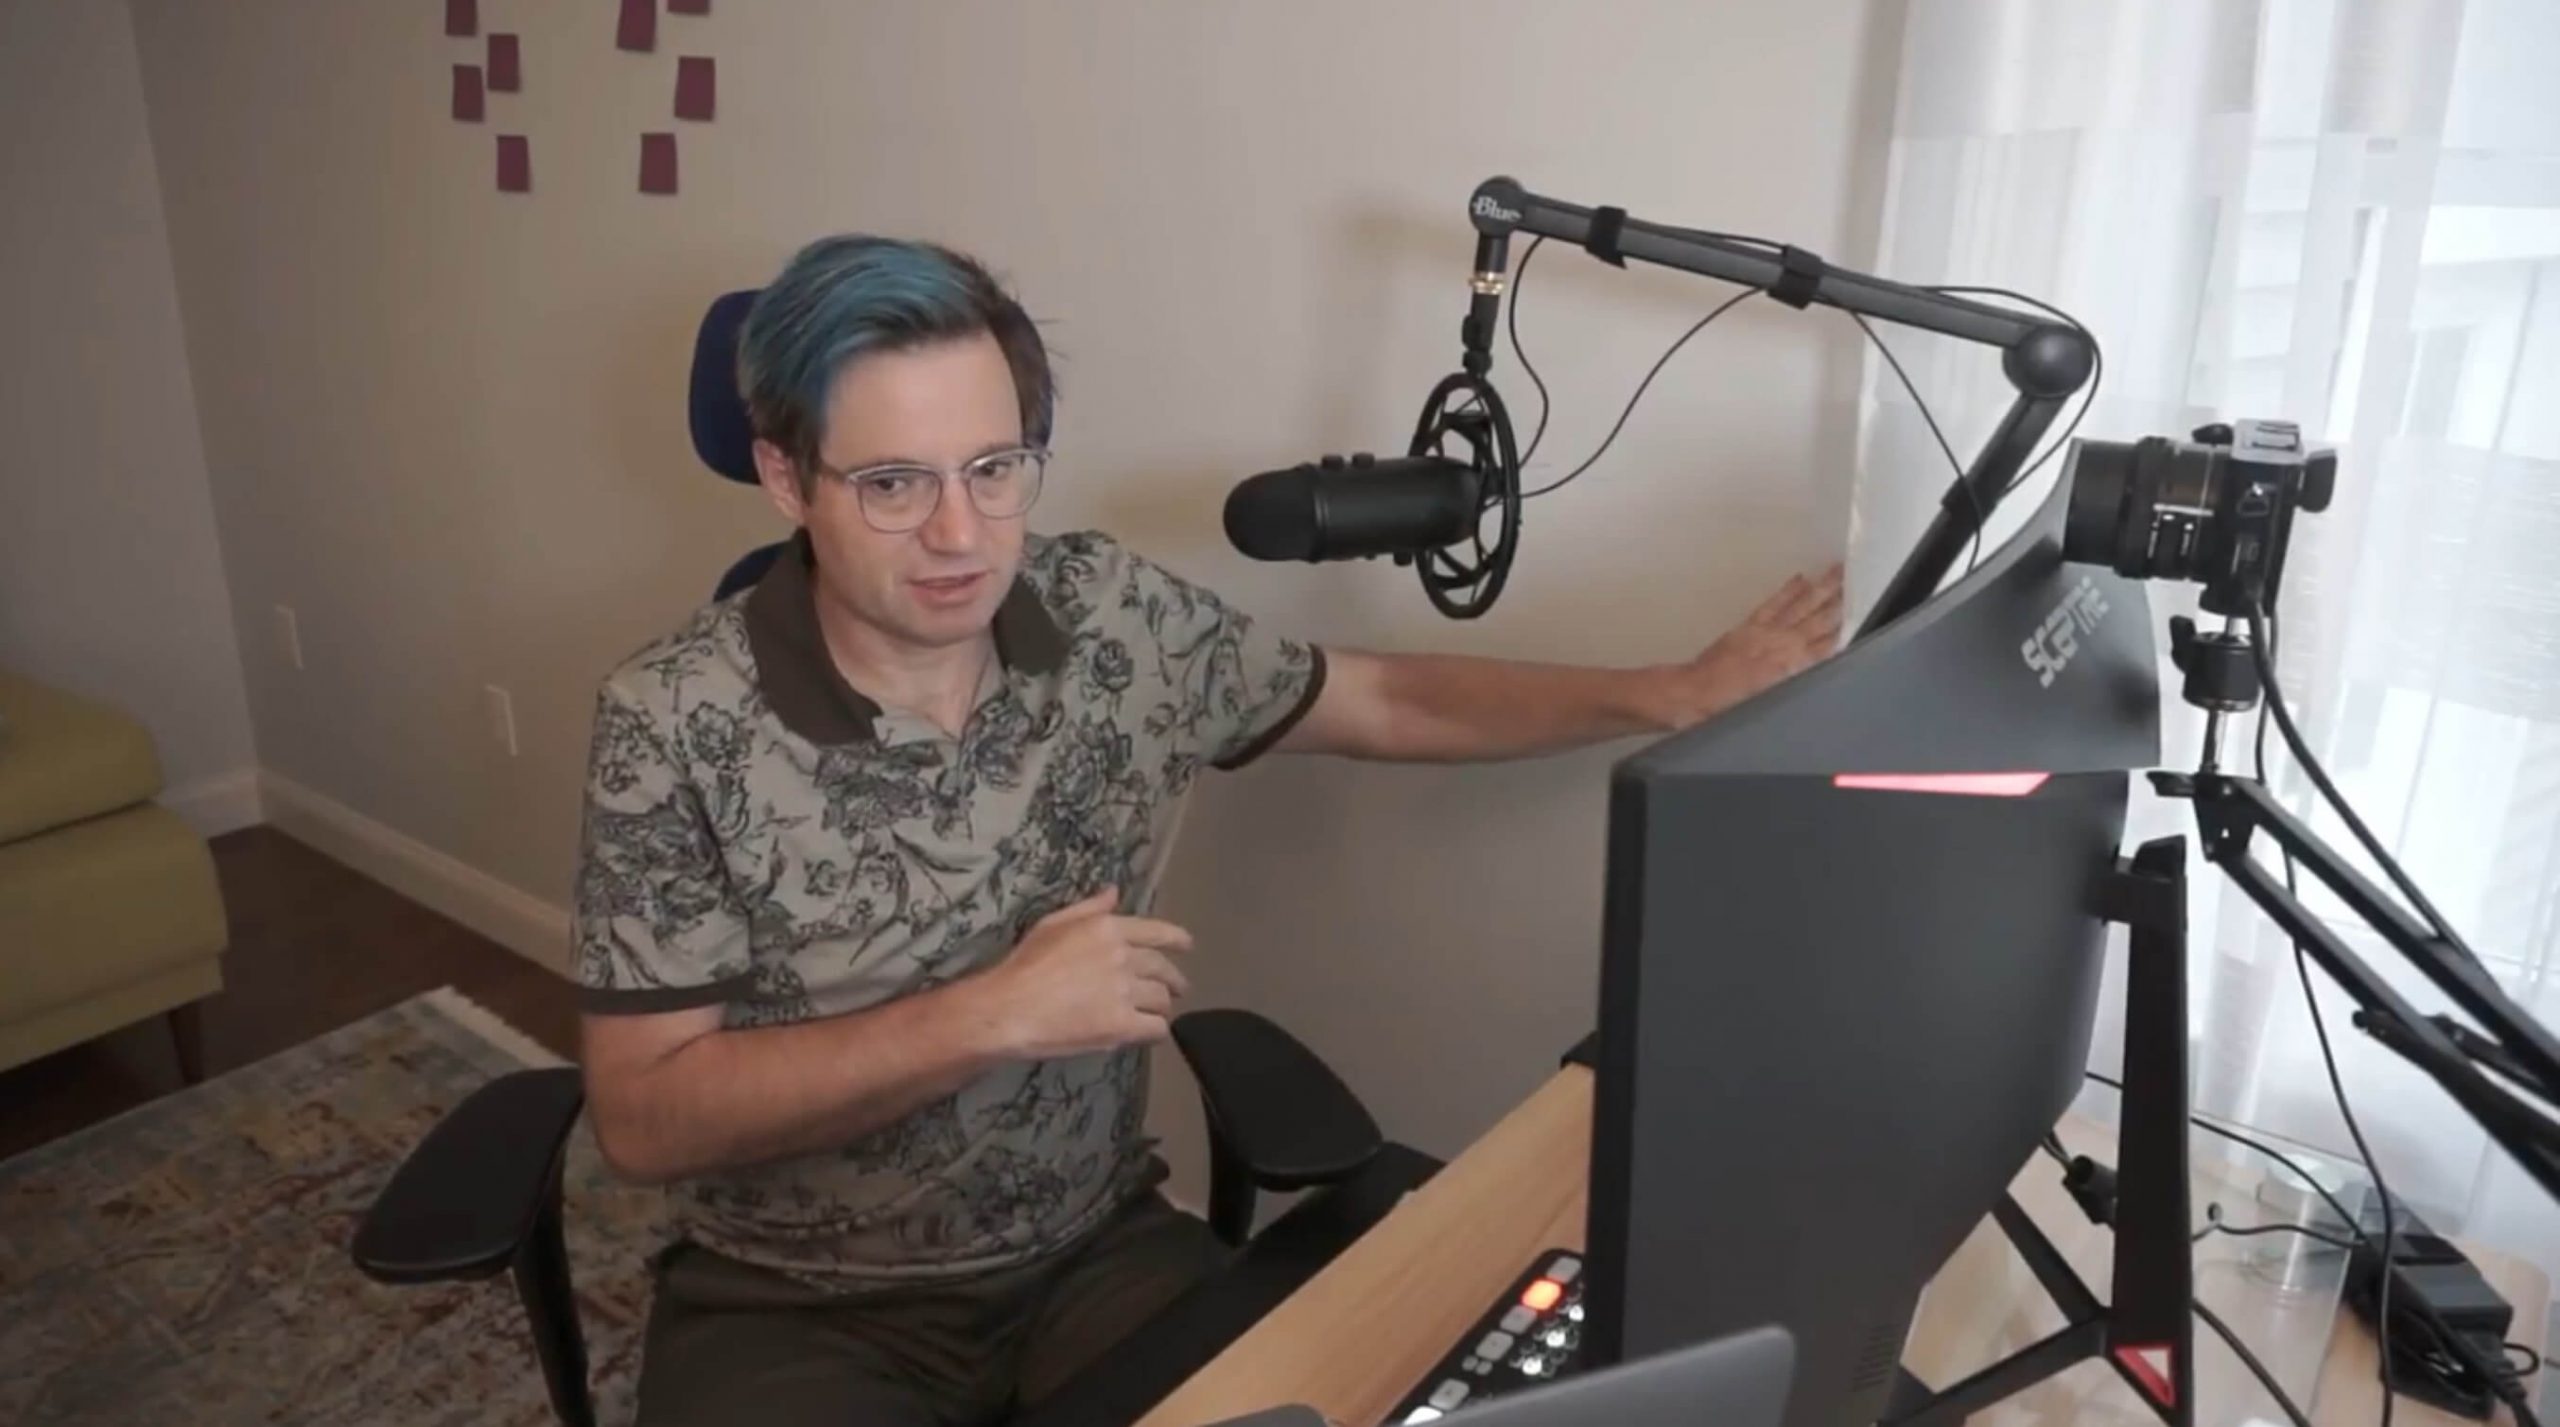
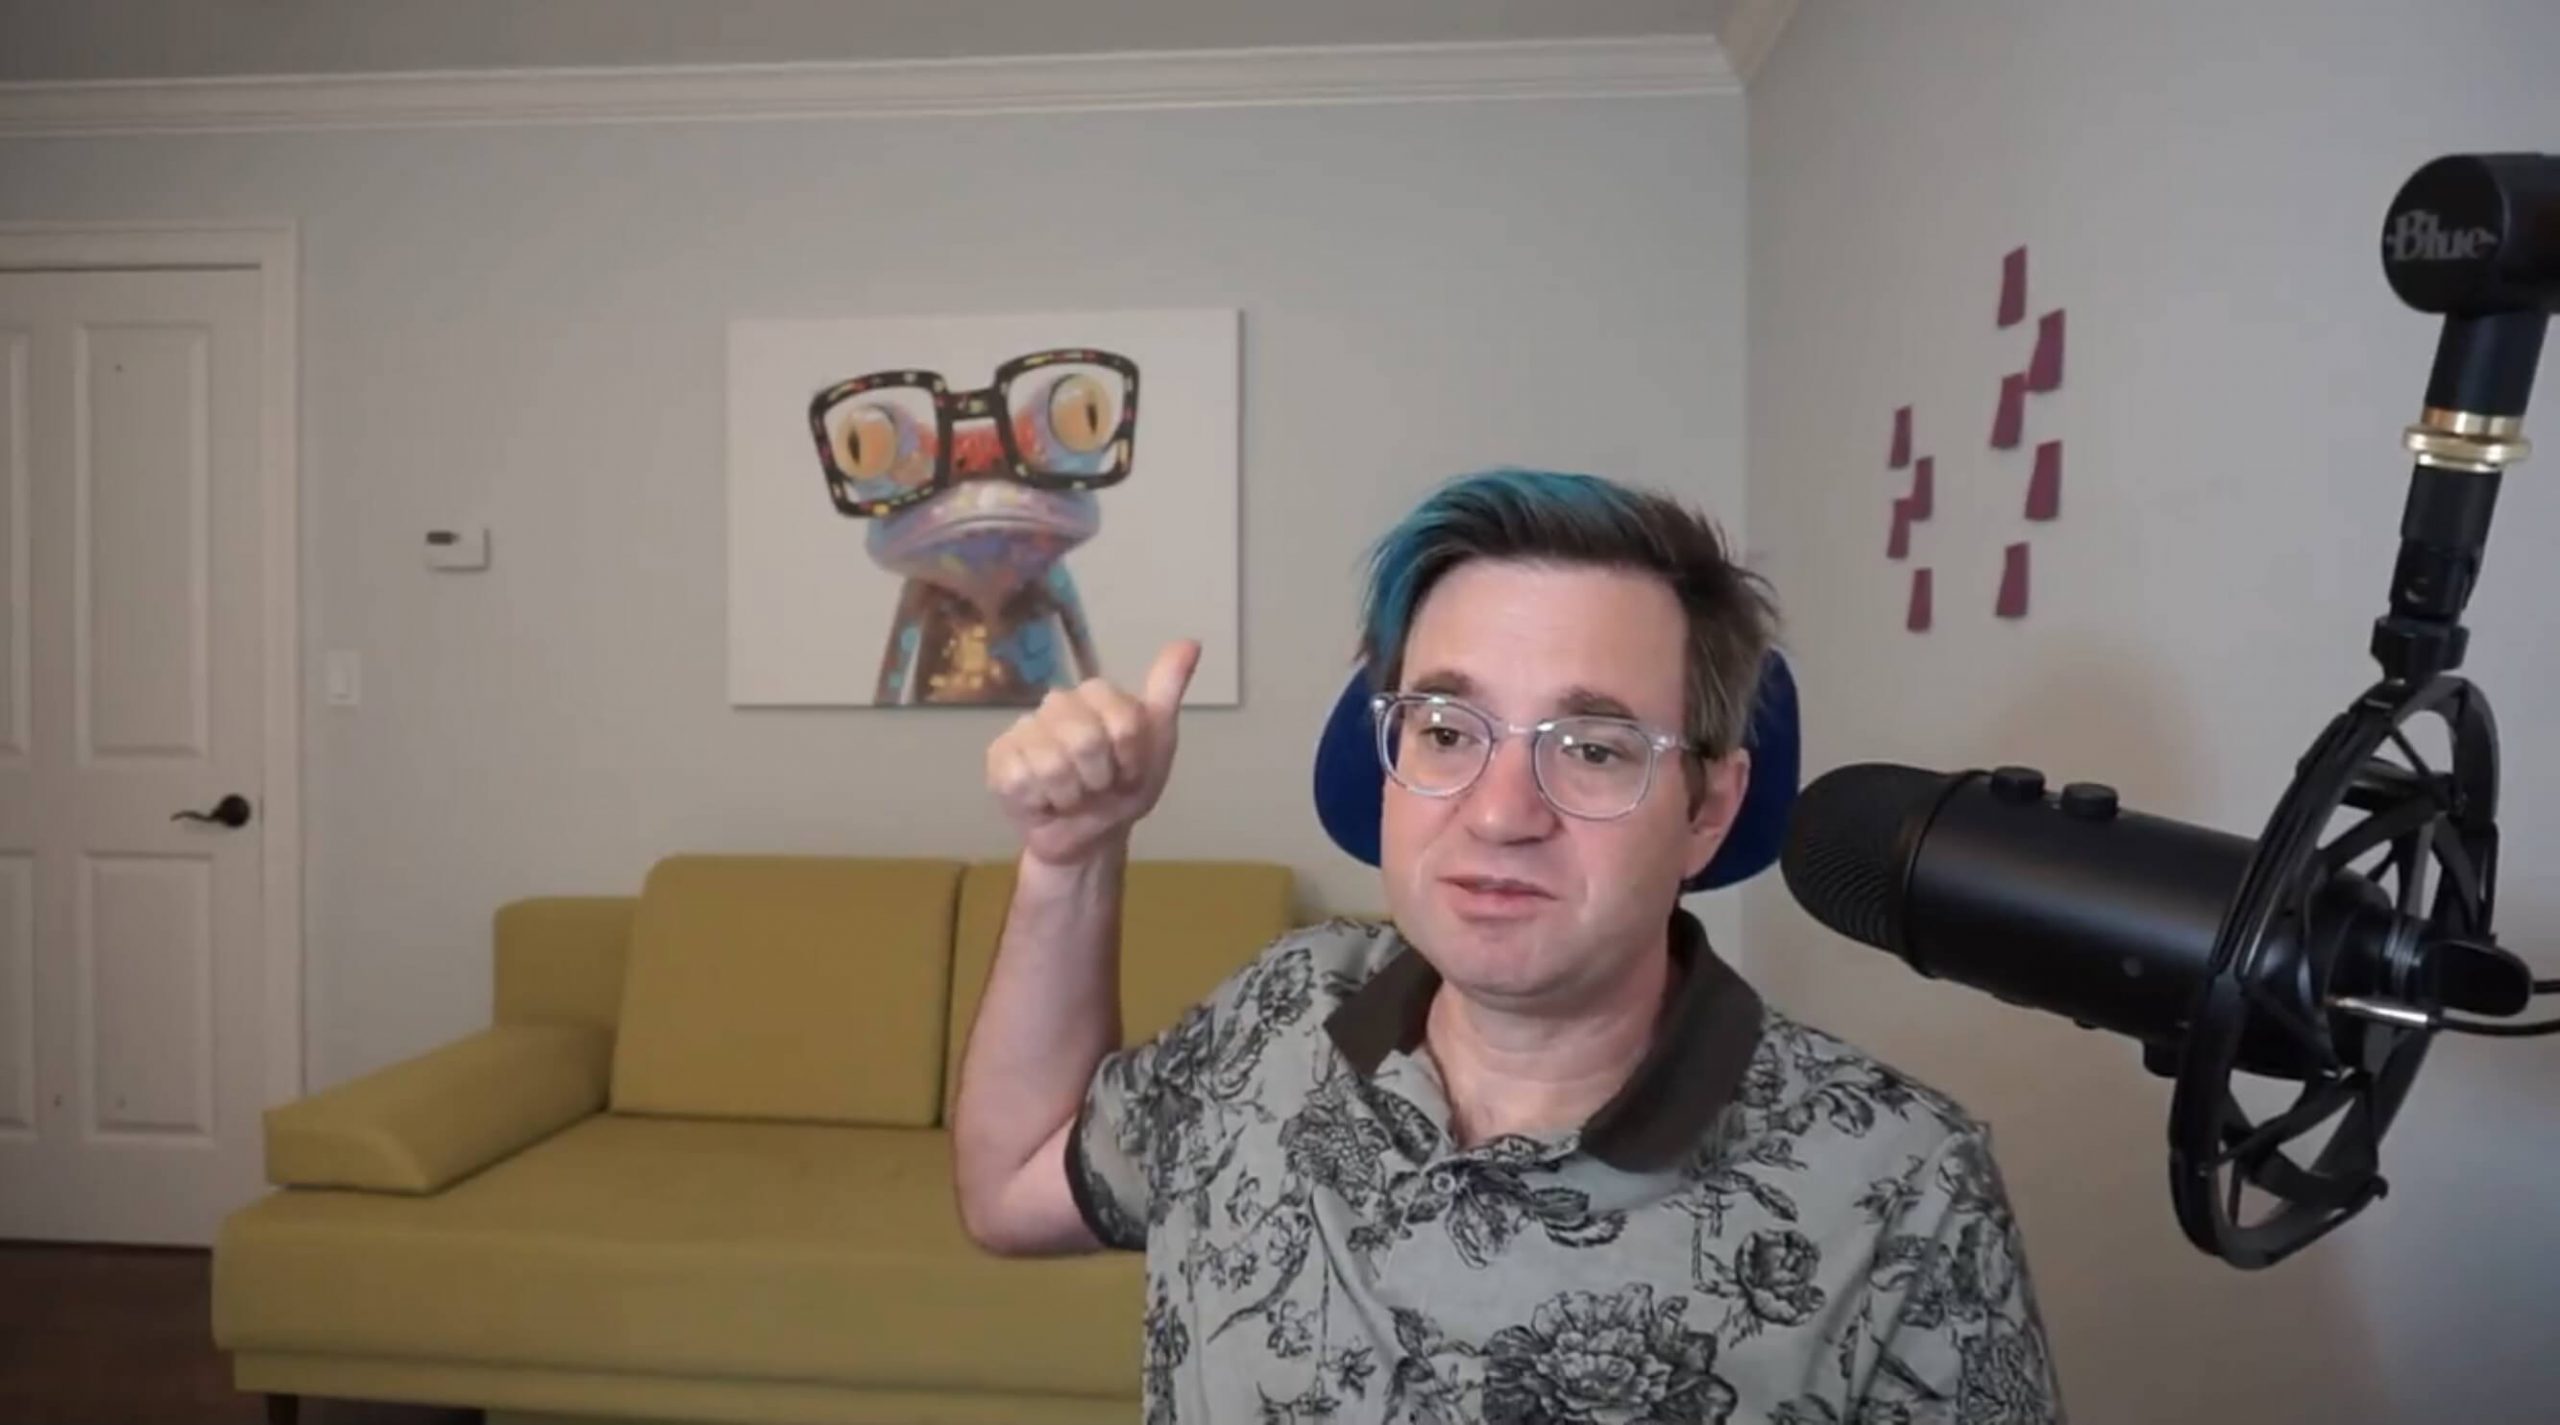
I would highly advise using the sun's natural light to illuminate your space. Take reference from the pic below: my system sits right next to a window. It gives me the ability to leverage natural light, freeing me from the need to put tons of artificial light out there.
Also, natural light is full spectrum. And no artificial light can mimic that. Besides consuming energy, artificial lights tend to strain the eyes and heat up too. So, the less of those, the better. But proper adjustment is important here. Note that you need to augment the source. Having a lighting setup that fills the room is paramount.
LED Lighting
Although it tends to shine in one direction and seems to flood you with light, sometimes that plain, simple LED lighting is all you need for your home video studio. You can find these for under $29 in Ikea. So, if you're on a budget, they make a good buy.
Ceiling Lights/Downlights
Another great option to save some bucks is to capitalize on ceiling lights. Also known as downlights, they shine vertically downwards on you. With a glass covering, they produce a subtle hue – thanks to the millions of colors and warm-to-cool white light that they offer.
Spotlights
Available in a ring form or square panel, spotlights are excellent for illuminating a specific area. You can opt for a ring light if you're looking for a portable lighting device that you can carry wherever you go, especially if you're on vacation. It's also your best bet if you're in the beauty industry and need the light to focus on you up close. Personally, ring lights are not my thing as the glare they produce on glasses is very noticeable, especially in live streams. They're also not super powerful.
LED Panels
For a long-lasting, even brightness, you can consider installing LED panels in your home video studio. These usually come with two dials – one to adjust the brightness and the other to adjust the color temperature. You can get a set of two good quality LED panels for $199 on Amazon.
For those who want something more advanced, I'd recommend the Elgato Key Light.

Available at Amazon for $199.99, this light comes with a pole mount that you can clamp to your desk. Indeed a space saver, you can even adjust its height. You can customize it from your desktop or an Elgato Stream Deck (available for over $145 on Amazon). It also helps you turn off the key light with a single tap.
RGB LED Lights
Beyond the basic lighting, you may want to add some fun to your dull and dreary background. If that's the case, try RGB LEDs. These make a good option to illuminate your walls in different colors. Many YouTubers often use these lights to add that missing vibrancy to their backgrounds.
On his channel Tech Tesseract, YouTuber Josh shows a pretty amazing transformation of his gaming setup with RGB lighting.
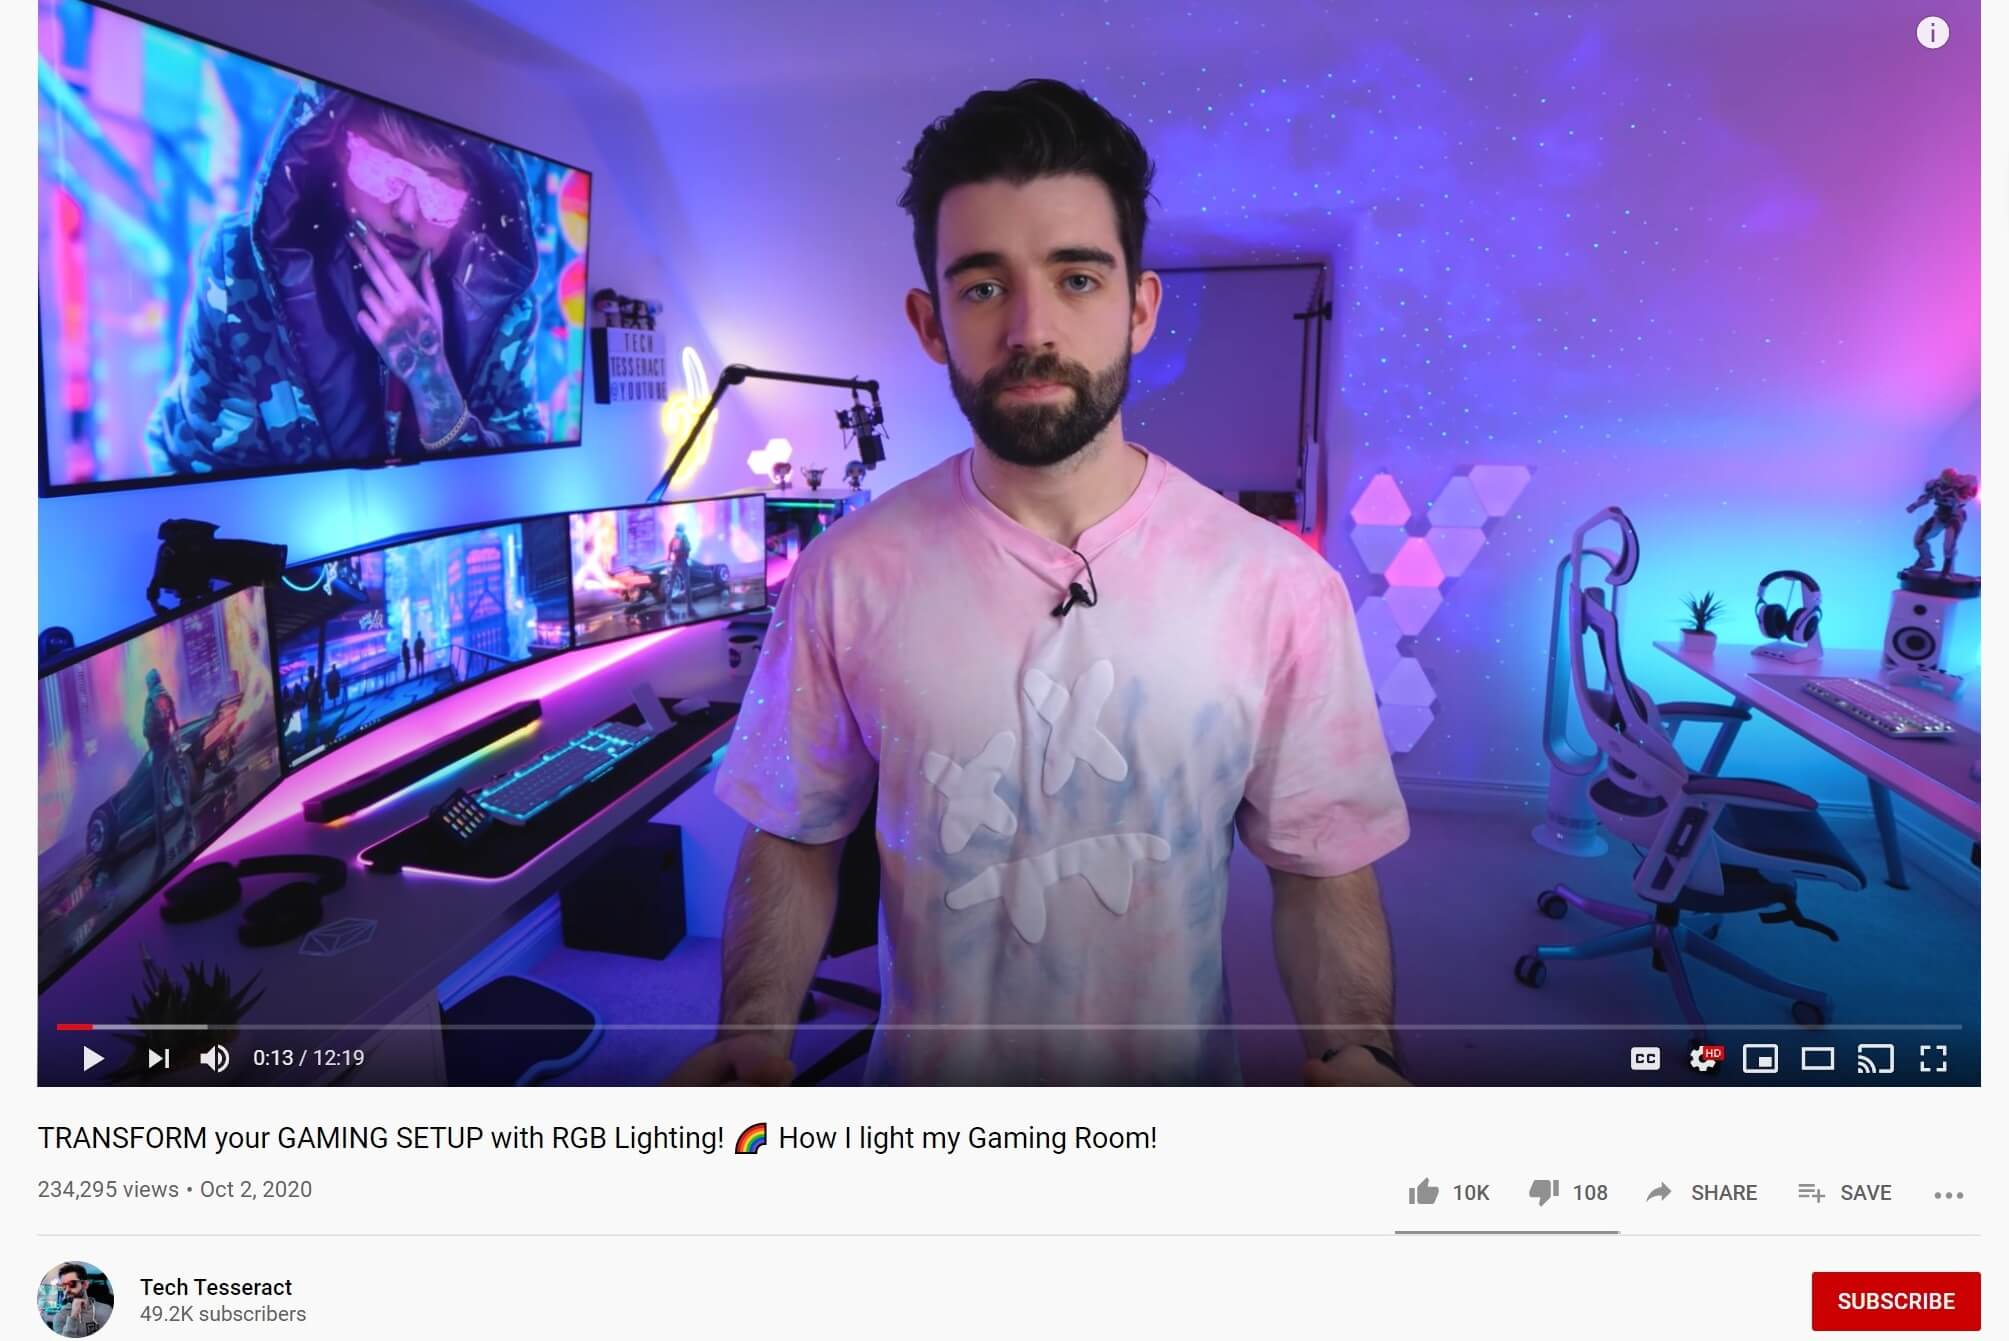
You can easily get a set of two RGB LED lights for $50 on Amazon. But it can get a little tricky to hide the light wires. So, consider the logistics before going for them.
Lighting Tips & Tricks:
- Ensure there are no shadows on whatever is in focus – whether it's your body, face, you or somebody else in the frame, a piece of equipment, or just about anything.
- Try to use natural light, or go for ceiling lights that emit light in the room from the top. Depending on whether you want the source to flood your face with light, you can opt for panel or LED lights. A lot also depends on the darkness of the room. So, choose wisely.
CAMERA
With a range of options available on the market, you can easily find a camera that suits your home studio needs. Canon, Panasonic, and Sony are three renowned companies in the camera world vying for your attention.
While Canon cameras have an excellent brand reputation, they're not the best for videos and definitely not the best for live streaming or your home video studio. The reason for that is that most of the Canon cameras lack "clean HDMI output".
But what is clean HDMI?
The camera has to decide what to transmit out. It can transmit everything you see and find on the screen, including all the indicators and stats. However, when you live stream, you need a clean HDMI. Which means none of the indicators show up. Just the picture comes in from the lens. Alas, most DSLRs don't have this functionality.
While some of the Canons have a clean HDMI output, but that's in manual focus.
So, would you want that? Certainly not.
You need clean HDMI on autofocus because if you set up manual focus, you are out of focus with almost any movement that you make. Most of the Panasonic and Sony cameras have clean HDMI output in autofocus.
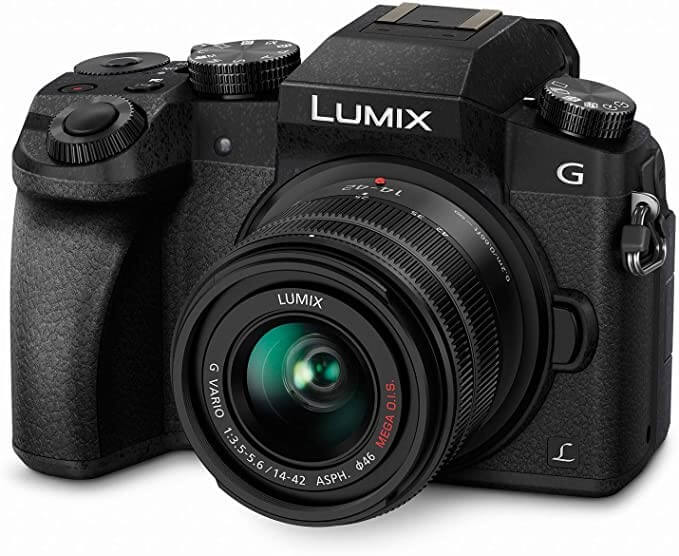
The camera of choice from Panasonic would be LUMIX G7.
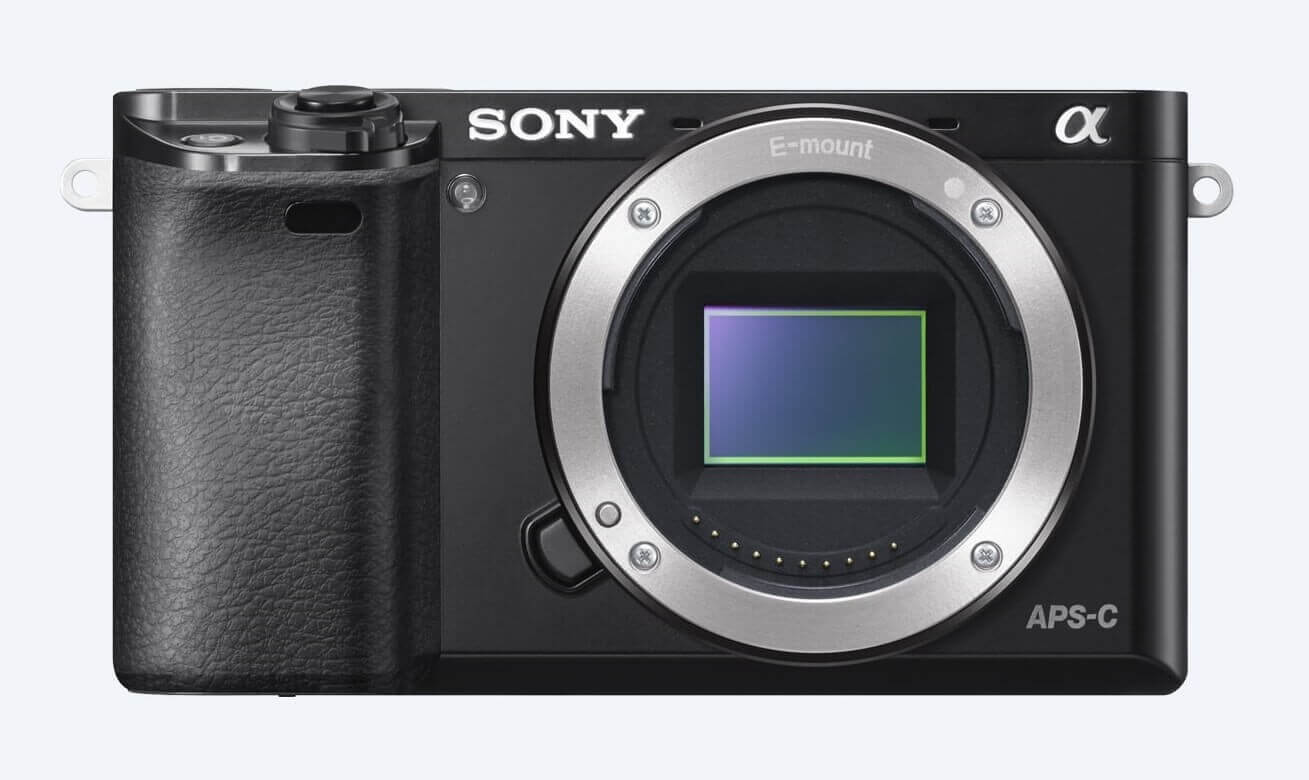
From Sony, both α5100 and α6000 are great options that won't disappoint you.
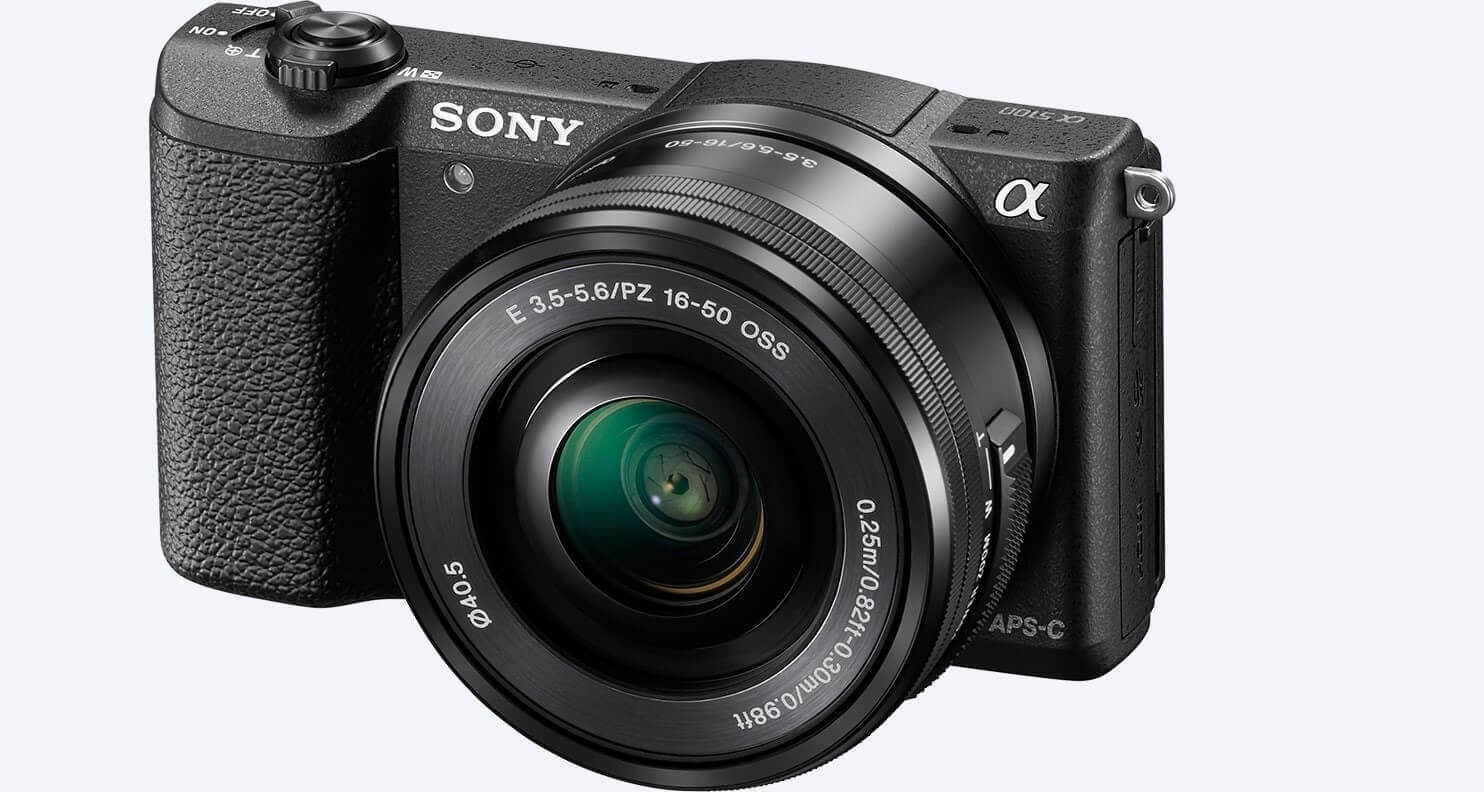
While both the brands have superfast focus, I found that Sony's autofocus will find you and stay tuned on to you much better. The Panasonic one will tend to get in and out of focus, figuring out what to focus on.
I also like Sony's interface better. It's also blessedly easy to use. You can quickly adjust its settings, be it changing the light sensitivity or the filter.
For pro users, I would recommend the Blackmagic Pocket Camera.
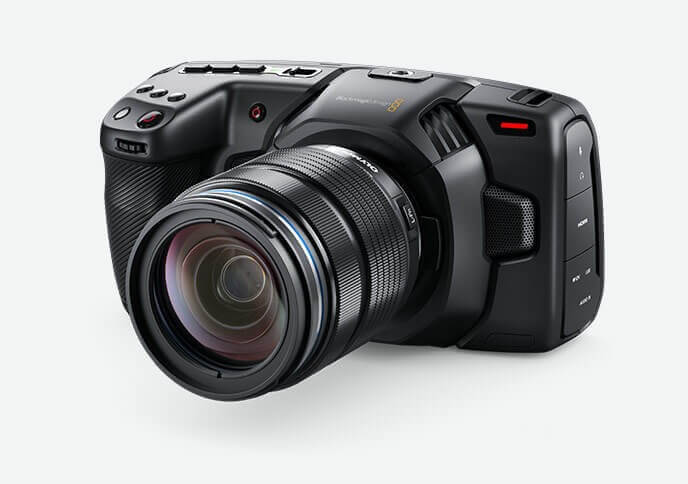
For more information on what the Blackmagic Pocket Camera can do and to learn some tips on choosing the best camera for live streaming, read this: How To Pick the Best Camera for Live Streaming.
HDMI Capture Device
Video content creators often struggle to plug in a camera to their computer. As these days the output is mostly through an HDMI cable, it becomes difficult to help your computer recognize your camera as a webcam. And as your computer doesn't accept HDMI input, your camera can only be identified through USB. This is where a capture card or converter helps. It works by converting your HDMI to USB. The most famous one is the Elgato Cam Link 4K, which costs about $130.
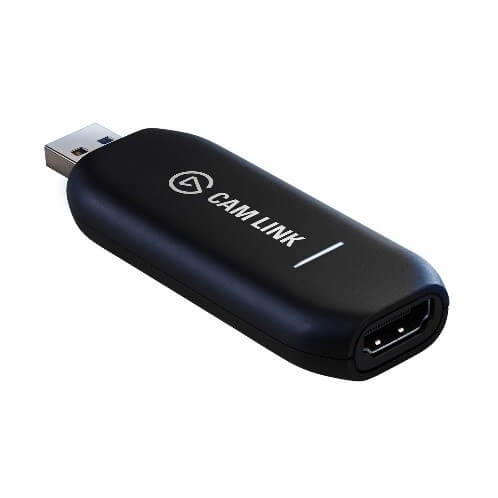
It won't break the bank, and you can easily connect your DSLR, camcorder, or action camera to your computer or Mac with it.
Note: If you plan to upgrade to two cameras later, you might as well go for the Blackmagic Design ATEM Mini.
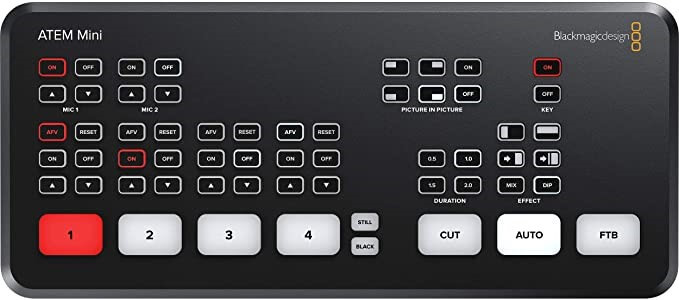
With 4 HDMI inputs and one USB output, switching between high-quality video camera inputs becomes a cinch with this switcher. Besides, you can add mics too and adjust them with equalizers, etc. What about the price? Well, that's about $170 above the cost of a Cam Link. So, if you're sure you would be expanding in the future, I recommend the ATEM mini instead of the Cam Link.
Adaptor
When it comes to using a camera for your video production, you might need an adaptor. Some of the new cameras don't need a video capture card or adaptor because they can go directly from USB 3.0 to USB 3.0. Well, that can save you over $130 off of the camera price. But these are high-end cameras that cost over $1,000, excluding lenses. So, weigh your options before making a choice.
Camera Setup
For setting up your camera, you might go for a tripod. In this case, I recommend not to go for the cheapest one. Instead, spend somewhere around $80-$90 to buy a decent quality product.
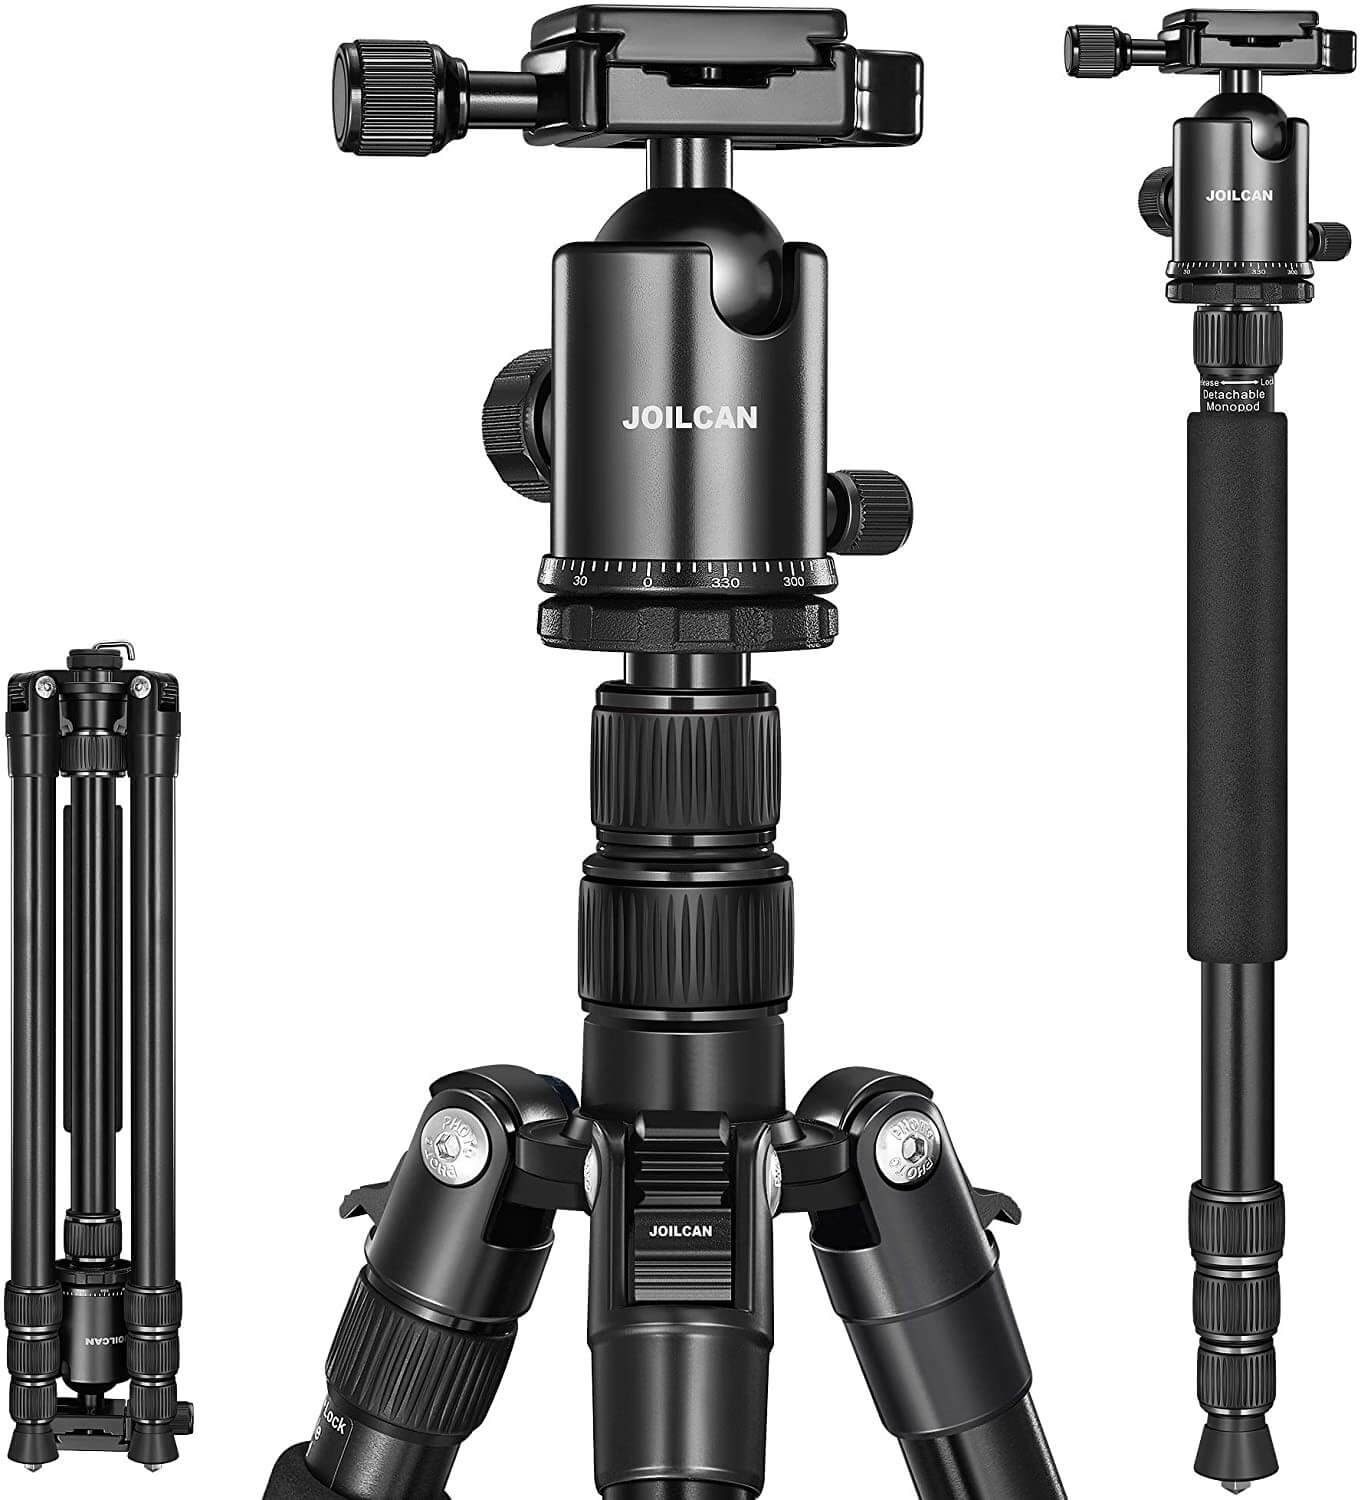
And you might as well want to get a tripod that's at least 6 ft high. That's because if you're going to do a standing video, anything less than that would be a bit too low.
You can also get a boom arm. One of the most significant advantages of a boom arm is that it helps you look right into the camera, rather than putting it higher up. And you can get it for about $30 on Amazon.
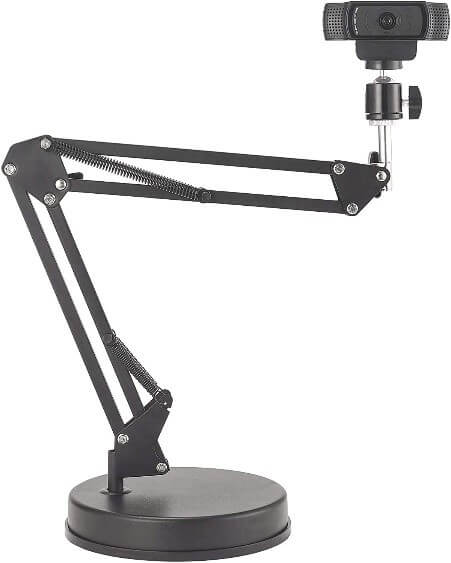
The downsides are that it could be a bit flimsy, and you would need an adaptor.
That's all about your camera's physical setup. As for its software, every camera has different settings. Once you configure them as per your requirements, you're good to go.
SOUND
As ironic as it may seem, but the sound is crucial to your video's success. Capturing quality audio becomes much easier with a good mic. While there is a host of options available when it comes to microphones for video production, I'd recommend a lapel mic or a boom mic.
Lapel Mics
Also known as lavalier (lav) mics, lapel mics are quite the standard. These little microphones are great at capturing quality sound and are pretty cheap as well. You can get a good one for around $50.
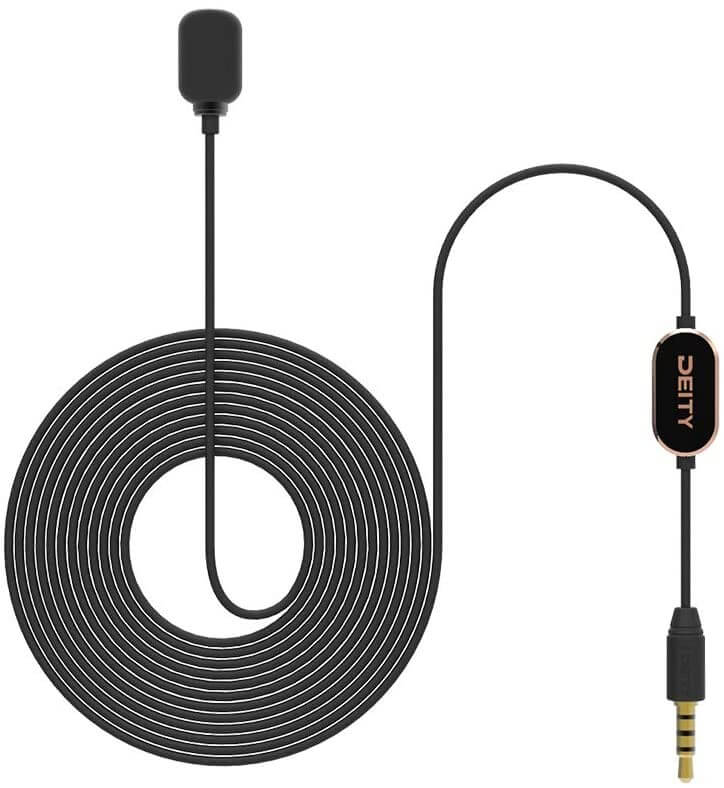
You can also get a wireless lapel mic, but it would mean more messing around with and more things to charge.
A lapel mic is an excellent option if you're into something that involves a lot of moving around, for example, if you're into yoga training, interviewing, etc.
USB Mics
If you are a beginner, investing in a mic can be a bit overwhelming. In such a scenario, consider getting the Blue Snowball iCE. Priced at just $50, this plug-and-play USB mic does a fine job.
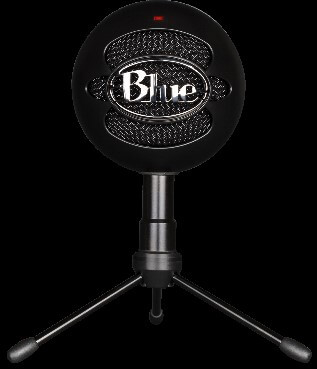
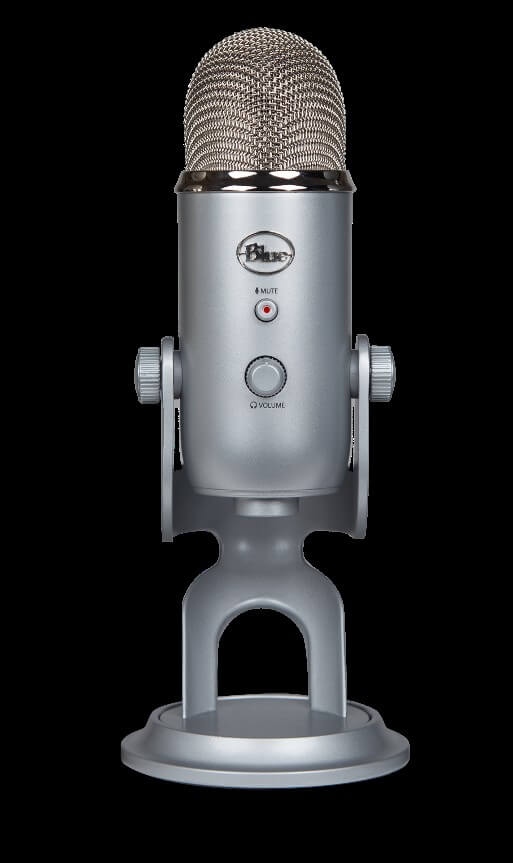
You'll probably grow out of it after a while. And it might not be a great choice if you're going to repurpose your videos into podcasts because podcasts require a higher level of audio. In which case, I'd suggest investing in Blue Yeti, which costs $130.
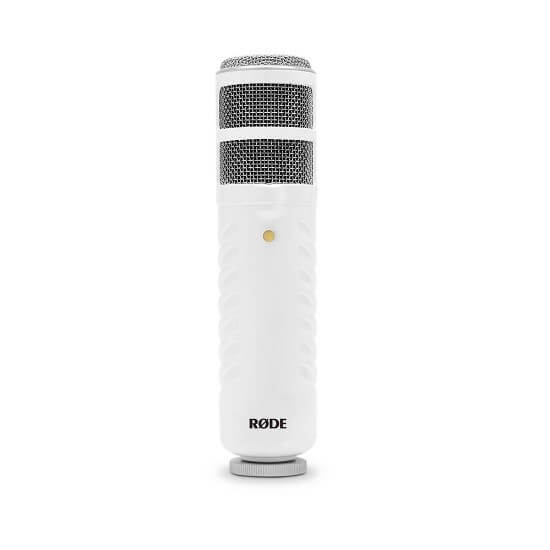
Boom-Arm Mics
Essentially a form of USB mics, these mics can be mounted on boom arms.

My top recommendations would be RØDE Podcaster and Blue Yeticaster.
While the RØDE Podcaster is priced around $200, it doesn't come with a boom arm. And a good boom arm usually costs around $80-$100.
Yeticaster, on the other hand, comes with a boom arm at $200. It also has a few fantastic pros like easy controls, mute button, gain control, and multiple pattern selection, including cardioid, bidirectional, omnidirectional, and stereo. So, you can easily switch between these patterns as per your requirements.
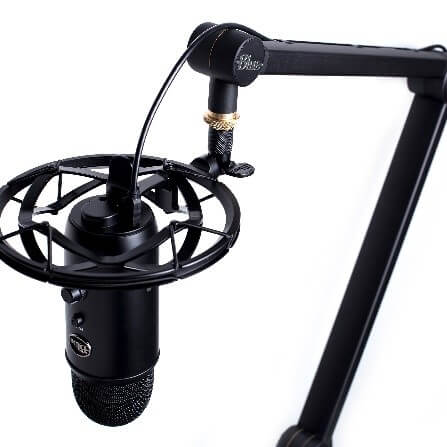
However, it's worth noting that the Yeticaster is a condenser mic. And, so, it picks up every little type of sound that comes from anywhere around it.
The RØDE Podcaster, on the other hand, is a dynamic mic, which means it picks up the louder sounds more than the quieter sounds. So, if you are in a louder/active environment or if you don't have a good studio setup, or if you're a musician, you should get the RØDE. Otherwise, the Yeticaster should be your pick if you have a perfect studio setup with proper sound absorption.
SPACE
Right off the bat, I would say grow the space. Evolve it with you. That means evolve your production quality with your content quality.
It doesn't make sense to have an amazingly well designed and invested studio if you have a very low viewership, and your content is not yet there. So, I'd recommend catching up on the content with your studio's quality and everything else. Not the other way around.
Now, one thing you should strive for is to get three layers of depth. The first layer here is "you"; the second layer is a piece of "furniture" or something else in the middle; the third layer is the "wall". Having three layers helps you create a perception of depth.
And another way to create the perception of depth is to utilize the room's corner. You can add a shelf to the corner or any other accent that adds a sense of space in the room.
While doing that, ensure that you don't clutter the space. That can get a bit complex as you would want to have a few items that resonate with you and define your personality to the viewers.
You can put a picture that speaks about you or get a piece of furniture to put some books on. You can even put some knickknacks there. If you have authored a book, try displaying it in a way that the frame captures it. But don't overdo it with your personal branding stuff as it might lead to the notion that you're trying to sell. Which, of course, you're not.
Remember that your audience wants to know you. So, put objects that tell people about you. You can also try flowers to perk up your space or illuminate it with lights. Whatever floats your boat.
SETUP & DESKTOP
Take a look at my setup in the picture below. I've got enough space on my desk for all the essential components I need to well-equip my home video studio.
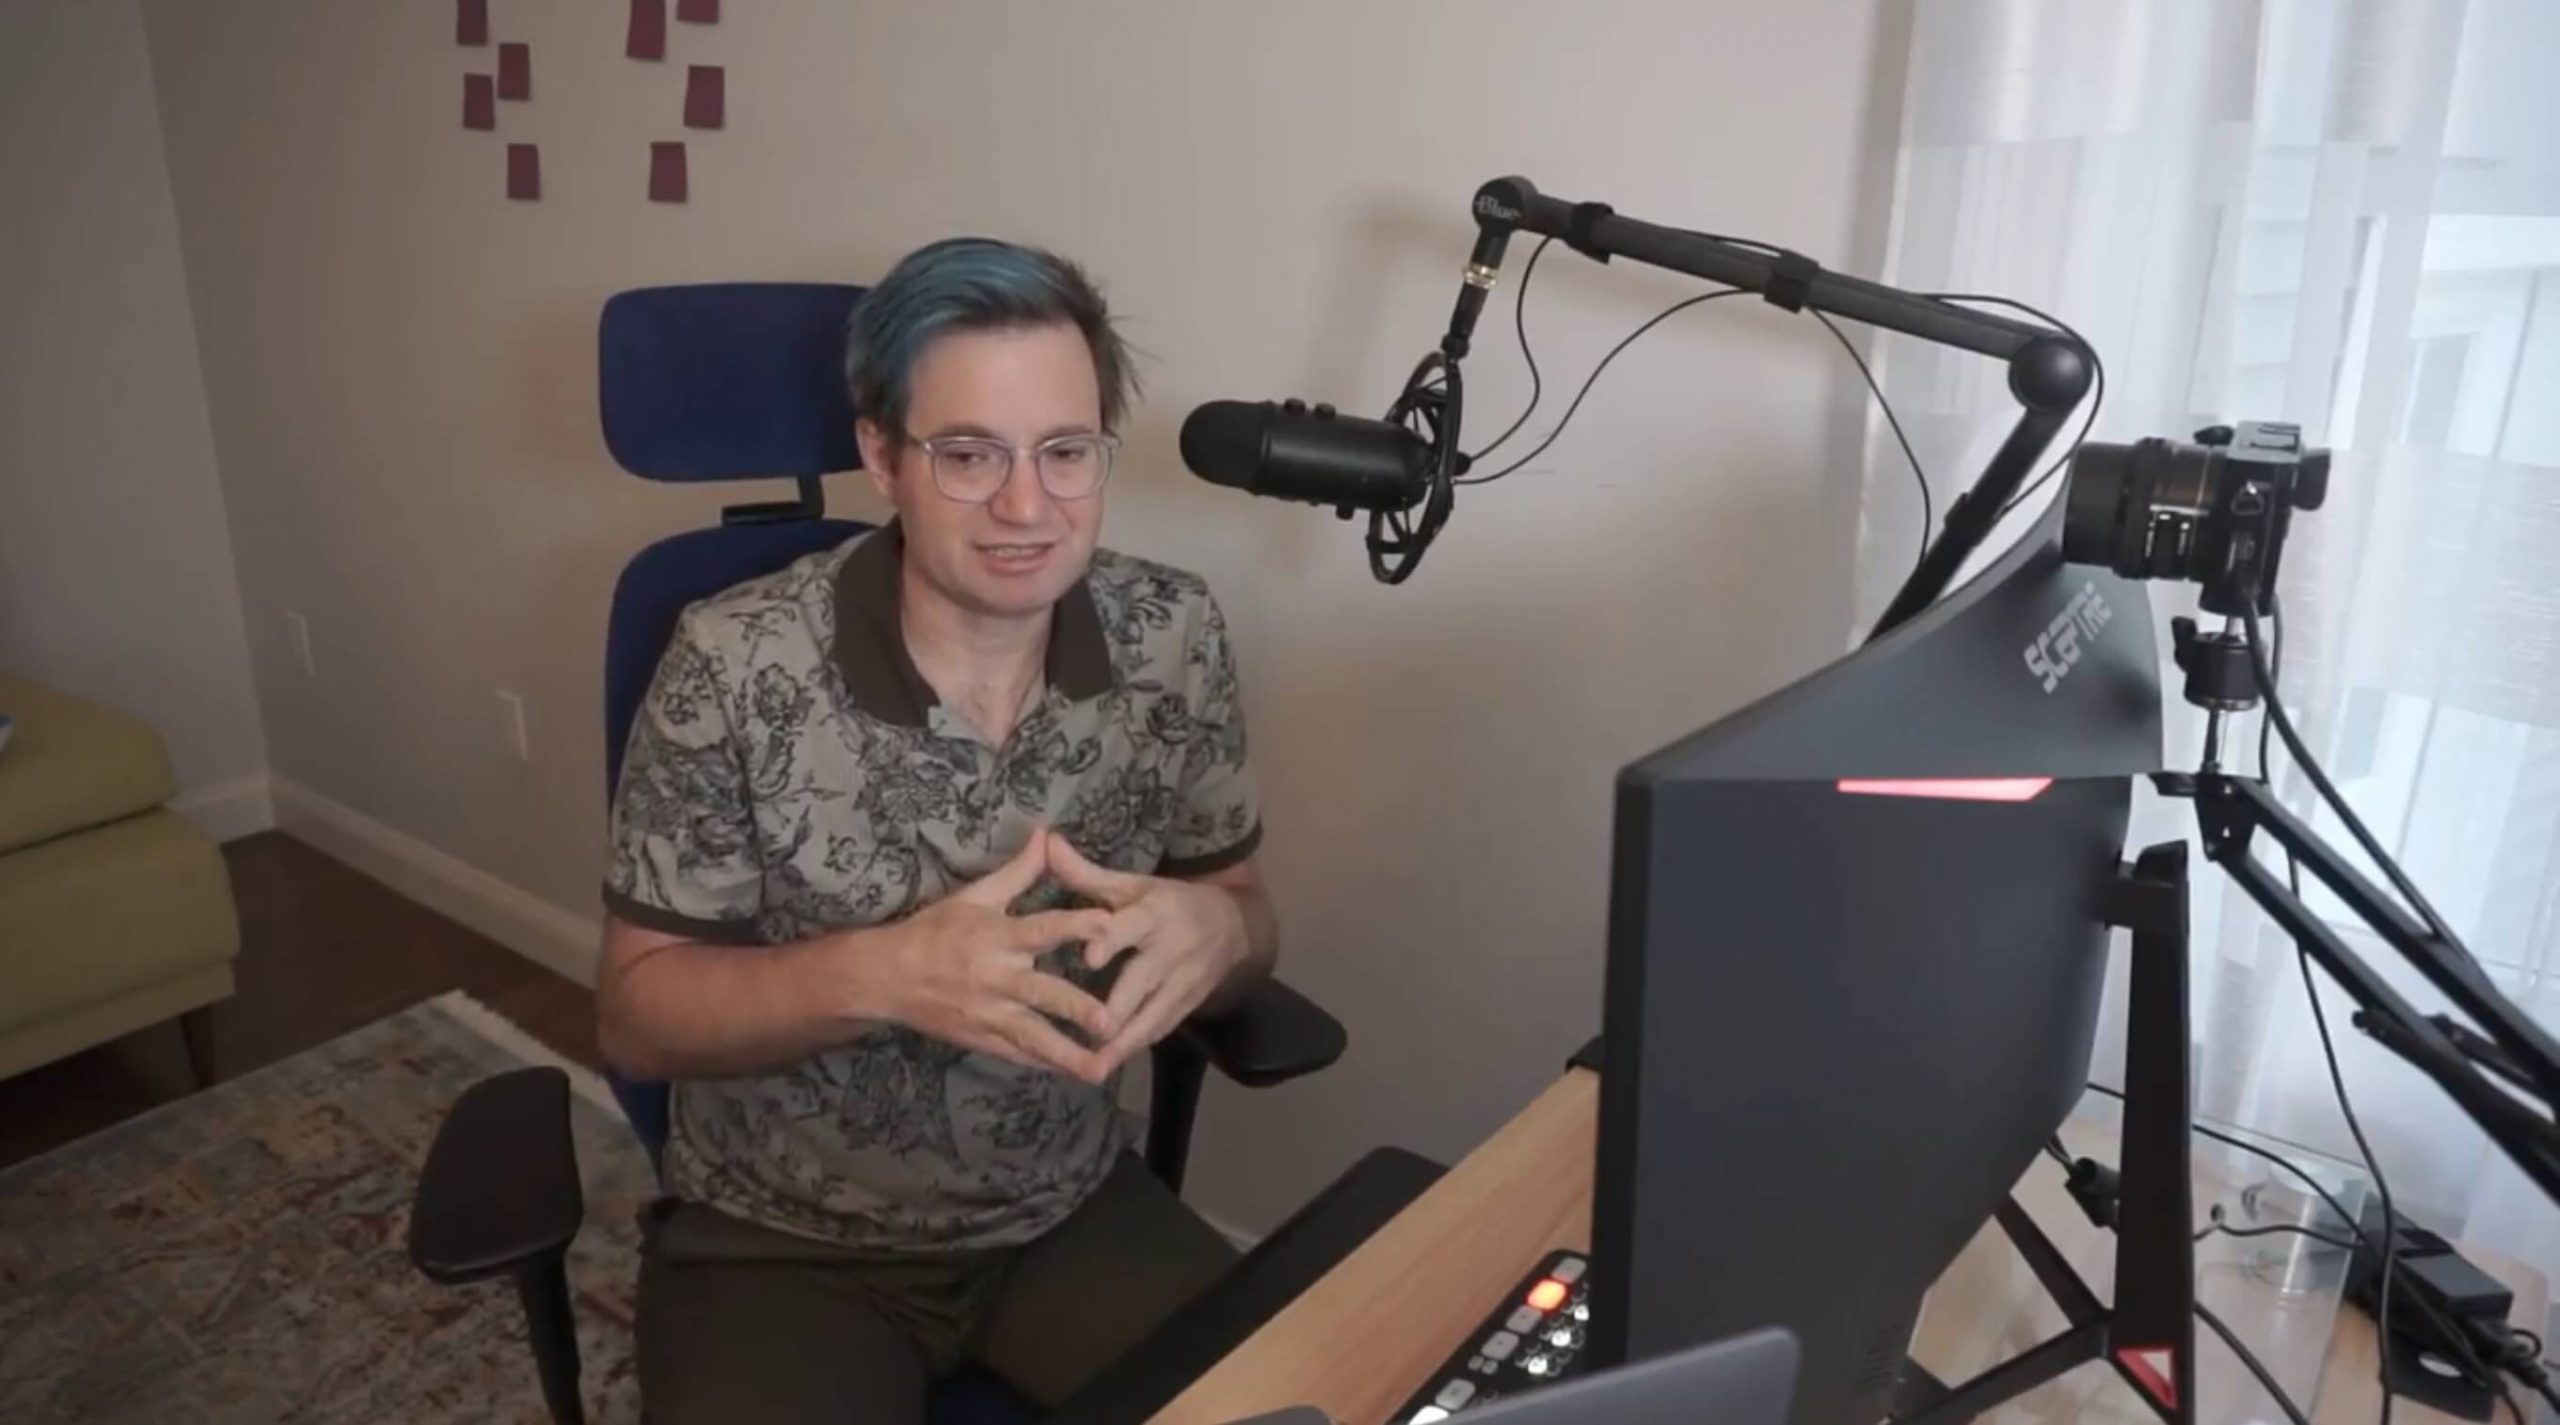
Now, let's discuss these components.
Computer
A vital part of the setup is to have a computer. And for video production, I'd definitely recommend a strong computer. If you prefer a MacBook, go for a MacBook Pro rather than a MacBook Air as the latter won't be able to handle the load. You would also want to upgrade your processor and your graphics card to whatever your budget allows.
For instance, if you'd be installing a green screen, your chosen computer should render the green screen footage in real-time. Now that calls for excellent processing power and graphics card power. So, you want to have that computer capacity to deal with it.
One pro of investing in a good computer here is that you may not want to upgrade it after a couple of years. Thanks to the high quality make of most of the computers today, they can last for several years – avoiding the need for frequent replacements or upgrades.
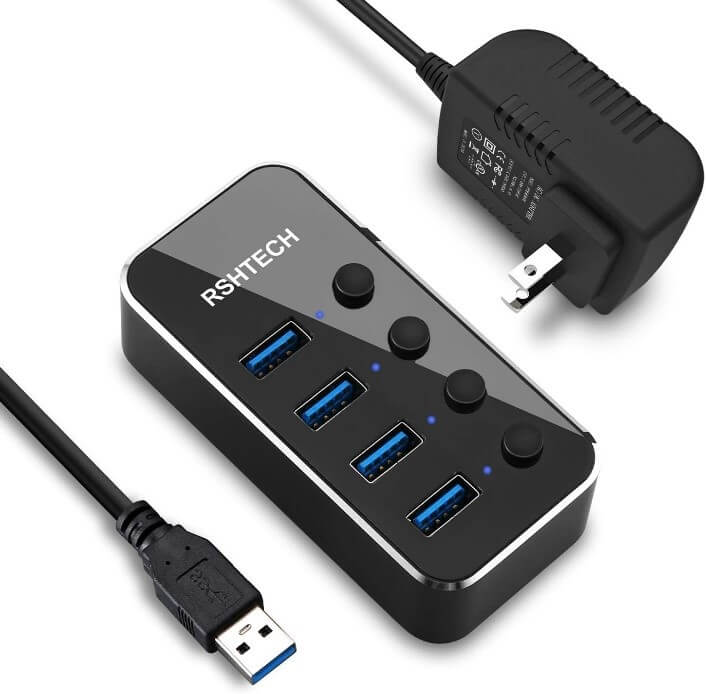
Powered USB Hub
Video production is no mean feat. You would need to plug in many different devices besides your phone, which is why it's advisable to have a powered USB hub. And these come for pretty cheap. You can get a decent one for under $20, and you'll be all set.
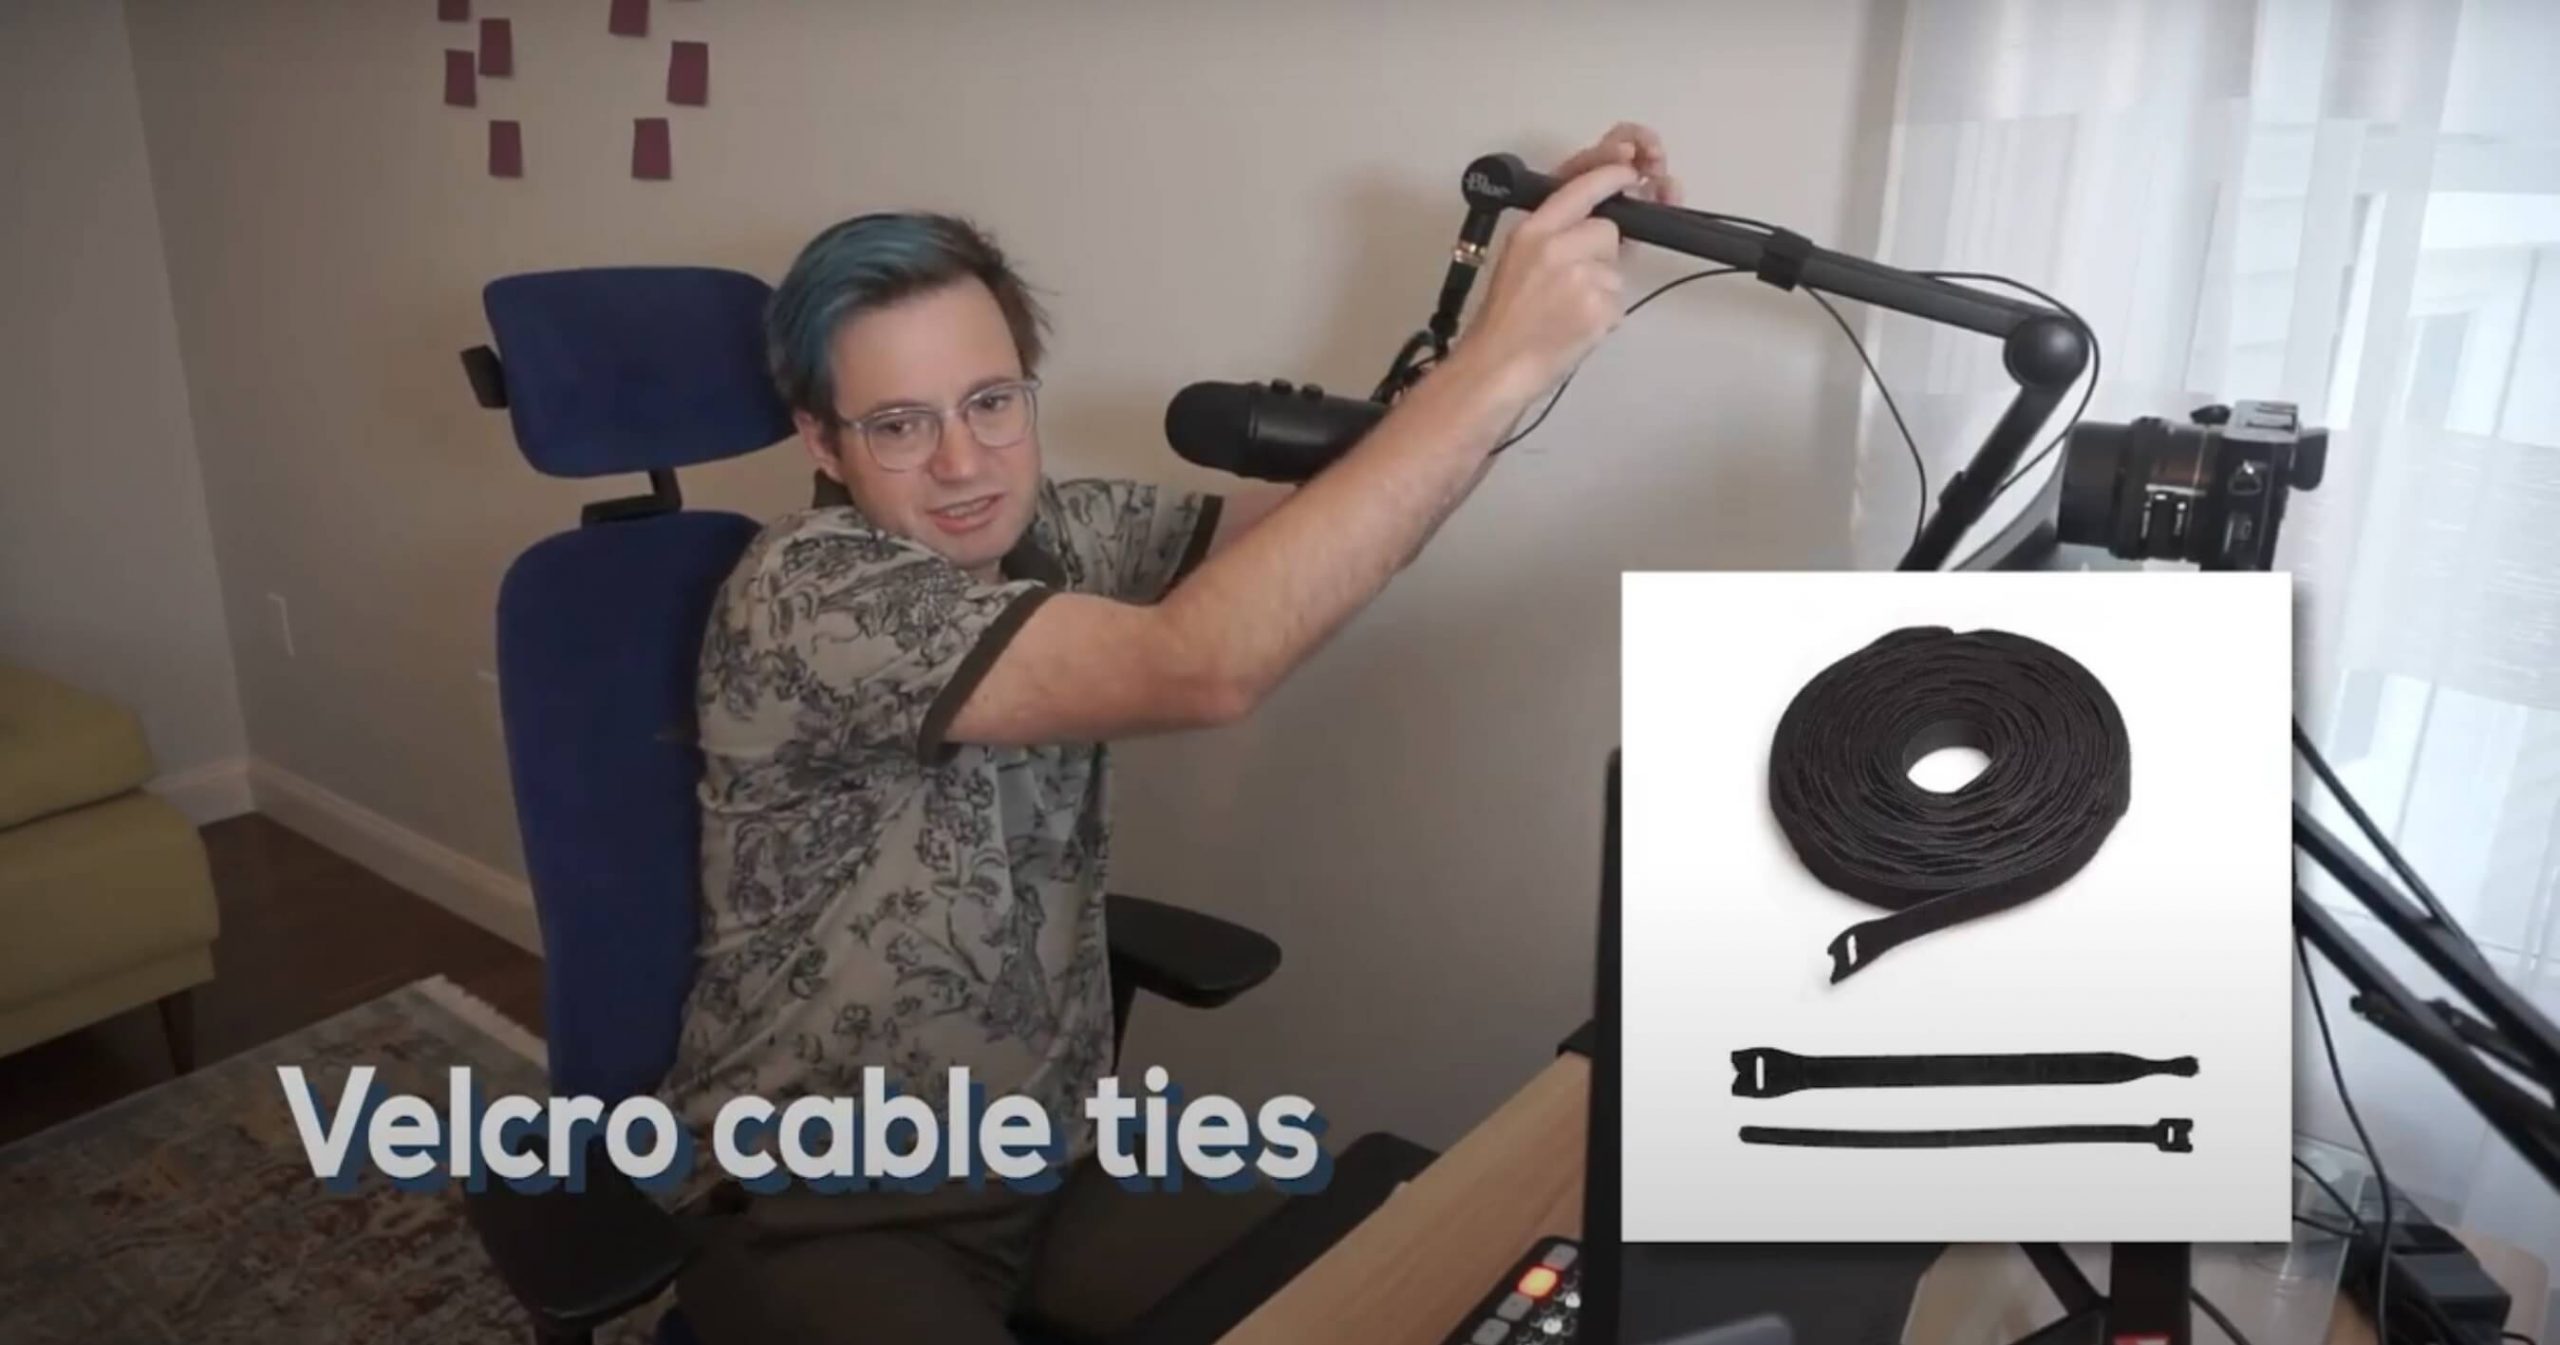
Cable Ties
Cable ties are little Velcro strips or fasteners that are great for holding all those cables or wires together. I've got a bunch of them to organize my cables. They have made my life much more comfortable and my studio much tidier. I have also put power strips under the desk with double-sided tape so that all my cables and cords are hidden, and my desk stays clutter-free.
Pro Tip – Measure the distance between your devices and get shorter cables as longer ones degrade the signal's quality and make the setup messier.
HOME VIDEO STUDIO: WHERE TO BEGIN?
Now that you've understood the basics of setting up a home video studio, you must be wondering: what to begin with?
I'd say: start with the lighting first, then move to the mic, and in the end, go for the camera.
Also, keep the upgrade factor in mind. Because whatever equipment you're buying today, you might need to replace it in a year or two for various reasons, more so as you enhance your skill levels and production quality. So, start small.
HOME VIDEO STUDIO BUDGET ESTIMATE BASED ON YOUR VIDEO PRODUCTION SKILLS
Beginner: $1000
To start, you'll need about $200 for lighting. Add about $600 for a good camera. Then you'd need to spend some money on various little things, including SD cards. Some cameras don't work without an SD card, which is an annoyance, but you'll have to buy it if you pick such a camera. And an SD card comes for over $50. Then there are the boom arms, adaptors, cables, and other additional things that may pop up. All in all, for entry-level, you can pull this off under $1,000.
Intermediate: $1,000 to $2,000
For the intermediate level, a good home video studio can cost somewhere between $1,000 and $2,000 – depending on your specific configuration, of course.
Advanced: $2,000 to $3,500
For an advanced user, with maybe two cameras and higher equipment versions, the budget can go up to $2,000 to $3,500.
Pro: $5,000 and beyond
Ultimately, a pro user would probably set up a high-end home video studio by shelling out over $5,000.
BOTTOM LINE
Despite the cutting-edge technology sweeping you with features that can amp up your video production, it's easier to have a good home video studio set up in less than $1000.
As with any other investment, I would recommend to wait and see results before you upgrade your equipment. So, make sure content quality catches up with the equipment quality before you look out for replacements, big or small.
What video production tools do you find to be most important for a home video studio? Let us know in the comments. And, stay tuned for more tips and tricks on all things video.