


Written by StreamYard
How to Make a Better Video: 10 Tips for Video Content
When your videos look professional, people are more likely to trust the information you're sharing. It shows that you're serious about what you're saying and that you've put effort into making your content look good. Professional-looking videos are also more engaging, which means people are more likely to watch them all the way through.
If you're making videos for a business or organization, having content that looks and sounds great can help strengthen your brand. And, even more importantly, in a world where anyone can make a video and put it online, having professional-looking content can help you stand out from the crowd -- which can help you sell your product or get people to share your videos with others and/or subscribe to your channel.
The Components of a Good Video
Before we jump into the specific tips, let's first break down the fundamental elements that contribute to the success of any video project.
Here are the five essential components of a standout video:
- Clear message: A good video starts with a clear and concise message that your audience ‘hears’. Whether you are informing, entertaining, or inspiring, clarity in communication is key.
- Compelling storytelling: A good narrative can also help you capture your watchers’ attention. So, how do you do this? We’ll dive into it soon, but for now, let’s say that storytelling techniques include things like conflict, resolution, and character development — all of which can create an emotional connection.
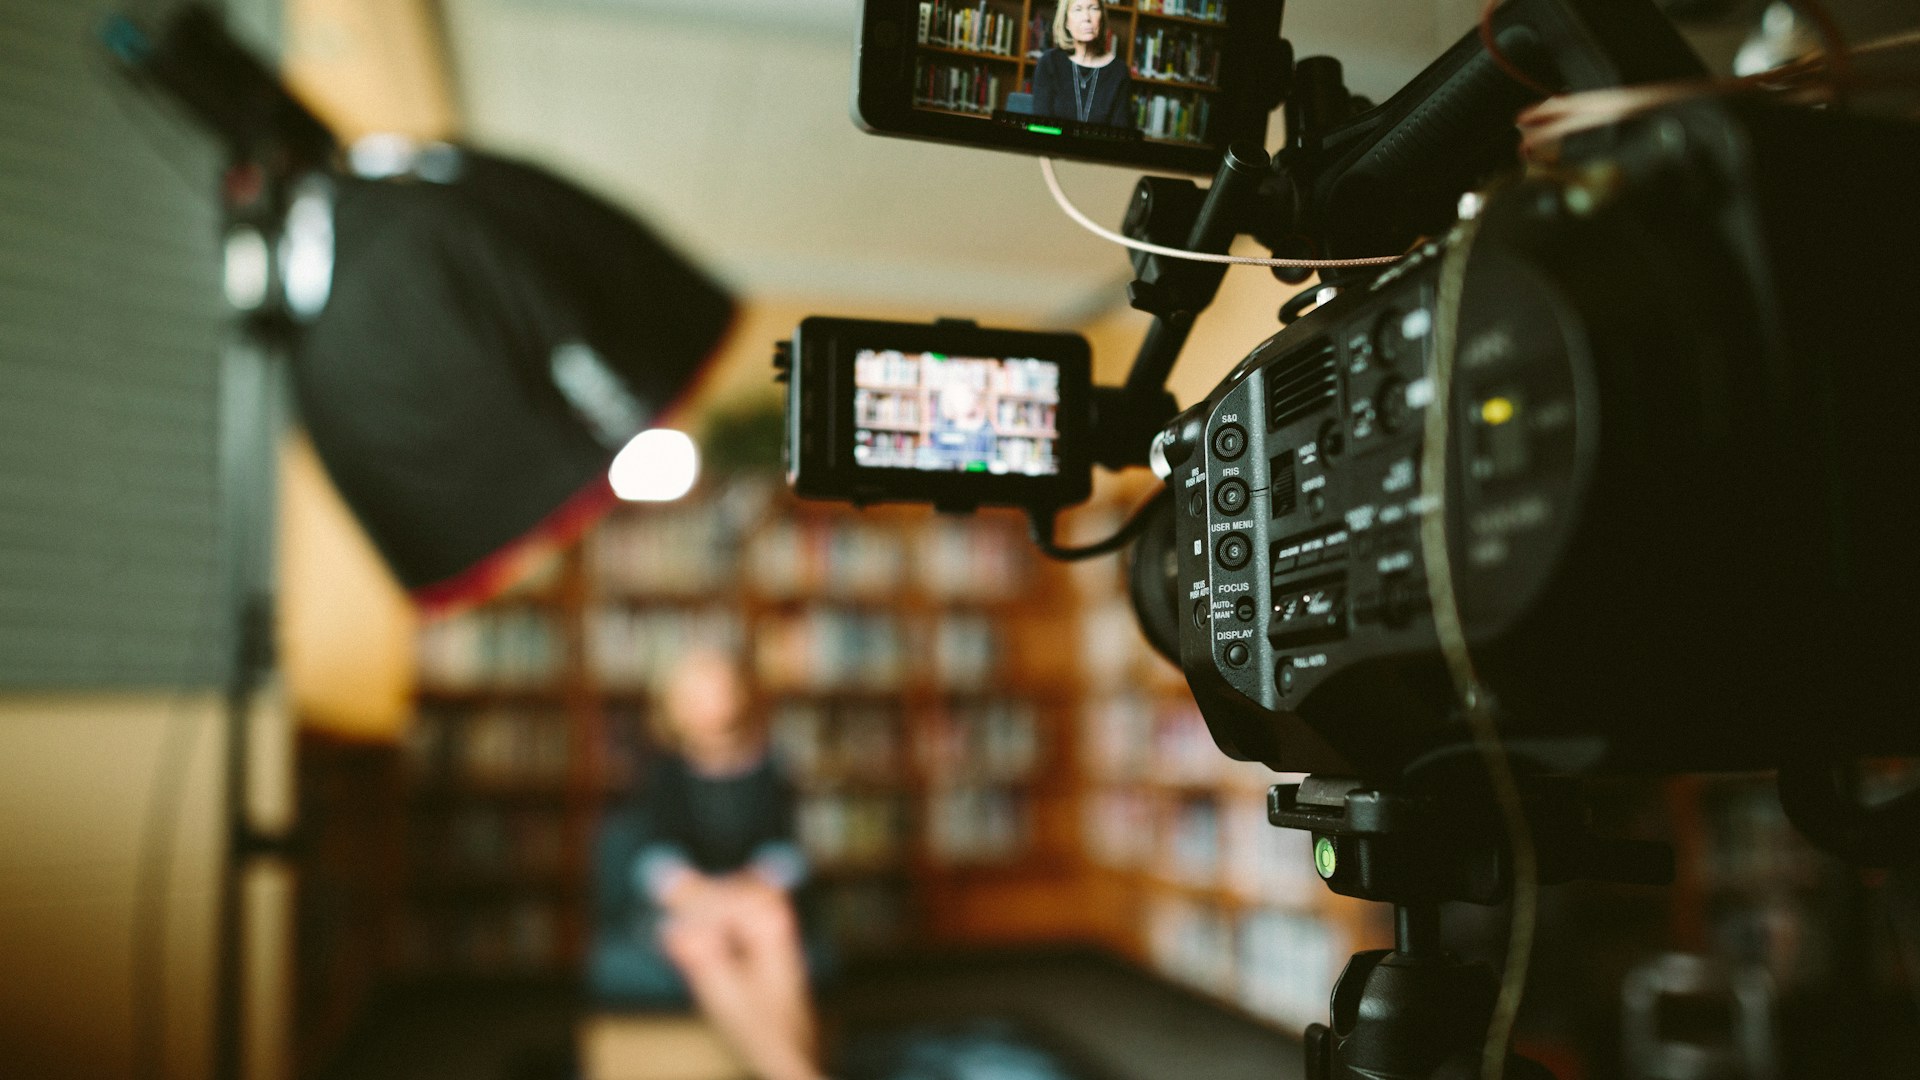
- High-quality production: Invest in high-quality production values, including good visuals, clear audio, and smooth editing. Attention to detail in lighting, framing, and composition can also significantly enhance the overall impact of your video.
- Authenticity and personality: Infuse your video with authenticity and personality to make it relatable and memorable. Showcasing the human side of your content builds trust and connection with your audience.
- Call to action: Don't forget to include a clear call to action that moves your viewers to take the next step. This could be subscribing to your channel, visiting your website, or interacting with your content in some other way.
10 Tips to Make Your Videos (Much!) Better
Here are 12 practical suggestions to enhance the quality of your videos immediately. No matter if you're a beginner or a seasoned videographer, these strategies are designed to help. So, let's explore how things like getting better footage and working on your video editing can make a big difference.
Tips for Video Pre-Production
#1: Plan Your Content
Planning your video content helps you stay organized and focused and ensures that your final product conveys the message you want to convey.
For example, imagine you're making a video about cooking a delicious pasta dish. Before you start filming, you need to think about what you want to achieve with your video. Is it to teach people how to make pasta from scratch? Or maybe it's to showcase a unique sauce recipe? Defining your purpose upfront will guide every decision you make during production. Next, think about the main message you want to communicate. Do you want viewers to learn a specific cooking technique? Or perhaps you want to emphasize the importance of using fresh ingredients?
Once you've nailed down your purpose and message (and created a sort of template for your filmmaking), it's time to plan the sequence of your video. This is where storyboarding or creating a shot list comes in handy. For our pasta cooking video, you might sketch out scenes like gathering ingredients, chopping vegetables, boiling pasta, and finally, serving the dish. Each scene should logically connect to the next, creating a cohesive narrative that keeps viewers engaged.
#2: Choose the Right Location
Selecting the right location for your video shoot is like choosing the perfect backdrop for a painting. It sets the stage for your content and can greatly impact the overall quality of your video.
When picking a location, think about how it aligns with the message and tone of your video. For instance, if you're filming a cooking tutorial, a kitchen would be an appropriate setting as it provides the necessary props and atmosphere.
Lighting and sound quality are crucial aspects of any video, too. We'll cover these in the next section, but for now, let's say: Look for locations with good natural light or make an investment in artificial lighting equipment that can help you ensure your subjects are well-lit and easily visible. Also, pay attention to potential sources of background noise or distractions that could disrupt your filming.
#3: Script and Rehearse
Scripting and rehearsing are like preparing for a big presentation or performance. They help you deliver your message effectively and confidently.
Before you start filming, it's helpful to jot down your ideas in the form of a script or bullet points. This serves as a roadmap for your video, outlining what you want to say and the order in which you want to say it. For example, if you're making a video about your favorite book, your script might include key points in the intro, like the author's background, the plot summary, and your personal thoughts on the book.
Once you have a script or bullet points, it's time to practice delivering them. Try speaking your lines out loud multiple times until you feel comfortable and confident. You can even record yourself and listen back to identify areas for improvement.
The goal of rehearsing is to sound natural and confident on camera. You want to engage your audience and hold their attention, which is easier to do when you speak with conviction and clarity.
#4: Gather Necessary Equipment
Gathering the right equipment for your video shoot is like packing your backpack before a hiking trip—it ensures you have everything you need for a successful journey. Here are some of the components you will want to focus on for your YouTube videos:
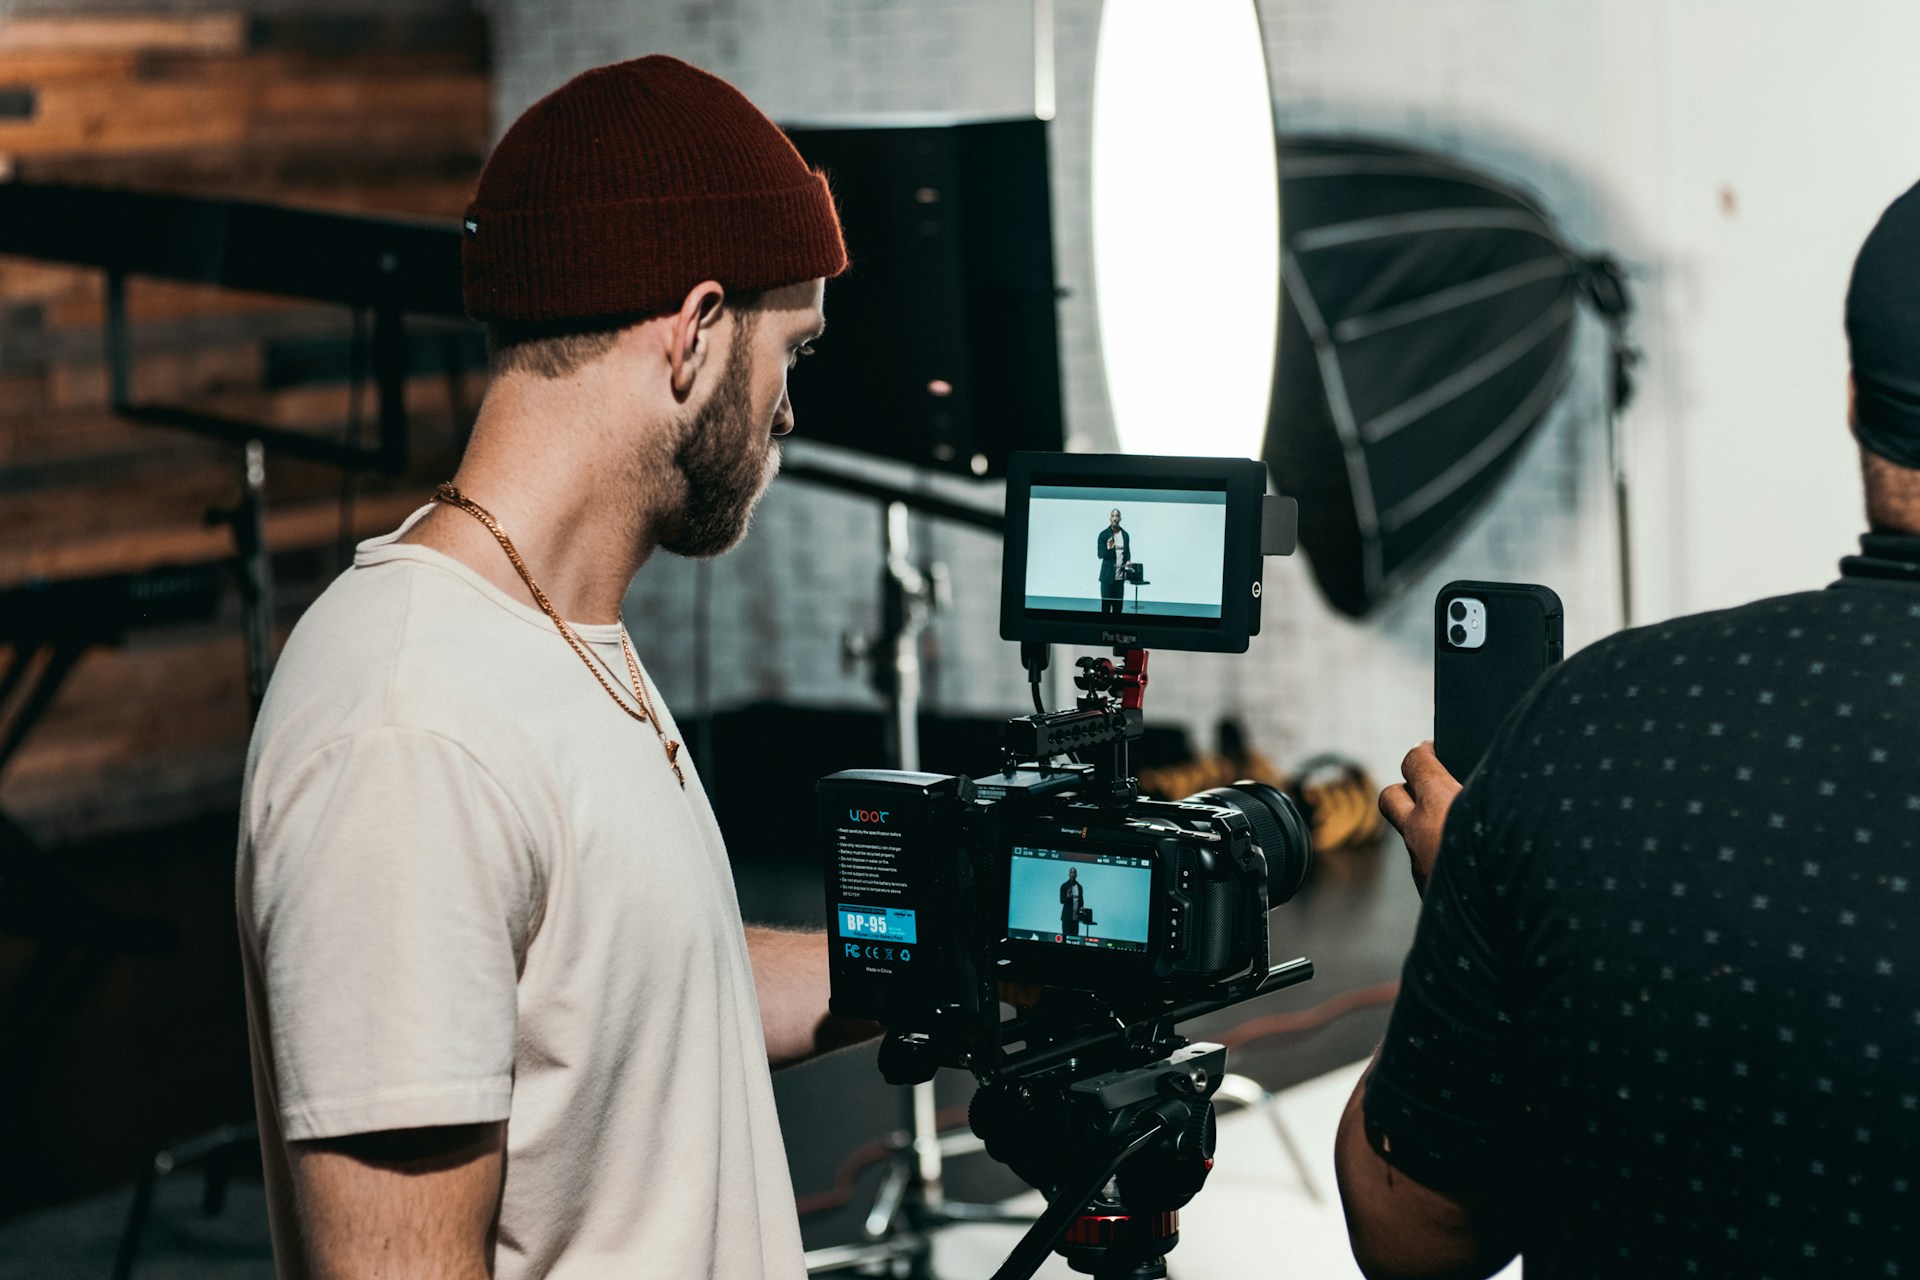
- Camera: The camera is the heart of your video production. When choosing one, consider factors like resolution, frame rate, and manual controls for adjusting settings like exposure and focus. For example, if you're filming a high-quality vlog, a DSLR camera with good video capabilities would be a great choice.
- Microphones: Good audio quality is just as important as clear video. Invest in a quality microphone to capture crisp and clear sound. There are various types of microphones available, including lavalier (clip-on), shotgun, and USB microphones.
- Lighting: Lighting can make or break the visual quality of your video. Ensure you have adequate lighting equipment to illuminate your subjects evenly and eliminate harsh shadows. You can use natural light from windows or invest in artificial lighting kits with softboxes or LED panels.
- Props and Accessories: Depending on your video content, you may need props or accessories to enhance your production. This could include items like tripods for stabilizing your camera, backdrops for creating a specific atmosphere, or costumes and makeup for actors.
- Test Equipment: Before you start filming, it's crucial to test your equipment to ensure everything is working properly. Check your camera settings, microphone connections, and lighting setup to avoid any technical issues during filming.
Tips for Video Production
#5: Focus on Lighting
Lighting plays a crucial role in making your video look polished and professional. It helps illuminate your subjects, adds depth to your scenes, and enhances visual clarity. Just like in photography, good lighting can make the difference between a dull, amateur-looking video and one that captivates your audience.
Natural light, such as sunlight, can be a great source of illumination for your video. It's soft, flattering, and free! If possible, position your subjects near windows or shoot outdoors during the day to take advantage of natural light. However, natural light can be unpredictable, so it's essential to plan your shoot around the time of day when you'll have the best light.
If natural light isn't available or reliable for your shoot, investing in artificial lighting equipment is worth considering. There are various types of lighting fixtures available, including LED panels, softboxes, and ring lights. These tools allow you to control the intensity, direction, and quality of light to achieve the desired look for your video.
Just remember: Consistency is key when it comes to lighting your video. So, aim for even illumination across your scene to ensure all areas are properly lit, and there are no dark or overexposed spots.
#6: Capture Quality Audio
While it's easy to focus on the visual aspect of video production, clear audio is equally essential. Poor audio quality can distract viewers, making it difficult for them to understand your message or stay engaged with your content. Just imagine watching a movie with muffled dialogue or crackling sound effects—it would significantly diminish the viewing experience!
Built-in microphones on cameras or smartphones can capture sound, but they can also produce lower-quality audio compared to external microphones. So, investing in a good external microphone can make a world of difference in clarity and richness.
There are different kinds of external microphones you can use. For example, shotgun mics capture sound from a specific direction, while lavalier mics clip onto clothing for hands-free recording. For interviews, using a Lavalier mic on the person's clothing can give you clear and steady audio.
#7: Polish Your Camera Techniques
Camera techniques are like the paintbrush strokes that bring your video to life, adding depth, emotion, and visual interest to your shots. For example, changing the angle and framing of your shots can dramatically alter the mood of your video.
Try changing the way you film by trying different angles and movements. For example, you can film from up high, down low, or from above to make your shots more interesting. Also, think about how you frame your subjects, like using the rule of thirds or leading lines, to make your videos look better.
Moving the camera while filming can also add excitement, especially during transitions. You can try moving it from side to side (panning), up and down (tilting), following a person's movement (tracking), or moving closer or further away (dolly shots). These movements can make your videos feel more like a movie.
And remember, getting good at filming takes practice. Spend time trying out different angles, framing, and movements to see what looks best in your videos.
Tips for Video Post-Production
#8: Edit for Conciseness
When you edit your video, it's important to remove any parts that don't add value or contribute to your message. This could include long pauses, repetitive scenes, or footage that doesn't fit with the overall flow of your video. For example, if you're filming a cooking tutorial and there's a lengthy segment of stirring ingredients, you might trim it down to just the essential steps to keep the pace moving.
Try to keep your video concise and to the point. This means you should cut out any unnecessary fluff or filler content that might bore your viewers like rambling narration, off-topic tangents, or excessive detail. For instance, if you're filming a travel vlog and there's a section where you're waiting in line at the airport, you might shorten it to maintain the viewer's interest.
During filming, it's natural to have pauses, make mistakes, or encounter dull moments. However, during the editing process, you have the opportunity to clean up these imperfections and keep your video engaging. Trim out awkward pauses, edit out mistakes or retakes, and cut any segments that feel slow or uninteresting. For example, if you stumble over your words during a presentation, you can cut out the mistake and seamlessly blend the footage together to maintain continuity.
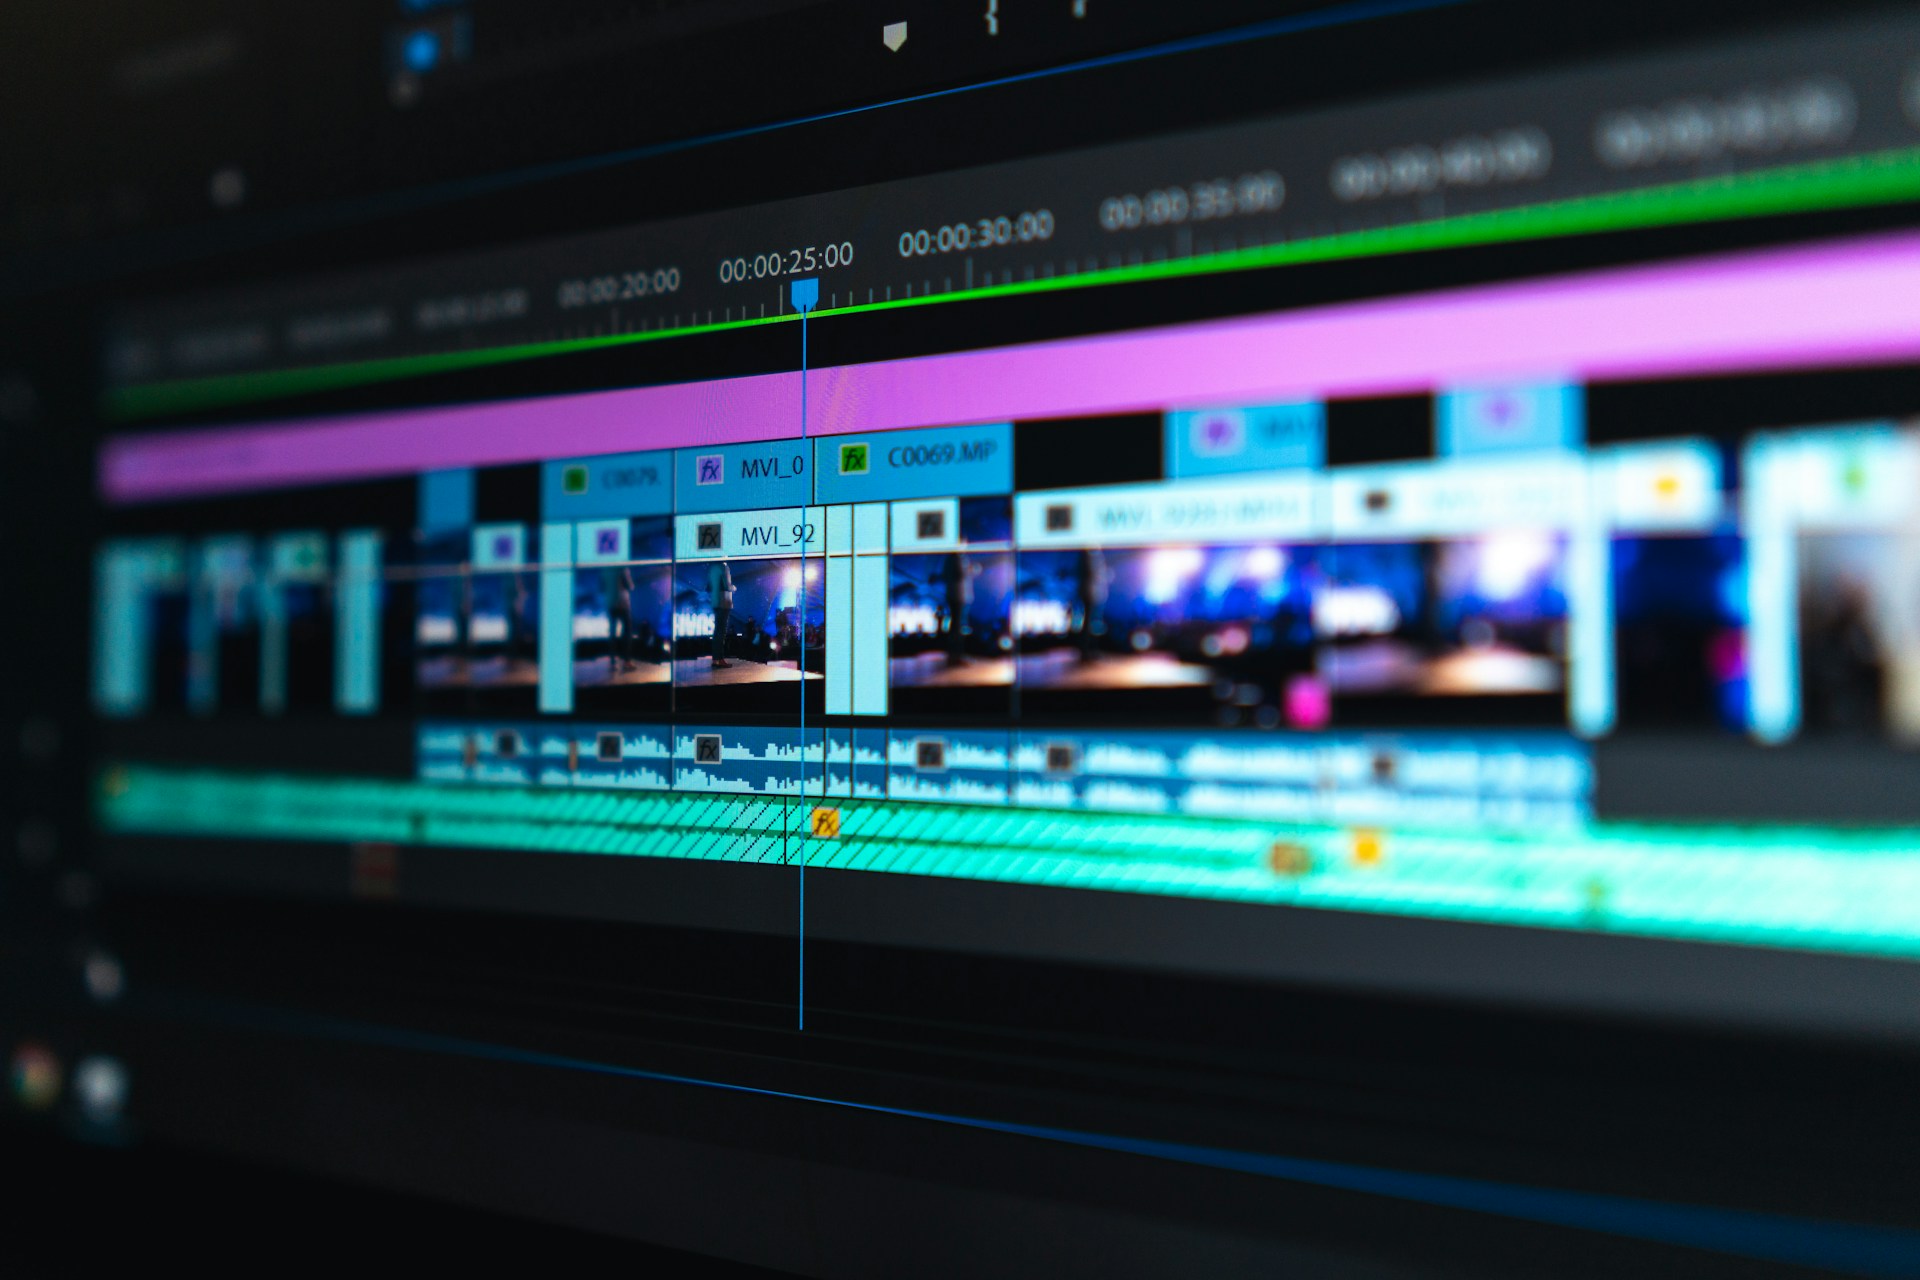
Lastly, remember to keep the pacing of your video dynamic. In other words, aim to keep the energy level consistent throughout your video by alternating between different shots, angles, and scenes. You can do this by using transitions, music, and visual effects to smooth out any abrupt cuts and maintain a cohesive flow.
#9: Enhance Visuals and Audio
Editing software allows you to tweak the colors, contrast, and brightness of your video to make it look more vibrant and appealing. For example, if your video looks too dark, you can increase the brightness to make it easier to see. Similarly, adjusting the contrast can make the colors pop and add depth to your visuals. Think of it like adjusting the settings on a camera to capture the perfect shot.
Filters and effects can enhance the mood or style of your video, adding a creative touch to your content. For instance, you can apply a vintage filter to give your video a nostalgic feel or add a blur effect to create a dreamy atmosphere. Experiment with different filters and effects to find the ones that best complement your content and convey the desired emotion or tone. In addition to improving visual quality, it's important to pay attention to audio levels to ensure a well-rounded viewing experience. Adjust the volume levels of your audio tracks to balance dialogue, background music, and sound effects.
For example, you might lower the volume of background music during dialogue to ensure clear communication or adjust the volume of sound effects to match the action on screen. You should also choose music that fits the mood and tone of your video, whether it's upbeat and energetic or calm and contemplative.
#10: Add Text and Graphics
Adding text and graphics to your video can help you enhance the message and make it much more engaging. For instance, here are some of the elements you can add to your explainer video or any other type of video content to help it connect more with your target audience:
- Text overlays: Text overlays are like subtitles that appear on the screen to convey information or highlight key points. You can use them to introduce a new topic, provide additional context, or emphasize important information. For example, if you're creating a tutorial video, you might use text overlays to list the steps of a process or explain complicated concepts in simpler terms.
- Graphics: Graphics are visual elements like icons, charts, or diagrams that help illustrate your ideas and make them easier to understand. They can add visual interest to your video and reinforce your message. For instance, if you're discussing statistics or data, you might use a graph or chart to visually represent the information and make it more digestible for your audience.
- Animations: Animations are moving images or illustrations that bring your content to life. They can be used to add a dynamic element to your video and make it more engaging. For example, you might use animations to demonstrate a process or show the evolution of a concept over time. Keep animations simple and purposeful, avoiding excessive movement or distractions that could overwhelm the viewer.
- Legibility and Complementarity: When adding text and graphics to your video, it's important to ensure that they are legible and complement your content without overpowering it. Choose fonts that are easy to read, and avoid using text that is too small or blends into the background. Similarly, select graphics that enhance your message and align with your overall aesthetic without distracting from the main focus of your video.
Promoting Your Video or Video Podcast
Social media platforms like Facebook, Instagram, Twitter, and TikTok are powerful tools for promoting your video. So, after you’ve worked so hard on making your videos look great... it’s time to share them!
Make sure your video is optimized for search engines like Google and YouTube by using relevant keywords in your title, description, and tags. This will help your video rank higher in search results and make it easier for people to find. Collaborating with other content creators or influencers in your niche can also help expose your video to a wider audience. So, consider reaching out to like-minded creators for collaborations, shoutouts, or guest appearances in each other's videos, and cross-promote your video across different platforms and mediums to maximize exposure.
Don’t forget to also engage with your audience by responding to comments, asking for feedback, and encouraging discussion around your video. Building a good and solid relationship with your audience can encourage them to share your content with others and foster loyalty.
Conclusion
If you’re looking for the easiest way to record and stream your video content, we can help. StreamYard is a professional recording and live-streaming studio that runs directly on your browser. What’s even better is that you can automatically share your content to multiple platforms, all from the same location.
The greater the professionalism of your videos, the greater the benefit to your brand. With StreamYard, you can:
- Live stream, record, and share your videos to multiple platforms simultaneously.
- Effortlessly invite guests to join your stream.
- Create videos that reflect your brand and maintain a professional appearance.
- Engage with your audience by displaying comments on screen.
While creating professional-looking videos requires practice and knowledge, it doesn't require years of study or magical abilities. Get started with StreamYard for free today!