Geschrieben von Will Tucker
So zeichnest du deinen Bildschirm auf und lädst ihn auf YouTube hoch (Schneller, einfacher Workflow mit StreamYard)
Letzte Aktualisierung: 2026-01-15
Für die meisten Menschen in Deutschland ist der einfachste Weg, den eigenen Bildschirm aufzuzeichnen und auf YouTube zu bringen, das Browser-Studio von StreamYard zu nutzen und anschließend direkt auf den Kanal zu veröffentlichen oder die Aufnahme herunterzuladen und manuell hochzuladen. Wenn du eine umfangreiche lokale Aufnahme oder schnelle asynchrone Clips benötigst, kannst du Tools wie OBS oder Loom zusätzlich – oder ergänzend – zu diesem Kern-Workflow verwenden.
Zusammenfassung
- Zeichne Bildschirm, Mikrofon und Kamera gemeinsam in einem StreamYard-Studio auf und exportiere oder veröffentliche direkt auf YouTube.
- Nutze Layouts, Overlays und Moderationsnotizen, damit dein Tutorial wie eine produzierte Sendung wirkt – und nicht wie ein roher Bildschirmmitschnitt.
- Für lange oder Multi-Gast-Sessions empfiehlt sich eine Kombination aus Cloud- und lokalen Mehrspuraufnahmen, die du anschließend bearbeiten und hochladen kannst.
- Nutze OBS für tiefgreifende lokale Kontrolle und Loom für schnelle asynchrone Clips – aber setze auf StreamYard, wenn du Geschwindigkeit, Zuverlässigkeit und YouTube-fertige Ergebnisse möchtest.
Wie zeichnest du deinen Bildschirm in StreamYard auf?
Stell dir StreamYard als ein Live-Studio vor, das du auch dann nutzen kannst, wenn du nicht live gehst. Du trittst über deinen Browser bei, richtest deine Szene ein, klickst auf Aufzeichnen und alles – Bildschirm, Mikrofon und Kamera – wird an einem Ort erfasst.
Grundlegender Workflow:
- Erstelle ein Aufnahmestudio: Melde dich bei StreamYard an und erstelle eine neue Aufnahmesession (du musst nicht "live" auswählen).
- Wähle Eingänge: Wähle dein Mikrofon und deine Kamera, damit Stimme und Gesicht neben dem Bildschirm bereit sind.
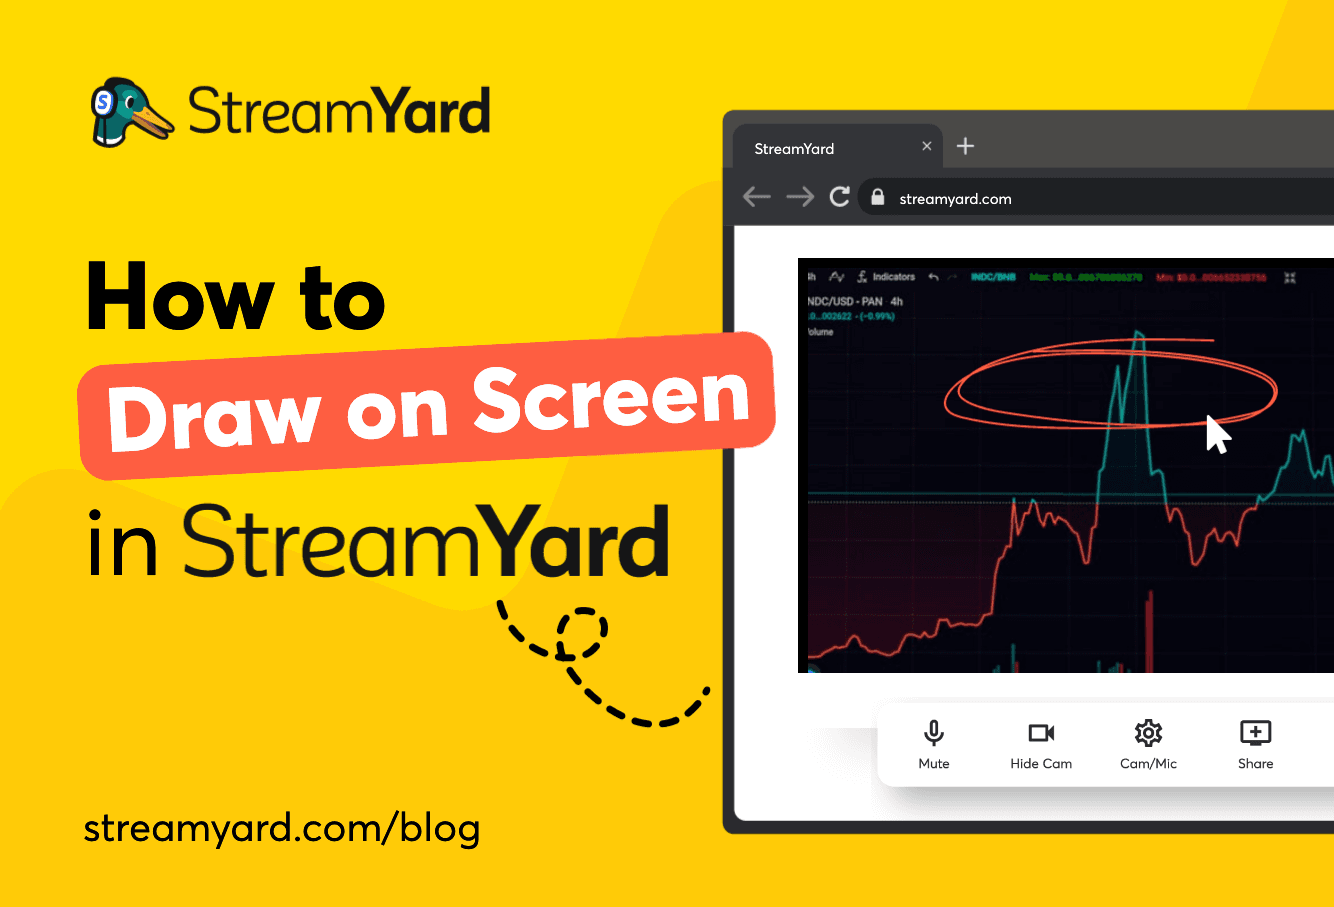
- Teile deinen Bildschirm: Klicke auf den Bildschirm teilen-Button und wähle ein Fenster, einen Browser-Tab oder deinen gesamten Bildschirm. Sowohl Hosts als auch Gäste können während einer Aufnahme oder eines Livestreams ihren Bildschirm teilen. (StreamYard Help Center)
- Lege dein Layout fest: Ordne Bildschirm und Kamera mit den StreamYard-Layouts so an, dass Zuschauer sowohl Demo als auch Moderator klar sehen.
- Steuere den Ton: Passe Systemaudio und Mikrofon an oder schalte sie stumm und entscheide, wann was für die Aufnahme aktiv ist.
- Aufzeichnen: Mit einem Klick auf Aufzeichnen nimmt StreamYard Bildschirm, Kamera, Overlays und Audio gemeinsam auf.
Das alles läuft im Browser – du sparst dir also die typische Installations- und Konfigurationsrunde von Desktop-Tools und es funktioniert problemlos auf gängigen Laptops.
Was macht StreamYard stark für YouTube-fertige Bildschirmaufnahmen?
StreamYard ist für moderierte Inhalte gebaut und passt daher perfekt zu YouTube-Tutorials, Walkthroughs und Produktdemos.
Wichtige Funktionen für YouTube-Videos:
- Layouts für Moderatoren: Du siehst genau, wie Bildschirm und Kamera für Zuschauer erscheinen, und kannst das Layout live wechseln – statt alles nachträglich zu korrigieren.
- Unabhängige Audiosteuerung: Bildschirm- und Mikrofonton lassen sich separat regeln, damit Hintergrundmusik oder App-Sounds deine Stimme nicht überlagern.
- Lokale Mehrspuraufnahmen: In allen Tarifen unterstützt StreamYard die lokale Aufnahme jedes Teilnehmers – du erhältst separate Audio-/Videodateien für die Nachbearbeitung und späteren Upload zu YouTube. (StreamYard Help Center)
- Quer- und Hochformat in einer Session: Du kannst deine Szene für horizontale YouTube-Inhalte gestalten und trotzdem Assets für Shorts oder vertikale Clips aufnehmen.
- Live-Branding während der Aufnahme: Füge Overlays, Logos und Bauchbinden direkt hinzu – so sind viele YouTube-typische Visuals schon vor dem Schnitt integriert.
- Moderationsnotizen und Multi-Teilnehmer-Sharing: Behalte private Notizen nur für dich sichtbar und ermögliche mehreren Teilnehmern, ihren Bildschirm bei einer gemeinsamen Demo zu teilen.
Für die meisten Creator bedeutet das: Du erhältst ein professionelles YouTube-Video mit weniger Schritten – oft kannst du auf eine aufwändige Nachbearbeitung sogar ganz verzichten.
Wie gelangst du von der StreamYard-Aufnahme zum veröffentlichten YouTube-Video?
Nach der Bildschirmaufnahme in StreamYard hast du zwei Hauptwege: direkt veröffentlichen auf YouTube aus StreamYard heraus oder herunterladen und manuell hochladen.
Option 1: Direkt auf YouTube veröffentlichen (bis zu 2 Stunden)
StreamYard ermöglicht es dir, Aufnahmen in horizontale Videos bis zu 2 Stunden zu schneiden und direkt auf deinen YouTube-Kanal zu veröffentlichen. (StreamYard Help Center)
Typischer Ablauf:
- Öffne deine Aufnahme in StreamYard.
- Schneide und optimiere: Entferne Leerlauf am Anfang/Ende, passe Segmente an und bestätige deine Layout-Entscheidungen.
- Wähle YouTube als Ziel: Verbinde deinen Kanal (falls noch nicht geschehen), wähle Titel, Beschreibung, Thumbnail und Sichtbarkeit.
- Veröffentlichen: StreamYard übernimmt den Upload im Hintergrund auf deinen Kanal.
Dieser Weg ist ideal, wenn dein Bildschirm-Tutorial unter zwei Stunden bleibt und du von der Aufnahme bis zur Veröffentlichung alles in einem Tool erledigen möchtest.
Option 2: Herunterladen und auf YouTube hochladen
Ist dein Video länger als zwei Stunden oder möchtest du es extern weiter bearbeiten, kannst du die Dateien einfach herunterladen. Bei Aufnahmen über zwei Stunden lädst du die Datei von StreamYard herunter und anschließend direkt über YouTube Studio hoch. (StreamYard Help Center)
Da die lokale Aufnahme separate Spuren pro Teilnehmer liefert, kannst du:
- Audio in einem Editor wie Audition oder Audacity nachbearbeiten.
- Bildschirmaufnahmen neu rahmen oder zuschneiden.
- Die finale Datei exportieren und wie gewohnt auf YouTube hochladen.
Viele Teams nutzen diesen Workflow, wenn sie sowohl Live-Charakter als auch volle Kontrolle in der Nachbearbeitung wünschen.
Wie kannst du voraufgezeichnete Videos in StreamYard für YouTube verwenden?
Manchmal hast du bereits eine Bildschirmaufnahme – vielleicht aus einer anderen App – oder möchtest ein fertiges Video als "Live"-Event auf YouTube planen.
StreamYard unterstützt voraufgezeichnetes Streaming: Du lädst eine Datei hoch oder wählst eine frühere Übertragung/Aufnahme in StreamYard, wählst YouTube als Ziel und StreamYard spielt das Video zum geplanten Zeitpunkt als Livestream ab. (StreamYard Help Center)
Wichtige Punkte für diesen Workflow:
- Du kannst eine Datei von deinem Computer wählen oder eine frühere StreamYard-Aufnahme wiederverwenden.
- In kostenpflichtigen Tarifen werden voraufgezeichnete Übertragungen mit bis zu 1080p gestreamt – das entspricht der üblichen YouTube-Qualität für lange Videos. (StreamYard Help Center)
- Für dein Publikum wirkt es wie ein Livestream mit Chat und Interaktion, auch wenn du das Video vorher aufgenommen hast.
Das ist ideal, wenn du die Reichweite und Interaktion eines YouTube-Live-Events möchtest – aber ohne das Risiko von Demo-Pannen oder Live-Fehlern.
Wann solltest du OBS oder Loom statt (oder zusätzlich zu) StreamYard nutzen?
Je nach Workflow gibt es gute Gründe, ein weiteres Tool einzusetzen.
OBS für umfangreiche lokale Aufnahmen und technische Kontrolle
OBS ist eine kostenlose Open-Source-Software für Videoaufzeichnung und Livestreaming auf Windows, macOS und Linux. Sie unterstützt Multi-Quellen-Szenen (Bildschirm, Fenster, Bilder, Webcams, Capture Cards) und bietet dir präzise Kontrolle über Encoding und Formate. (OBS Studio)
Wann OBS sinnvoll ist:
- Intensive Gameplay- oder grafiklastige Demos, bei denen du Bitraten und Codecs exakt einstellen möchtest.
- Komplexe Szenenaufbauten mit vielen übereinanderliegenden Quellen.
Nachteile:
- Du musst OBS auf jedem Rechner installieren und konfigurieren, die Lernkurve ist steil; selbst die Doku empfiehlt, den Auto-Konfigurationsassistenten zu nutzen. (OBS Help)
- Qualität und Zuverlässigkeit hängen komplett von deiner Hardware und den Einstellungen ab; es gibt kein automatisches Cloud-Backup.
Viele Creator nehmen weiterhin mit OBS auf, importieren die Dateien dann aber in StreamYard für gebrandete voraufgezeichnete Streams, Multi-Gast-Segmente oder Kollaborationsshows.
Loom für schnelle asynchrone Clips und Link-Sharing
Loom ist auf schnelle, asynchrone Aufnahmen ausgerichtet – nicht auf komplette Produktionen. Der YouTube-orientierte Bildschirmrecorder ermöglicht dir, Bildschirm mit Ton und optionaler Kamera aufzunehmen – je nach Tarif bis zu 4K-Auflösung. (Loom YouTube Screen Recorder)
Wann Loom gut passt:
- Kurze Walkthroughs oder Feedback-Videos, bei denen du hauptsächlich einen Link verschickst.
- Interne Kommunikation, nicht unbedingt öffentliche YouTube-Kanäle.
Mit Loom teilst du Aufnahmen sofort per URL, statt sie erst auf YouTube hochzuladen – kannst sie aber auch herunterladen und manuell hochladen, wenn nötig. (Loom YouTube Screen Recorder)
Im Vergleich zu StreamYard ist Loom leichter für Einzel-Clips, aber nicht als Studio für Multi-Teilnehmer-Layouts, Livestreaming oder integrierte YouTube-Veröffentlichung gedacht.
Wie sieht der Preisvergleich aus, wenn Teams viel YouTube-Content aufnehmen?
Für Teams in Deutschland, die regelmäßig Bildschirm-Content aufnehmen, ist die Preisstruktur genauso wichtig wie die Funktionen.
- Bei StreamYard werden die Tarife pro Workspace abgerechnet, nicht pro Nutzer. Das heißt, mehrere Creator können unter einem Abo YouTube-fertige Inhalte aufnehmen und produzieren – meist günstiger für Teams als Einzelplatz-Lizenzen.
- Looms Preise gelten pro Nutzer und Monat, mit Tarifen für unbegrenzte Aufnahmen und KI-Features pro Person. (Loom Pricing)
Wenn mehrere Personen Bildschirm-Tutorials, Demos oder Webinare für euren Kanal aufnehmen, skaliert ein Workspace-basiertes Abo meist besser als Einzelabrechnung pro Recorder.
Unsere Empfehlung
- Standardweg: Nutze StreamYard, um Bildschirm, Mikrofon und Kamera im Browser-Studio aufzuzeichnen und veröffentliche direkt auf YouTube (für Videos bis zu zwei Stunden) oder lade die Aufnahme herunter und lade sie manuell hoch.
- Für Live-Premieren: Nimm vorab in StreamYard auf und nutze voraufgezeichnetes Streaming, um das Video als geplanten YouTube-Livestream auszustrahlen.
- Für Spezialfälle: Ergänze OBS, wenn du wirklich tiefgreifende Encoder-Kontrolle auf leistungsstarker Hardware brauchst, oder Loom, wenn du schnelle Link-basierte Clips benötigst – aber nicht als Haupt-Produktionslösung für YouTube.
- Starte einfach: Wenn du nicht weißt, wo du anfangen sollst, richte eine StreamYard-Bildschirmaufnahme ein, lade ein Video zu YouTube hoch und erweitere dein Toolset erst, wenn du diesen Basis-Workflow ausgeschöpft hast.