Written by StreamYard
How To Place A Lavalier Mic (To Get the Best Sound)
A lavalier microphone looks cool. In fact, it’s a great piece of audio equipment for live streamers looking for a mic that’s inconspicuous, yet effective. Thanks to a lav, you can close-mike your voice and level up your broadcasts with hands-free operation. However, placing it can be tricky. In this guide, you’ll learn how to place a lavalier mic along with some tips and tricks!
What is a Lavalier Mic?
A lavalier or lapel mic is a small, portable mic with a clip that can be attached to clothing.
Unlike a USB mic or an XLR mic, a lav is discreet enough to help you amplify the sound in your broadcasts without distracting your viewers.
Types of Lavalier Mics
There are two types of lav mics:
Wired Lavalier Microphone
Well, as you can guess from the name, a wired lavalier microphone comes with a wire. And it’s usually more affordable and easier to use than its wireless counterpart. All you need to do is to attach the microphone to the desired place and plug the cable into the camera or recording equipment. There are extension cables available if the mic’s cable is too short to enable hassle-free use.
Wireless Lavalier Microphone
When it comes to a wireless lavalier microphone, you need a transmitter pack to make it work. The cable here is plugged into the transmitter, which can be hidden inside a pocket or fixed to a belt.
If you're in need of a new mic, check out these lavalier mics.
Where to Place a Lavalier Microphone
Learning how to place a lavalier mic is important. But so is understanding where to place it. Luckily, there are a number of options available. Here are some common placements that you can try to find out what works the best for you:
1. On Clothing
Clothing is certainly one of the most preferred choices for placing a lav. And you can try different placements as mentioned below:
The Collarbone Placement
Placing a lav mic on the collarbone is easy. Plus, it’s close to the mouth, and it looks chic too. See how Lisa Bilyeu wears a lav on her collarbone in this video.

The Collar Placement
Okay, so don’t get confused here. Placing a lapel mic on the collar is different from the collarbone. If you’re wearing a suit, sweater, or a collared shirt/t-shirt, then collar lav placement would be a great choice.
Just be careful that the mic stays at a distance from the mouth and doesn’t rub against the neck. Check out how Ellen DeGeneres wears a lavalier like a pro on her collar here:

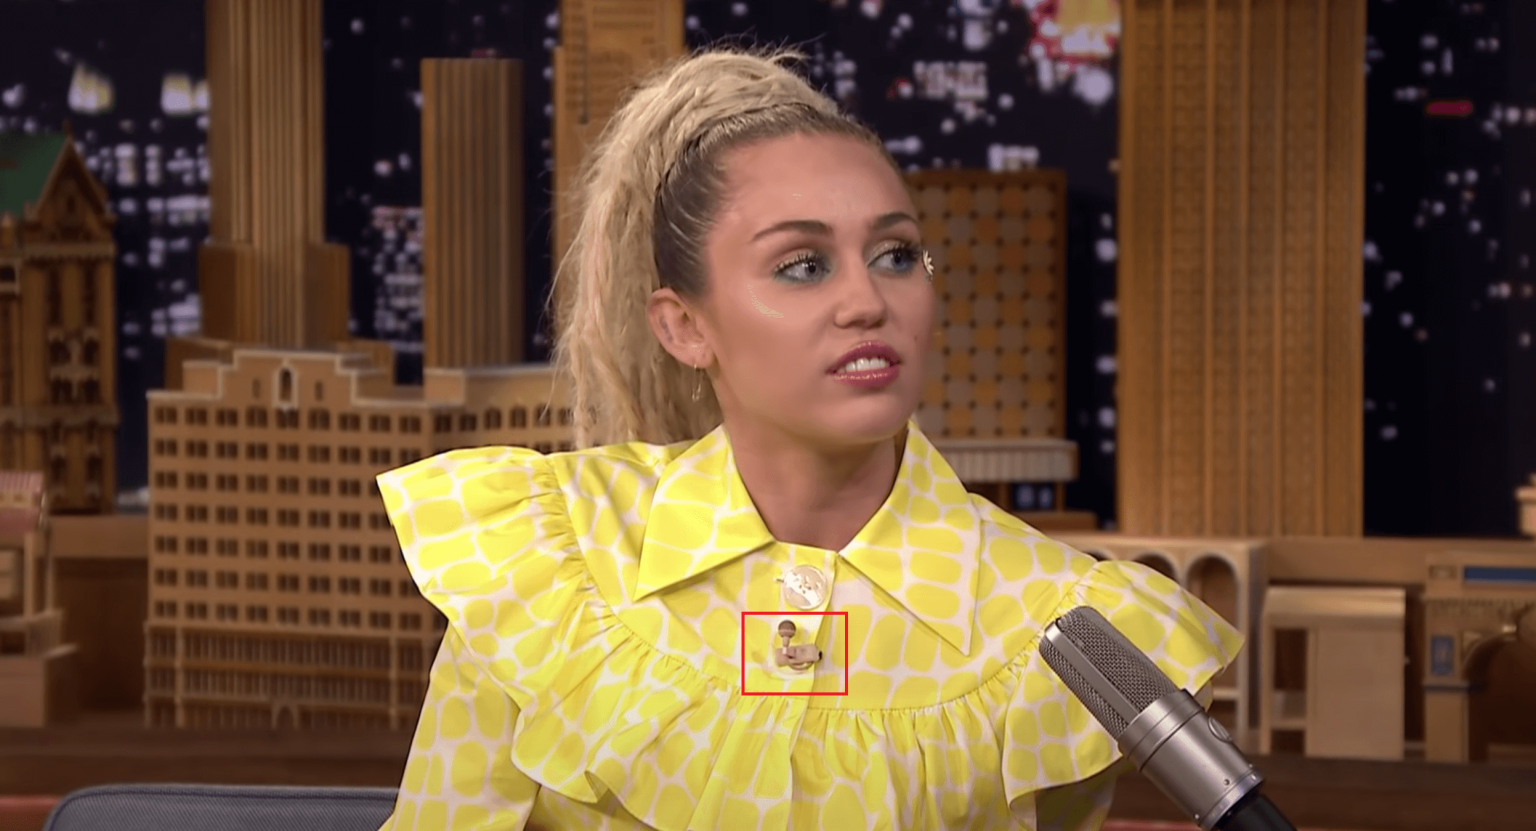
The Chest Placement
Another cool-looking, easy-to-setup lav placement is the chest lav. It works perfectly with ties, button-up shirts, and blouses. Just like Miley Cyrus can be seen wearing on The Tonight Show Starring Jimmy Fallon.
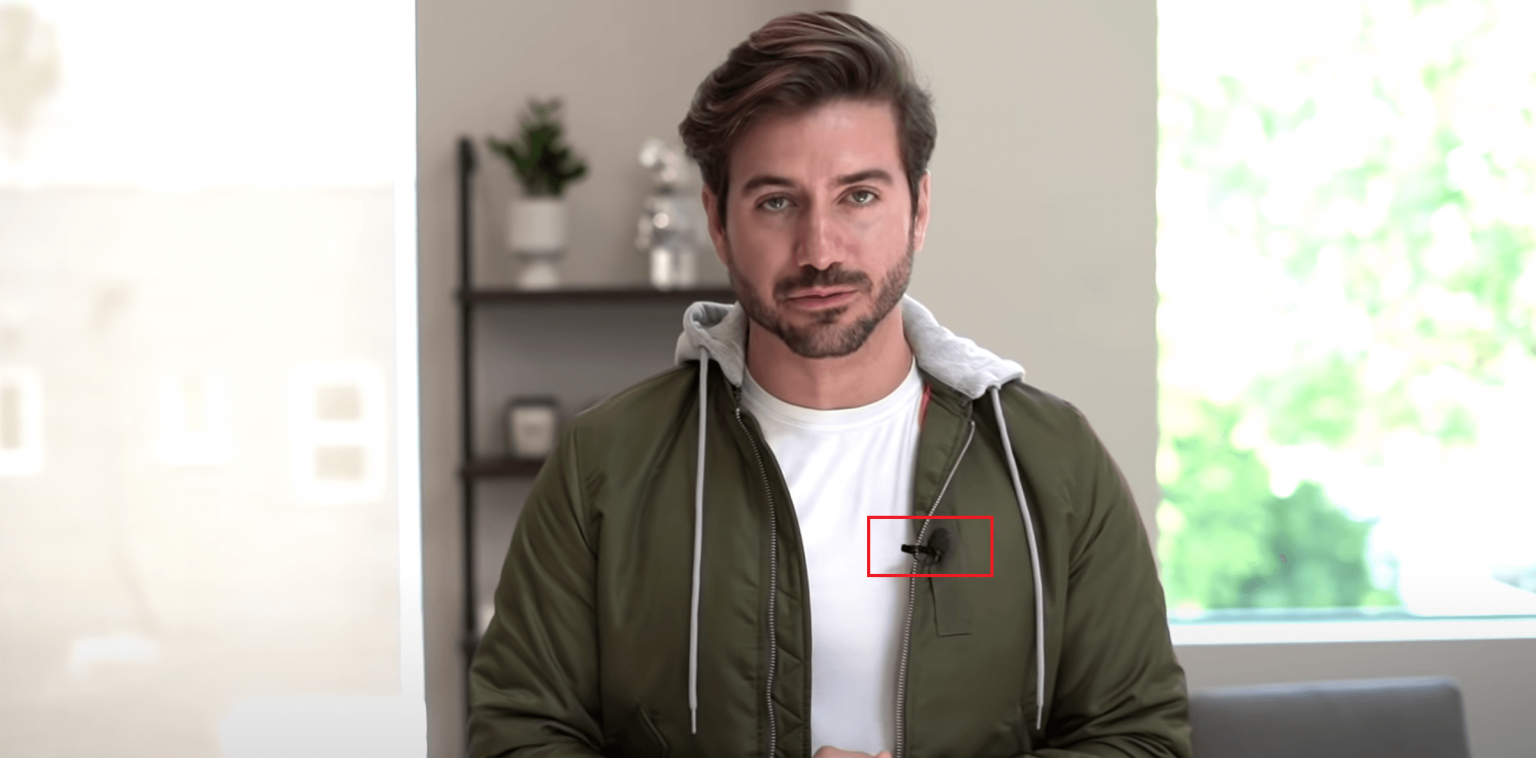
The Lapel Placement
This one is probably the placement that gave the lav its other name, the lapel mic. It involves clamping the mic to the lapel of a coat or jacket. See how Alex Costa has a lav on the lapel of his jacket in this video.
Pro Tip: While placing a lavalier mic on a jacket or any other piece of clothing that’s floppy, be very careful that it doesn’t interfere with the mic’s sound.
2. On the Ear
While a lapel mic works great on the lapel, you can also place it on the ear. The ear-mount ensures that the mic is near the mouth and stays in its place without the need for a tape or a boom. And to provide freedom of movement, it also stays behind the ear lobe.
Pro Tip: Pick a microphone color that matches your hair color for better camouflaging.
3. In Hair
In-hair lav placement is pretty common in film/television production and theatre. By attaching a lav mic within the hair or wig of the subject, you can keep it discreet and get decent sound quality as well. You can also sew a mic into a barrette, use it with bobby pins or elastic headbands. The options are many. You just have to make the right pick.
Pro Tip: To obtain good sound quality with an in-hair placement, choose an omnidirectional proximity lav mic.
4. On/Inside Stage Props
An excellent choice for stages, props can be used to hide lav mics. An important thing to note here is to ensure there are no or minimal physical barriers between the mic and the sound source.
Pro Tip: Pick a transparent lav mic to hide it better when you attach it to a stage prop.
Things To Consider While Attaching A Lavalier Microphone
For proper mounting, cable, and noise management, you may need various things to complement your lavalier microphone. So, before we discuss how to place a lavalier mic, let’s take a look at them:
Clips – Almost all lavalier microphones come with clips that hold the mic in place while they’re clamped to the clothing.
Tape – At times, attaching a mic clip may not seem like the best option. That’s when you can consider using tape. But be careful not to put it on the speaker’s skin and ensure that it doesn’t go over the capsule either. When it comes to picking the right tape, choose the one that doesn’t leave a residue. After all, nobody wants sticky clothes after a good broadcast, right?
Windscreens – Windscreens or fuzzy windscreens can keep lavs protected from strong winds. They are also good at reducing the rustling sound, which often results when a mic rubs against the clothing.
How To Place A Lavalier Mic?
Now, let's help you find out how to place a lavalier microphone with these five simple steps:
Step 1 – Begin by choosing a mic placement from the options discussed above.
Step 2 – Ensure that the mic is around eight inches away from your (the speaker's) chin to avoid breathing noises and plosives.
Pro Tip: If you are a heavy breather, try pointing. your lavalier microphone towards the floor.
Step 3 – Now attach the mic clip to the clothing or any other object/place where you want it to go. The mic should be appropriately placed to have an unobstructed path to your mouth.
Step 4 – Check the mic’s audio level by speaking normally.
Step 5 – Adjust the mic if needed.
Tips & Tricks of Using a Lavalier Mic
- Be cautious of your gestures: Placing your hand on the mic or your heart or clapping near the mic would amplify the sound. While these gestures may seem natural, they may create annoying sounds for your listeners.
- Mount it right: Another very important tip is to mount your mic on the outer-most layer of the clothing. Doing this ensures good quality sound because of reduced contact sound.
- Use accessories: Use clips, tape, pins, or anything that can help your mic stay in its place.
- Pick the perfect position: The ideal on-clothing mic position is mid-chest. Anything too high may affect the frequency response, and placing it too low may result in a lower audio level. The mic shouldn’t touch the clothing either and should point straight up toward the speaker’s mouth.
- Keep spare mics handy: No matter how much we may detest it, but the truth is that lav mics are fragile. Make-up, sweat, and constant pulling and plugging of cables and connectors may wear even the most robust of lavs. Although you must try to take good care of them, keep an extra mic accessible.
- Using a lav with a phone: If you want to use a lav with your phone, go for a mic with a dedicated TRRS 3.5mm headphone jack. A good example is the RØDE smartLav+.
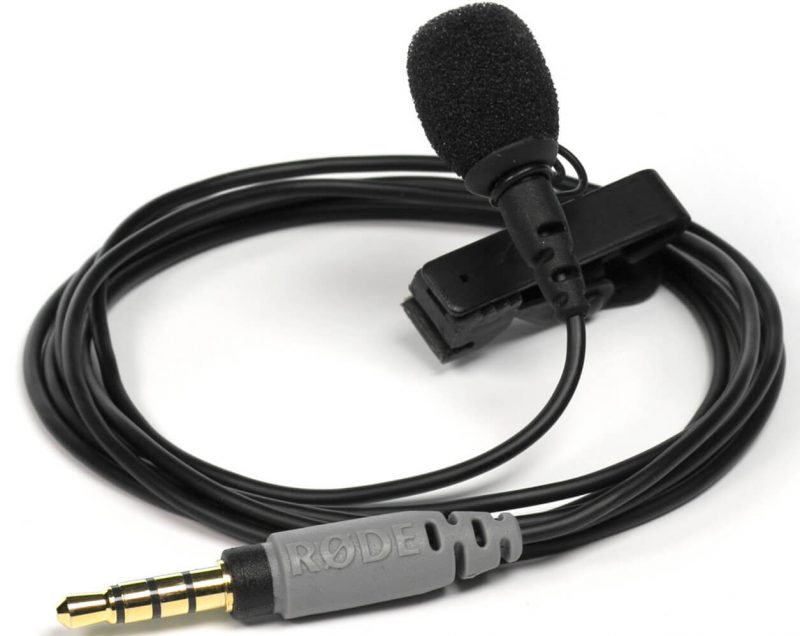 RØDE smartLav+
Conclusion
A lavalier mic is an excellent pick for live streams, interviews, or when you aren't going to move a lot but still need a discreet device to amplify sound.
We are hopeful that this guide would have helped you learn how to place a lavalier mic. To find out the best lavalier mics that you can get your hands on, read 12 Best Lavalier Mics For Live Streaming.
Do you want to know more about microphones in general and live streaming in particular? If so, then leave your comments below, and we’ll be happy to answer them all.