Written by Will Tucker
Screen Recording Apps for Quick Social Media Videos: StreamYard, Loom, and OBS Compared
Last updated: 2026-01-12
For most people creating quick social videos in the U.S., start with StreamYard’s browser-based studio to record your screen, camera, and guests, then spin those recordings into short, vertical clips. If you need highly technical local-only recording or ultra-simple async updates, tools like OBS or Loom can supplement that workflow.
Summary
- StreamYard gives you a browser-based recording studio with screen sharing, layouts, branding, and multi-track local files that are ideal for repurposing into short social clips. (StreamYard)
- Loom focuses on quick link-based screen + webcam recordings but caps its free Starter plan at 5 minutes and 25 videos. (Loom)
- OBS is a powerful, free desktop app with deep configuration, better suited to technical users who want full control over local screen capture. (OBS Studio)
- For most creators making frequent social clips, StreamYard’s layouts, local multi-track recording, and AI-powered clipping provide the smoothest path from idea to post. (StreamYard AI Clips)
What matters most for quick social media screen recordings?
When you search for “screen recording apps for quick social media videos,” you’re usually not trying to become a video engineer. You want:
- A tool you can open and understand in minutes
- Clear, presenter-led screen recordings (your face + your screen)
- Good audio without fiddling with codecs
- Fast ways to cut down and repurpose clips for Reels, Shorts, or TikTok
- Something that runs reliably on a typical laptop, not a tricked-out gaming PC
That’s why an in-browser studio like StreamYard is such a strong default: you get presenter-visible screen sharing, layouts, and branded overlays without installing heavy software, and you can reuse the same session output for horizontal and vertical formats. (StreamYard)
How does StreamYard handle screen recording for social videos?
At StreamYard, we built the studio around the way people actually present on camera, not just how they capture pixels on a screen.
Key capabilities that matter for quick social content:
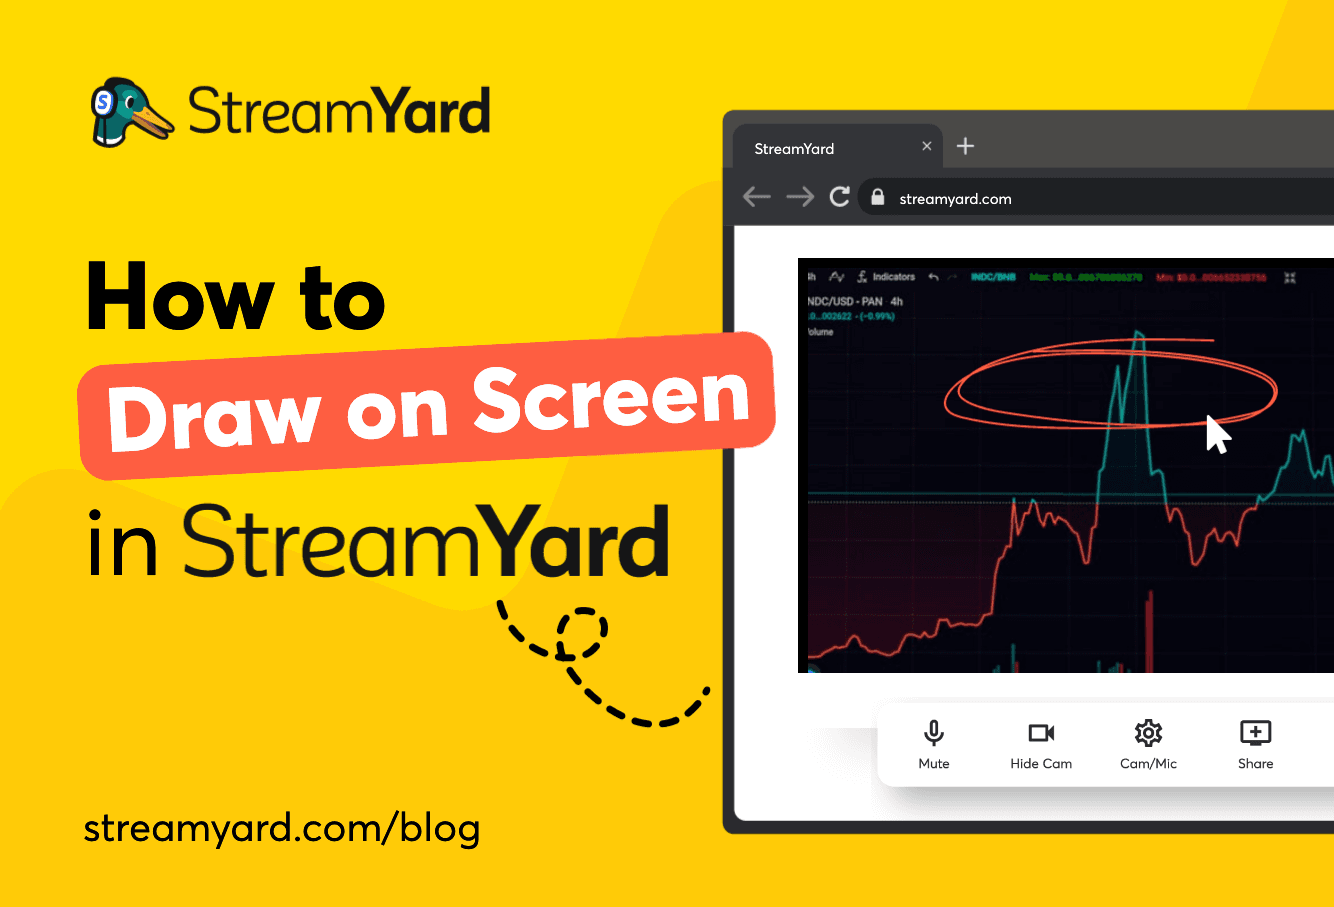
- Presenter-visible screen sharing. You can share your screen and immediately see how it looks in the layout while you talk through a walkthrough or tutorial. Hosts and guests are both able to share screens during recordings. (StreamYard Screen Sharing)
- Fully controllable layouts. You can swap between full-screen screen share, picture-in-picture with your camera, or grid views when multiple people are presenting, which lets you record one “master” session and later cut multiple clips from it.
- Independent control of audio. You can adjust screen audio and microphone audio separately, so loud app sounds don’t drown out your voice.
- Local multi-track recordings. On all plans, local recording can save separate audio and video files per participant, so you can fix talking-over moments or pull isolated clips in your editor later on. (StreamYard Local Recording)
- Both landscape and portrait outputs. From a single recording session, you can focus on a landscape layout for YouTube and then create vertical cutdowns for Shorts, Reels, and TikTok without having to re-record.
- Live branding during the recording. Overlays, logos, and on-screen text can be added as you present, reducing how much editing you need later.
- Presenter notes only you can see. You can keep talking points on screen without them appearing in the recording, which is ideal for snappy short-form explainers.
- Multi-participant screen sharing. Multiple teammates can share screens in the same studio, great for collaborative product demos that later become a series of social clips.
Because StreamYard runs in the browser, you avoid most of the hardware/config headaches that come with heavy desktop recorders while still recording in Full HD or even 4K local quality on paid plans. (StreamYard)
Which screen recorder works best for vertical (9:16) Reels and TikToks?
Vertical video is non-negotiable for social today, but recording everything in 9:16 from the start can feel cramped when you’re sharing a desktop screen.
A practical workflow many creators use with StreamYard is:
- Record in a clean 16:9 layout: your camera plus screen, framed so important content sits near the center.
- Download your recording and open it in your editor—or use AI tools—to crop to 9:16.
- Reframing the canvas lets you keep your face, key parts of the UI, or both, depending on the platform you’re publishing to.
StreamYard’s AI Clips feature accelerates this even more: it analyzes your recordings and automatically generates captioned shorts and reels that are ready for vertical feeds. (StreamYard AI Clips) Plan-based clip limits mean casual creators can experiment while heavier creators can generate more clips per recording.
Loom and OBS can also feed a vertical workflow, but in different ways:
- Loom is structured around sharing full recordings via links rather than slicing lots of social-native clips from a single long session. (Loom)
- OBS can record directly in vertical resolutions if you configure it, but you’re fully responsible for scene design and later editing.
For most people, capturing in StreamYard once and repurposing that session into multiple vertical clips is faster than managing per-platform recordings.
How can I create 15–60 second clips from a longer screen recording?
Think of your process in three steps: record smart, mark moments, and clip fast.
1. Record smart in a studio-style tool
In StreamYard, you can structure your session into chapters: intro, demo section A, demo section B, outro. Changing layouts and overlays at each stage gives you natural “edit points” that are easy to spot later in the timeline.
2. Mark moments as you go
Keep presenter notes with timestamps or quick headings (“Hook idea,” “Feature A wow moment”). Because those notes stay private to you, you can remind yourself in real time when you’re hitting a strong clip.
3. Clip fast with automation + light editing
StreamYard’s AI Clips can automatically surface highlight moments and turn them into short, captioned clips oriented toward short-form platforms. (StreamYard AI Clips) You can then refine those clips in your editor of choice, adjusting framing and duration to hit the 15–60 second sweet spot.
A simple scenario: you record a 20-minute screen walkthrough with Q&A in StreamYard. Afterward, you generate a handful of AI clips, pick the best 4–5, crop to vertical, and you’ve got a week of posts—with zero extra recording sessions.
How can I capture system audio during screen recording?
Capturing system audio (your computer’s sound) matters for software demos, music apps, or anything where sound is part of the story.
- In StreamYard, you can share a browser tab or application window with audio, and mix that independently from your microphone so viewers clearly hear both your commentary and the on-screen app.
- Loom’s screen + cam bubble recording includes system audio for app walkthroughs, with resolution and length depending on your plan. (Loom)
- OBS gives you full control over audio sources, but you’ll need to configure audio input/output capture manually.
For many creators, having straightforward controls for “mic” and “system sound” in a browser-based studio is far simpler than tuning multiple audio devices in a desktop encoder.
When should I use StreamYard, Loom, or OBS for short social videos?
Each tool lines up with a different mental model. Here’s a practical way to decide:
Use StreamYard when…
- You want a studio feel—layouts, branding, multiple participants—without the complexity of traditional production software.
- You care about high-quality recordings with separate local tracks you can reuse across platforms. (StreamYard Local Recording)
- You plan to turn one recording into many short clips over time.
Use Loom when…
- You mainly send quick, async updates or feedback inside a team.
- You’re okay with the Starter plan’s 5-minute and 25-video limits, or you’re on a paid plan that offers unlimited recording time and storage. (Loom Plans)
- Your end goal is a shareable link, not a heavily edited social campaign.
Use OBS when…
- You’re comfortable managing encoders, scenes, file formats, and local storage.
- You need deep control over recording format, bitrate, or multi-source compositions on your own hardware. (OBS Studio)
- You’re okay doing all the post-production and repurposing yourself.
A lot of creators actually combine tools: they record studio-style content in StreamYard for ease and quality, then occasionally use Loom for internal notes or OBS for specific advanced tasks.
How does pricing work when you’re recording as a team?
For solo creators, any of these tools can feel affordable. For teams, how pricing scales starts to matter.
- Loom charges per user, with a free Starter tier at $0 and Business from a per-user monthly price, so costs climb as more people on the team need to record. (Loom Pricing)
- OBS is free software, but each user must install and manage it locally. (OBS Studio)
- At StreamYard, pricing is per workspace rather than per user, which can be significantly more cost-effective when multiple collaborators are recording and producing content together. (StreamYard)
StreamYard also offers a free plan plus paid plans with a 7-day free trial and frequent special offers for new users, which makes it easy to test a full recording workflow before committing long term. (StreamYard)
What we recommend
- Start with StreamYard as your main screen recording “studio” for social, especially if you want to repurpose one session into many clips.
- Add Loom if your team relies heavily on quick async updates where a shareable link is the final product.
- Bring in OBS only if you have specific, advanced local-recording needs and the time to manage a more technical setup.
- Whichever mix you choose, design your workflow so one high-quality recording session can fuel weeks of social content, not just a single post.