

Written by StreamYard
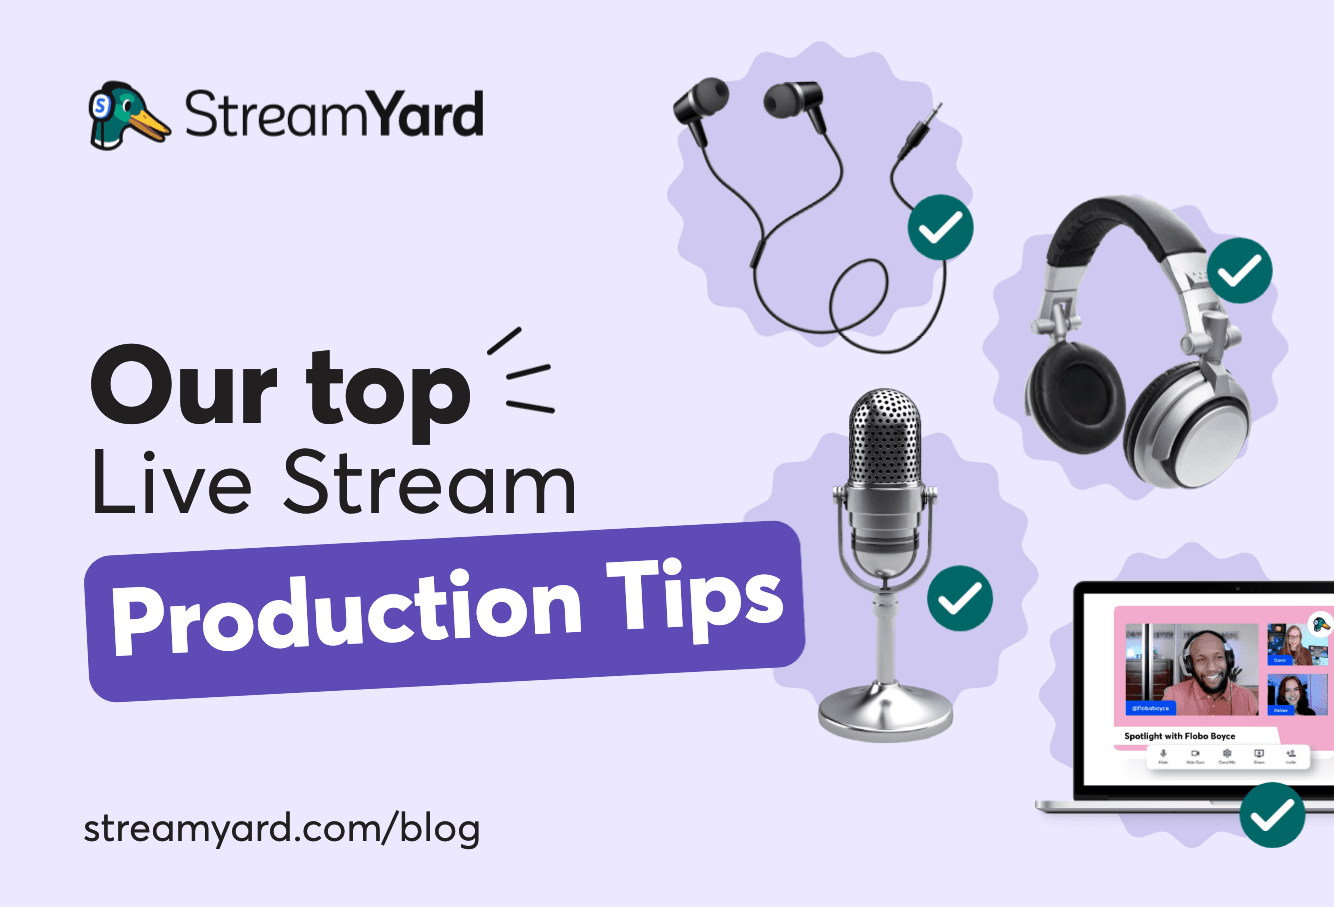
16 Live Stream Production Tips For Better Live Streams
With an opportunity for massive reach and audience engagement, live streaming is an excellent tool to share your message with others.
But as easy as it may seem, live stream production can vary from show to show. You need to learn some tricks of the trade to produce those perfect live broadcasts.
A Market Research Future (MRFR) report revealed that the global live streaming market size is expected to reach USD 247.27 billion by 2027. That's a huge number, proving just how important live streaming has become for creators and brands.
So to help you tap into the colossal power of live video, we bring you top live stream production tips from the pros.
16 Live Stream Production Tips To Increase Your Live Production Value
Tip #1: Hire a dedicated producer or think like one
One of the top live stream production tips is to hire a dedicated producer. Imagine, besides trying to look and sound your best on-screen and adding value to the content you're planning to deliver, running the entire production by yourself. It can be both stressful and hectic.
That's why, it's recommended to hire a dedicated producer to manage your live stream production. This way you can focus on being the on-screen talent.
However, if you can't hire a dedicated producer, think like one. Don't just go live and start rambling. Take care of the sound, the lighting, and the camera angles beforehand to have the least distractions during the live show.
Be sure that you indicate where a scene change is needed when creating your run of show. This makes it much easier when producing a live stream.
Because as odd as it may seem – looking and sounding great won't bring you success – taking care of the minutest details will do.
Tip #2: Keep it simple
Unless the live streaming setup is too extravagant to ignore, the golden rule for a hassle-free live stream production is to keep things simple. While having back-ups is essential, don't go overboard with equipment – the more you have to manage, the higher the chances of things going wrong.
So, only have the things you need to run the show – nothing less, nothing more. Instead of focusing on too many devices, focus on the host(s) and the guest(s) and the content. This is more important than having a lot of fancy backgrounds or overlays.
Spend time with your guests, helping them share their thoughts, promote their brands or ideas and drive the conversation down an engaging path.
Now, coming back to the backups. Keep a substitute for everything – from cables to cameras and even computers. This will help you focus on solving any problems that may arise, without having to start from square one if a particular device malfunctions.
Pro Tip: If you run into a technical issue, always try unplugging the cables before replacing any equipment. You'll often find that it was just a cable that went bad.
Tip #3: Prioritize planning
Before you go ahead and produce a live stream, plan it well. What would you need to produce the live broadcast, and when will you need it during the show? Figure it all and create a run of show (ROS) with cues for the entire live stream, along with information about what all equipment you'd need to produce the live broadcast and in what order.
Additionally, have a script ready if you're not a fan of spontaneity, in which case, you can also use a teleprompter.
And before you go live, ensure you perform a dry run with the guests and review the run of show to see how things will likely turn out during the stream.
Setup and test checklists can be your best friends. Apart from ensuring that you're on track, they will help you focus on the bigger things.
Also, don't forget to decide on all the creative assets you can get from the live video. Boomerangs, GIFs, memes, blog posts – you can create many assets by repurposing your live show and drive further engagement.
When all is said and done, plan an end time for the stream and try your best to stick to it.
Tip #4: Get a video switcher to add value to your live stream production
If you're using multiple cameras, one of the best live stream production tips is getting a video switcher to change angles quickly. It gives a break from the usual straight camera angle and adds to the production value. Sometimes you may want a view from behind or if you're demonstrating something, a top-down view.
In addition to choosing the right video switcher, it's essential to set it up beforehand, along with your camera angles.
Also, if possible, assign the responsibility of changing between angles to somebody who has all the information about the flow of the event.
While this person can be the live stream producer or the streamer, delegating this task to a third person can make the results more effective, make the stream look more dramatic, and reduce stress if you're also the on-screen talent.
Tip #5: Incorporate music
No matter how basic this step may seem, it's often the most overlooked, especially when you're focusing on other live stream production tasks. Whether you're producing a live Q&A or a webinar, no live stream is ever complete without music.
And that's why you must plan on incorporating the right music ahead of time. From choosing the right type of music (songs, stings, jingles, etc.) to figuring out where to incorporate it into the live stream – there's a lot that needs to be done when it comes to leveling up your live videos with music.
So, give due consideration to this aspect of your live stream production. It can significantly increase your live videos' production and entertainment value, which reducing dead air during your broadcast.
Tip #6: Focus on the lighting
If you're producing a live stream, you want to try and ensure that everyone has adequate lighting. It also helps to improve the quality of the camera. So focus on the lighting to make your live video more professional.
For example, you can invest in an LED ring light or even a full lighting kit, if your budget permits. There are several ways to fill light into your live stream location and prevent it from looking too dark.
If you have spare lamps, you can remove the shade to let more light into your scene.
And if you don't have the budget or the time to invest in any lighting equipment, make the best use of natural lighting. For example, a window with sunlight will look just fine. But ensure that the streamer sits in front of the window to avoid a silhouette effect.
Pro Tip: Avoid having a window behind you. This allows too much light into the scene and can confuse your camera. This can result in a blown out scene and make it hard to see you.
For speakers who wear glasses, taking care of the reflections is also necessary. In such a scenario, try using softer lights such as LEDs with diffusers to prevent glare, or place the light source far away from the speaker.
You can also try some of the tips mentioned in this helpful guide: How To Prevent Glare On Glasses When Live Streaming.
Here’s more on better lighting for live streams:
Tip #7: Have enough backups
Network issues, guest no-shows, audio stuttering, video lags – can affect the live experience. To try and reduce this from happening, you'll want to have a backup plan.
Besides having substitutes of all the essential equipment, print the run-of-show and event slide to drive the conversation even if you can't access it online.
Also, to ensure that the show goes on even when the key speaker isn't available, have someone on standby to play it by ear.
You can also have a "be right back" screen overlay ready in case you need it. It works great when you have to make a quick pause to handle an unexpected technical issue during your production.
Tip #8: Practice, practice, practice
Let's be honest; almost everyone is strapped for time these days, which means practicing all of your live broadcasts isn't really feasible. But whatever little time you can invest in preparing for your live stream, you should make the most of it.
Remember, being live doesn't mean you can always wing it. Yes, being spontaneous adds a whole lot of fun to a broadcast. But, having a streamlined plan of action ensures high-quality production. So, check the run-of-show, read your script, get in touch with the guests, and do a rehearsal if time permits to ensure you've everything you need to produce a successful live stream.
Pro Tip: If you're getting paid to produce a show for someone else, be sure you do your best to ensure their live production goes off without a hitch and that you as the Producer, have thought of everything.
Tip #9: Test everything for seamless live stream production
Testing is a critical element that ladders up to your live stream production goals. Don't confuse it with practice though. You can skip on practicing if you are too busy. But you must never skip testing. That's because even a slight technical glitch can ruin your viewers' entire live experience.
So, make sure you have enough time to test:
- Audio: At least a day before your live stream, monitor your live feed and check the audio. Test the mixer to be sure that different audio channels are mixing correctly. But don't limit your attention to the mixing console. Check each audio channel as well as your microphone (if you're using one) for that perfect sounding stream. And if you find choppy audio, troubleshoot the cables and the connections until you get crystal clear sound.
- Video Setup: Before entering the broadcast or encoding software, ensure that your video inputs and outputs are all working fine. Check the cameras, the HDMI cables, and even your live streaming monitor, and keep all the video equipment well organized. Also, if you're pre-recording a live video, be sure you've edited the video to remove any unnecessary footage. Also review the video to make sure it plays correctly.
- Lighting: Whether you're using just a ring light or a professional lighting setup with the industry-standard three-point lighting system, test them all for producing stunning footage.
- Computer: At least two-three hours before your live broadcast, reboot the computer and check if it's working all fine to help you produce a hassle-free broadcast.
- Software: Once you've tested your computer/laptop or any other streaming device, make sure to run and check all the software you'll use during your broadcast. And, if you're using an RTMP destination, be sure about the server info to avoid last-minute problem-solving.
- Network: Another essential thing that needs your consideration is the Internet connection. When live streaming, it is best to be hardwired over ethernet. A best practice here is to test the internet upload to ensure you maintain a consistent upload speed throughout your live production. Check out these recommended upload speeds to see if you are getting the minimum for your live streams. Be sure you also restart your router a few hours before going live to ensure you're getting optimal speed.
Tip #10: Add visual elements
Marketing on live videos is less about promoting your brand or business and more about adding value to the users. Therefore, assign top priority to your audience's informational needs to build a community of loyal fans. To this end, visual elements like graphics, lower-thirds, and countdown timers come as a big help. Use tools like Canva, Easil, and Wave.video to create stunning visual elements, such as live stream overlays to make your broadcast come to life.
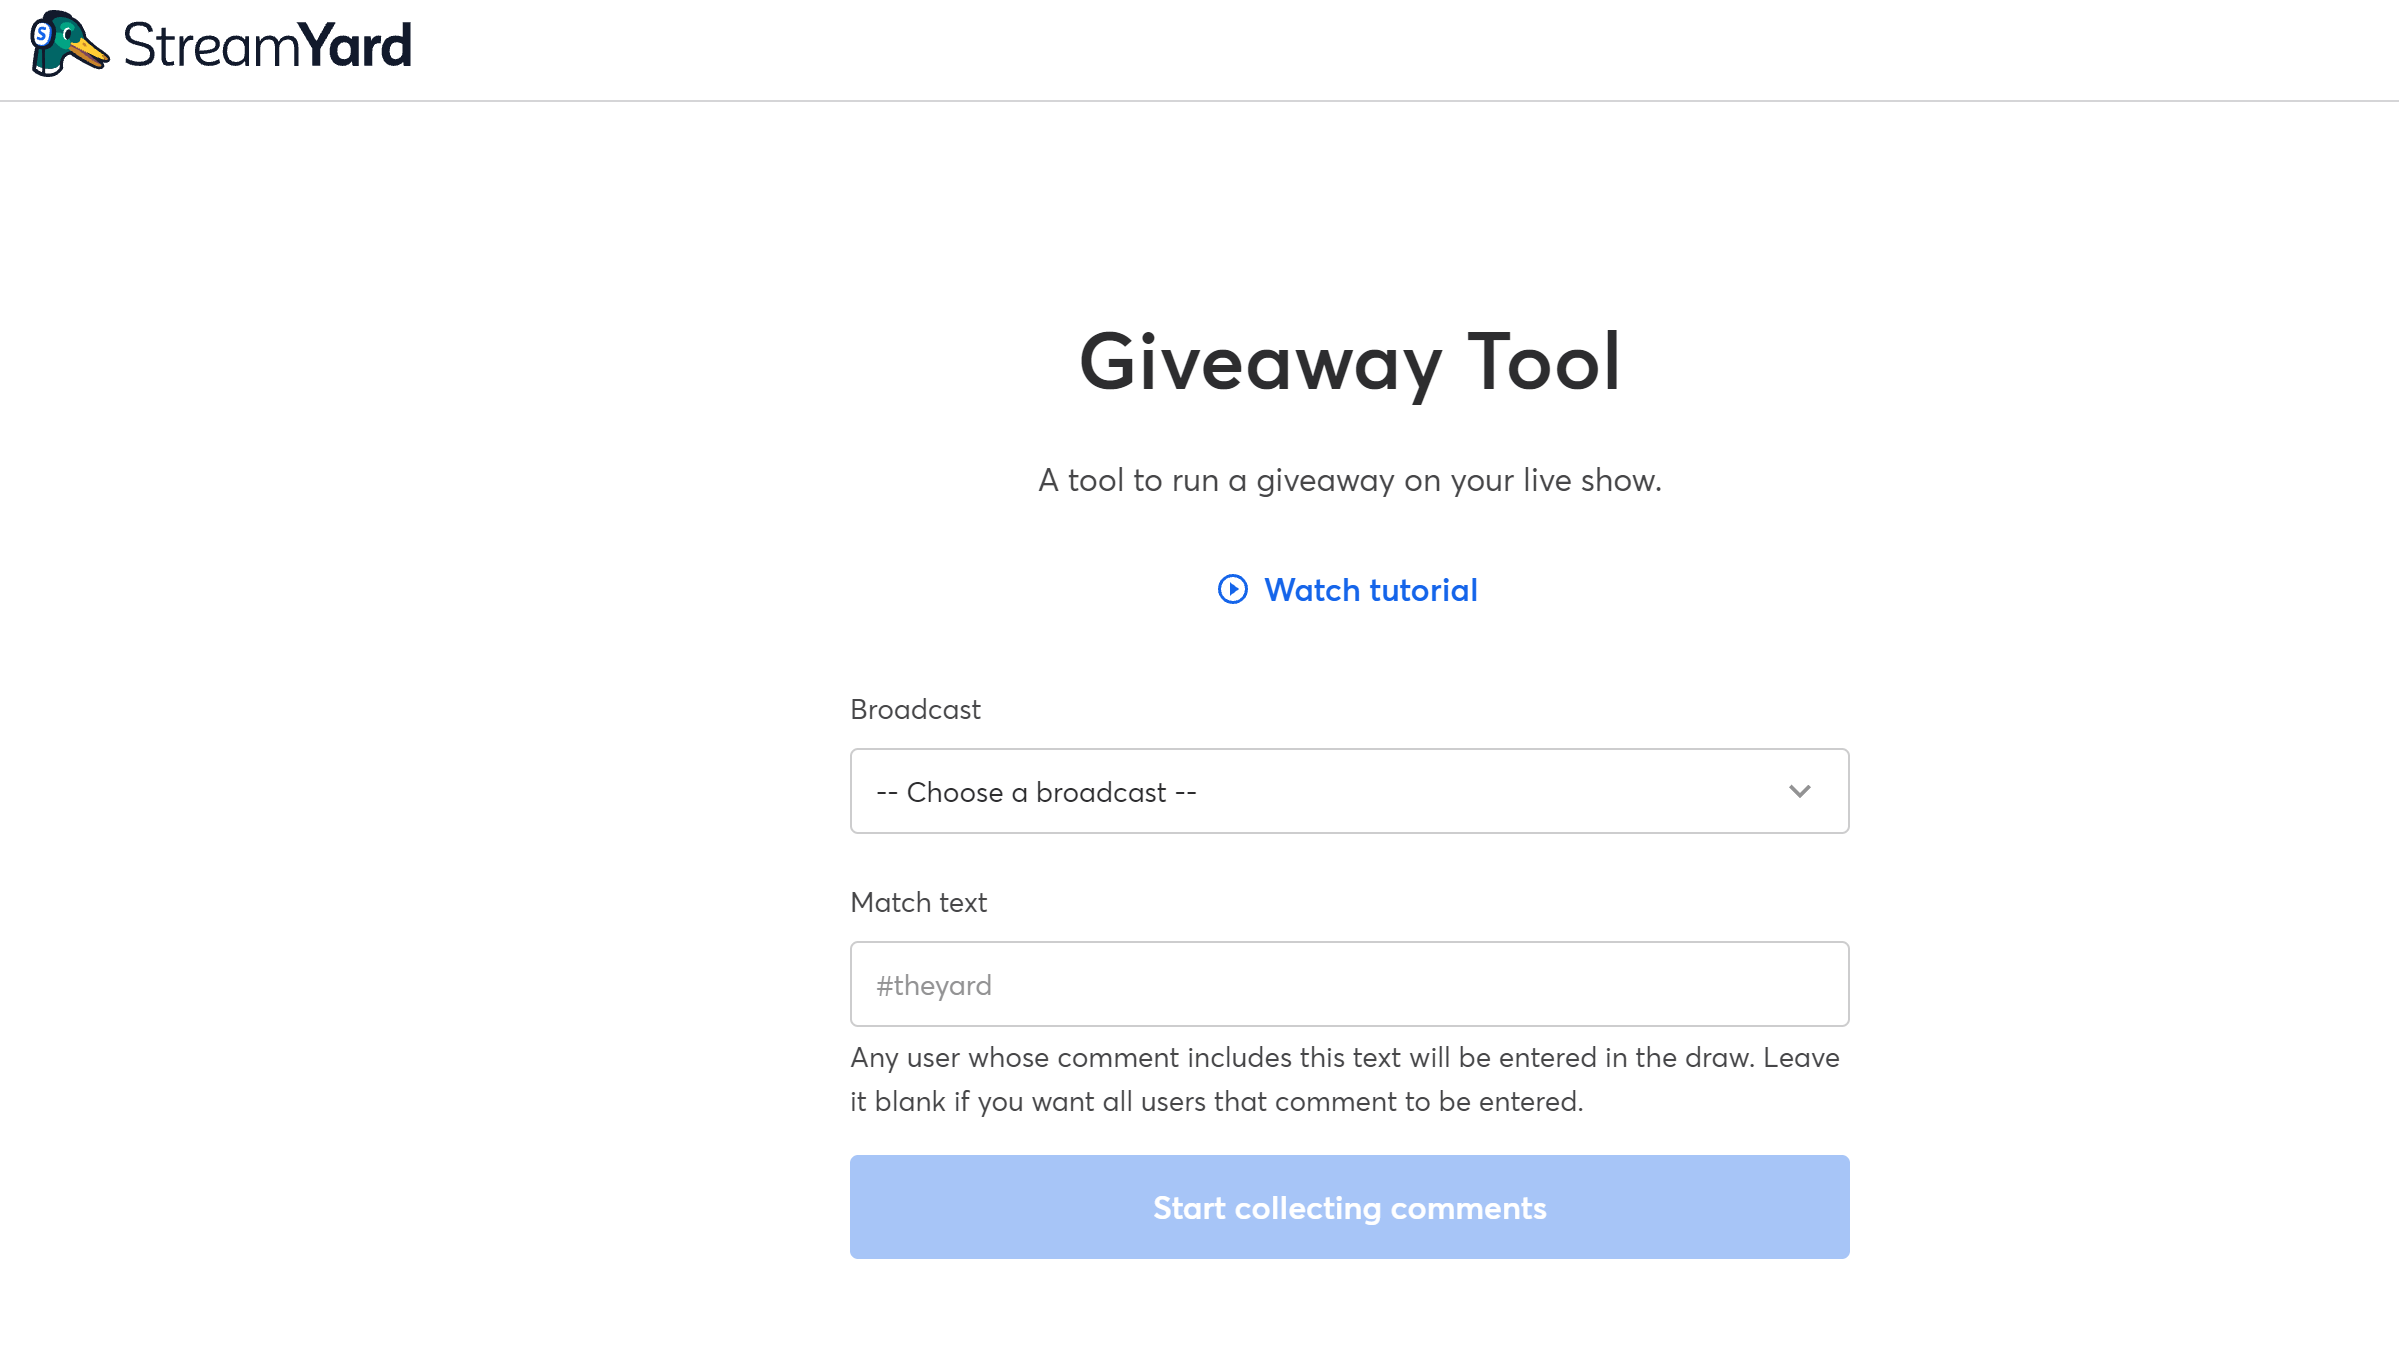
Adding visual elements can also be an opportunity to use your brand colors and logo. But don't overwhelm viewers with a lot of visuals. Try and only use them when necessary. For example, during the intro, outro, and introducing a guest or announcing a giveaway winner.
Pro Tip: To effortlessly create a giveaway, use StreamYard’s Giveaway Tool.
Tip #11: Drive engagement
Who wants to listen to a live streamer non-stop? Apart from being frustrating, it may also seem a bit ostentatious. To avoid turning your live stream into a monologue, interact with the viewers and keep them watching.
So, when you take your event online, don't leave stage banter behind. Instead, interact with the crowd and keep checking in with your audience to avoid awkward moments of silence.
Your live streaming platform plays a crucial role here. What are the audience engagement features it offers? Does it highlight live audience comments? Does it allow you to spotlight viewers? Can you invite audience members to be a part of the live as on-screen guests?
Ensure that your chosen platform helps you connect with your viewers better and offers a large window of opportunity to capture their attention.
Tip #12: Assign a chat moderator for better live stream production
A live stream's video leads in terms of audience engagement, but chats come second. So, to avoid putting pressure on the host to drive the conversation and handle the chat, assign a moderator.
Besides dealing with spam and checking in with the audience constantly, a moderator can also ask questions and respond to live queries.
Tip #13: Elevate on-camera presence
Beef up your live streams with an enhanced on-camera presence of your talent (i.e., you, in case you're going live) and guest(s).
Ensure that the hosts look into the lens while speaking and not at the screen. The lens should ideally be at eye level or a little bit above it. If their camera is too low, they can put their computer on a stack of books to raise it up. There should also be enough headroom, which can be achieved using the Rule of Thirds.
The background should be compelling yet subtle enough to appeal to the audience without causing any distractions. (Read: Live stream backdrop ideas: Is it OK to use a virtual one?)
If you're the live streamer, keep your energy level high enough to keep the audience interested in what you're saying. Maintain good eye contact with the audience, smile, and be approachable.
Last but not least, if you have guests joining you, take the lead and steer the live stream whenever you feel dead air is taking up space.
Tip #14: Choose the right live streaming tool
Once you have a live stream direction, seek out a live streaming tool that supports your live video goals and helps extend the reach of your live broadcasts with minimal effort.
A browser-based live streaming studio like StreamYard can be your best bet. Apart from multistreaming your show to other platforms, you can also stream to an RTMP destination. Furthermore, you can brand your live streams and download your recordings. These recordings can then be repurposed and reframed into value-added dialogues, soundbites, podcasts, and more.
Tip #15: Manage the guest(s)
Both live streamers and viewers agree — a live stream's engagement increases when there's a guest. While inviting guests to live streams becomes easier with tools like StreamYard, managing them without any preparation is tricky.
Besides providing them with an outline of the live stream (or possibly handing over a copy of the run-of-show), schedule time to meet with every guest before the show has started, to check their live streaming setup.
In case of a one-hour-long live broadcast, ensure that your guest(s) log in at least 30 minutes prior to the show to rule out possible bottlenecks. If it's a more involved event with days of preparation going into it, log in a day before and then again, an hour before the event to ensure nothing has changed.
Also, have your guest(s) wear earbuds or headphones to avoid audio echoes.
Another fantastic live stream production tip is to help your guests set up audio avatars in advance. If you notice that they have intermittent internet, you can have them use an audio avatar instead. This helps reduce the strain a video feed can have if they have a weak signal during the stream.
To choose between Audio Avatar vs Audio-Only Live Streams, check this out:
Tip #16: Have a backchannel for communication
Even as you live stream privately, not all chats have to be seen by every participant. To ensure that you can chat privately with other guests on your stream, have a backchannel ready.
You can use the "Private Chat" feature in StreamYard to communicate with your guests and moderators. Other producers will use another communication tool, such as WhatsApp or Google Meet to dial into a phone call. This way you have a backchannel for communication that you can leverage to interact with the moderators in private.
Live Stream Production: Doing It Yourself vs. Outsourcing
When you're a creator or a brand aiming to grow your audience through live videos, it can be tempting to do everything yourself. After all, who knows your live streaming goals better than you?
Despite live streamers' increasing inclination towards live production, outsourcing this job to an experienced producer is still a better choice.
Besides helping facilitate the live broadcast better through their expertise, having a live stream producer as a part of your creator community can assist you in enhancing the live quality. Plus, most live stream producers can easily manage large-scale live events.
So, if you're aiming to scale up in the near future, hire a professional. It can help you manage all the moving parts efficiently.
Learning From Event Production Professionals
Live stream production requires time, effort, and a lot of patience to deal with snags. However, as much as you'd like it to be, you may have to roll with the punches.
Prioritize planning, have a practice mindset, and follow the live stream production tips mentioned in this post to excel in the industry and tackle any challenges that may come your way.
If you're interested in learning how other event production professionals run their shows, be sure to watch this video.