Escrito por Will Tucker
How to Screen Record on Mac (and When to Use StreamYard Instead)
Last updated: 2026-01-15
On a Mac, the fastest way to screen record is with the built‑in Screenshot toolbar (Shift–Command–5) or QuickTime for simple, local captures. When you need presenter‑led recordings you can reuse everywhere—especially with guests—record in a StreamYard studio in your browser instead.
Summary
- Use Shift–Command–5 (Screenshot) or QuickTime for quick local screen recordings.
- Turn on mic input and choose whether to record your whole display or just a portion.
- For higher‑value demos, interviews, or recurring content, record inside a StreamYard studio.
- Consider OBS for deep control and Loom for quick async clips, but default to StreamYard for shareable, presenter‑first sessions.
How do you do a quick screen recording on a Mac?
If you just want a clean capture of your screen, macOS already has what you need.
Using the Screenshot toolbar (most people should start here):
- Press Shift–Command–5. This opens the Screenshot toolbar at the bottom of your screen. (Apple Support)
- In the toolbar, pick Record Entire Screen or Record Selected Portion.
- Click Options to:
- Choose where the file will save.
- Pick a microphone so your voice is recorded with the screen. (Apple Support)
- Add a countdown timer or show mouse clicks.
- Click Record.
- When you’re done, click the Stop icon in the menu bar or press Command–Control–Esc.
- A thumbnail appears in the corner—click it to trim, or ignore it and your recording saves automatically.
This gives you a .mov file you can drop straight into editors, upload to your LMS, or share with your team.
When should you use QuickTime Player instead?
QuickTime is the other built‑in path, and it’s handy if you live in the Applications folder.
- Open QuickTime Player > in the menu bar choose File > New Screen Recording.
- If you see the same Screenshot controls as above, follow those steps; newer macOS versions route through Screenshot for you. (Apple Support)
- If you see a small Screen Recording window, click the arrow next to the Record button to:
- Pick a microphone.
- Show mouse clicks while recording.
- Click Record, then either click once to record the whole screen or drag to select an area.
- Stop the recording with the menu‑bar Stop icon or Command–Control–Esc.
- QuickTime opens the video automatically so you can trim, export, or share it. (Apple Support)
For simple how‑to clips or bug repros, Screenshot and QuickTime are usually all you need.
How do you record Mac screen with audio (voice + system)?
There are two main audio layers to think about:
- Your microphone (voiceover).
- System audio (what your Mac is playing—music, Zoom, YouTube, etc.).
With built‑in tools:
- In Screenshot or QuickTime, you can always choose a microphone in Options/settings to capture your voice. (Apple Support)
- Capturing system audio directly usually requires extra setup (virtual audio devices or routing tools), which is more advanced than most people want.
A simpler path for most presenters:
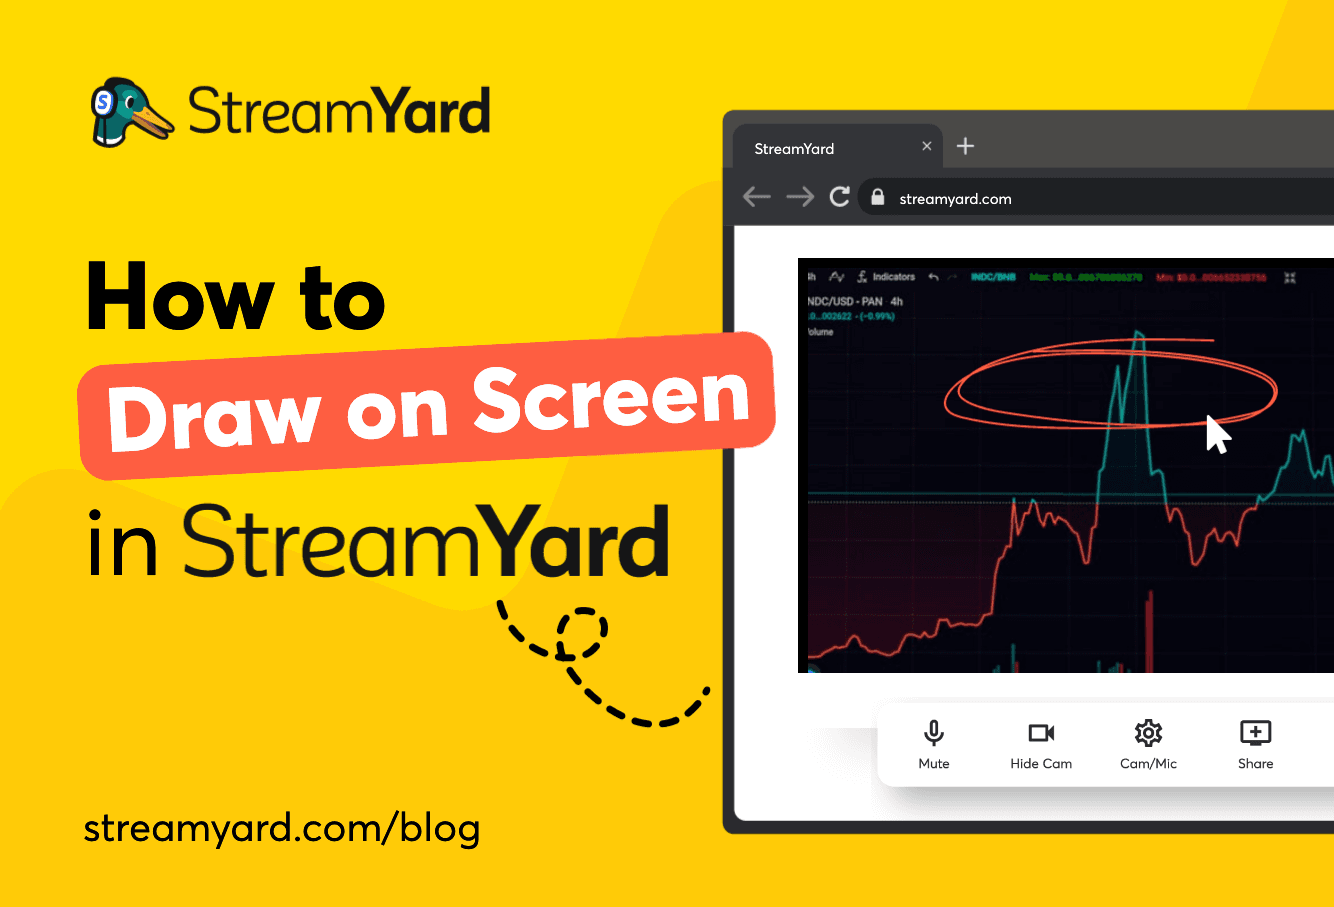
If your goal is a clear walkthrough or product demo, recording in a StreamYard studio lets you:
- Share your screen and keep your mic separate so you can balance levels later.
- Use presenter‑visible notes that only you see while you talk.
- Apply branded overlays and layouts live so the recording looks like a finished show.
- Capture local multi‑track recordings per participant for cleaner post‑production. (StreamYard Help)
On paid plans, local recording is effectively unlimited, while the free plan includes 2 hours of local recording per month. (StreamYard Help)
How do you record long screen sessions on Mac (without hitting a time limit)?
If you’re teaching deep‑dive workshops, onboarding sessions, or multi‑hour webinars, time limits matter.
Built‑in Mac tools:
- Screenshot and QuickTime don’t impose obvious short caps, but you’re at the mercy of disk space and stability over time.
Loom:
- On the free Starter plan, you’re limited to 5‑minute screen recordings and 25 videos per person. Longer sessions require upgrading. (Loom Support)
OBS Studio:
- OBS is free, open‑source software for recording and live streaming with no vendor‑set time caps; recordings are limited by your Mac’s hardware and storage. (OBS)
- You install it, grant Screen Recording permission on macOS, and configure your scenes and encoder.
StreamYard:
For most people who don’t want to wrestle with encoders, recording long sessions in a StreamYard studio hits the sweet spot:
- On paid plans, live streams are recorded in the cloud for up to 10 hours per stream, and Business plans go to 24 hours, with overall storage measured in hours. (StreamYard Help)
- Local recordings on paid plans are unlimited, and they don’t count as extra hours for each track—you’re billed by the session length, not the number of participants. (StreamYard Help)
If your Mac is a typical work laptop rather than a tuned production rig, offloading to StreamYard’s cloud plus local per‑participant files is usually more reliable than pushing OBS to the edge.
How does StreamYard compare to OBS and Loom for Mac screen recording?
Here’s a simple, outcome‑focused way to think about it.
StreamYard (browser‑based studio):
- Runs in your browser, so there’s no heavy desktop install.
- Lets you mix camera, screen, slides, and guests with fully controllable layouts.
- Applies brand elements (logos, overlays, backgrounds) during the recording so you export something that already looks polished.
- Records each participant locally on their own device, giving you individual audio/video files for editing. (StreamYard Help)
- Uses workspace‑based pricing, so one plan can cover a whole team instead of paying per creator like Loom’s Business plans. (Loom Pricing)
OBS Studio (installed app):
- Great when you want deep control over scenes, sources, and encoding.
- Requires installing a full desktop app and configuring macOS permissions to allow Screen Recording. (OBS KB)
- All recording files are stored locally; you handle file management and backups yourself.
- Better fit if you’re comfortable tweaking bitrates, formats, and CPU/GPU load.
Loom (async sharing tool):
- Optimized for quick async messages—“here’s a fast walkthrough with a link.”
- Free Starter plan caps most screen recordings at 5 minutes and 25 stored videos, while paid plans open up “unlimited” recording time and storage. (Loom Support)
- Not designed as a full live‑production studio with multi‑guest layouts.
If your main question is “how do I screen record on my Mac,” any of these can work. If you also care about looking like a show, collaborating with guests, and re‑using your content across platforms, recording in StreamYard tends to give you more mileage per session.
How can you use StreamYard for Mac screen recordings step‑by‑step?
Here’s a simple workflow that many creators and teams follow:
- Open StreamYard in your browser and create a new recording studio.
- Choose your camera and mic, then enter the studio.
- Use Share Screen to pick your app window or full display; adjust the layout so your webcam sits picture‑in‑picture next to the content.
- Add overlays, lower thirds, and brand colors so the recording feels on‑brand from the first frame.
- Turn on local recordings so each participant and screen share gets its own high‑quality file for editing. (StreamYard Help)
- Hit Record (you don’t have to go live), deliver your demo or tutorial, then stop.
- Download the cloud‑mixed video for instant use, and pull the individual local tracks into your editor if you want a more polished final cut. (StreamYard Help)
For many Mac users, this replaces a whole chain of “screen record → import → re‑record pieces → add branding later” with one controlled recording session.
What we recommend
- Use Shift–Command–5 or QuickTime for fast, one‑off local captures you don’t plan to reuse much.
- Use StreamYard when the recording is part of your content strategy: recurring demos, interviews, webinars, or tutorials you’ll publish.
- Reach for OBS only if you want maximum local control and are comfortable managing settings and hardware.
- Add Loom when you specifically need lightweight async feedback videos alongside your more polished StreamYard recordings.