Tác giả: Will Tucker
How to Record Your iPhone Screen With Audio (and When to Use StreamYard Instead)
Last updated: 2026-01-10
To record your iPhone screen with audio, turn on the built‑in Screen Recording control, long‑press it in Control Center, and enable the Microphone so iOS captures your voice along with on‑screen actions. When you want presenter‑led demos you can reuse everywhere, route your iPhone into a StreamYard studio to capture higher‑quality audio, layouts, and branded visuals in one go.
Summary
- Use the iPhone’s built‑in Screen Recording for quick screen + mic captures saved to Photos. (Apple Support)
- Turn on the microphone in Control Center before you start, or your recording will be silent.
- Some apps block screen or audio recording entirely for privacy or content‑protection reasons. (Apple Support)
- For long, polished demos or recurring trainings, streaming or recording your iPhone through a StreamYard studio gives you better audio control, layouts, and reuse options. (StreamYard Support)
How do you record your iPhone screen with audio step‑by‑step?
If you just need a quick tutorial or bug report, the built‑in iOS Screen Recording tool is the fastest path.
Step 1: Add Screen Recording to Control Center
- On your iPhone, open Settings.
- Tap Control Center.
- Under More Controls, tap the + next to Screen Recording.
You only need to do this once.
Step 2: Start a screen recording with microphone audio
- Open the app or screen you want to record.
- Swipe down from the top‑right corner to open Control Center (or up from the bottom on older models).
- Touch and hold the Screen Recording button until a small panel appears.
- Tap the Microphone icon so it switches to On (it turns red).
- Tap Start Recording. After a 3‑second countdown, iOS records your screen and any sounds from your microphone. (Apple Support)
Step 3: Stop and find your recording
- Tap the red status bar or Dynamic Island at the top of your screen, then tap Stop, or open Control Center again and tap the recording icon.
- Your video is automatically saved to the Photos app in your library. (Apple Support)
From there, you can trim, crop, or share it just like any other video.
How do you make sure the right audio is captured?
On iPhone there are really two kinds of audio you care about:
- Microphone audio – your voice, room sounds, anything the phone hears.
- Internal app audio – game sounds, music, in‑app effects.
The built‑in recorder handles these in a few straightforward ways:
- If the Microphone is off, iOS records the screen and (when allowed) internal app audio only.
- If the Microphone is on, you get your voice + any app sounds that aren’t blocked by the app.
A few practical tips:
- Test a 5‑second clip first. Make sure your voice and app sound levels feel balanced before you dive into a long take.
- Use headphones if possible. This helps keep app audio from bleeding into the mic and creating an echo.
- Watch your environment. A loud HVAC vent or coffee shop background will be very noticeable on a phone mic.
If you often need crisp narration—say, for clients or paying students—this is where routing your iPhone through a laptop and using StreamYard with a decent mic starts to pay off.
Can you record internal app audio only on iPhone?
Many people want “just the game sound, no background noise.” iOS doesn’t give you deep mixing controls, but it does a decent job within some limits.
- With the microphone off, you’ll usually capture only the app’s own audio, as long as the app doesn’t block recording.
- Some apps—especially those playing protected video—block screen or audio recording entirely, and your capture may just show a black screen or silent segment. (Apple Support)
If your recording is consistently silent from a specific app, there’s a good chance that app has chosen to disallow capture and there isn’t a reliable iOS‑level workaround.
For tutorials, I recommend embracing presenter‑style narration instead of chasing perfectly isolated internal audio. Viewers usually care more that they can clearly hear you and see what’s happening than that the game soundtrack is flawless.
When should you use StreamYard instead of just the iPhone recorder?
The built‑in recorder is perfect for one‑off clips. It’s less ideal when:
- You’re teaching a live webinar from your iPhone.
- You want to reuse the same demo across YouTube, a course, an internal training, and social clips.
- You care about layouts, branding, and multi‑person collaboration as much as the screen itself.
In those situations, a StreamYard studio gives you more control:
- You can set up presenter‑visible screen sharing with layouts that keep you on camera while your iPhone screen is the star.
- You get independent control of screen audio and microphone audio, so you can keep your voice clear without overpowering viewers with app sounds.
- You can capture local multi‑track recordings for every participant, which makes it much easier to edit later without re‑recording entire demos.
- You can output content in both landscape and portrait from the same session, which matters if you’re repurposing for shorts, Reels, or vertical training content.
For most creators and teams, the real upgrade isn’t “slightly better pixels”—it’s the ability to record once in StreamYard and have a reusable, branded asset you can slice up and ship everywhere.
How do you bring your iPhone screen into StreamYard with audio?
iOS doesn’t let you natively screen share into a browser tab the way desktop Safari or Chrome can, so the workflow is a little different. The most reliable method is to use a Mac as a bridge.
1. Connect your iPhone to a Mac
- Plug your iPhone into your Mac with a Lightning or USB‑C cable.
2. Mirror your iPhone into QuickTime Player
- Open QuickTime Player on the Mac.
- Go to File → New Movie Recording.
- Click the arrow next to the red record button and choose your iPhone as the camera source.
- If you want app sounds, also select your iPhone as the audio source.
At this point, your iPhone appears as a window on your Mac.
3. Share that window into StreamYard
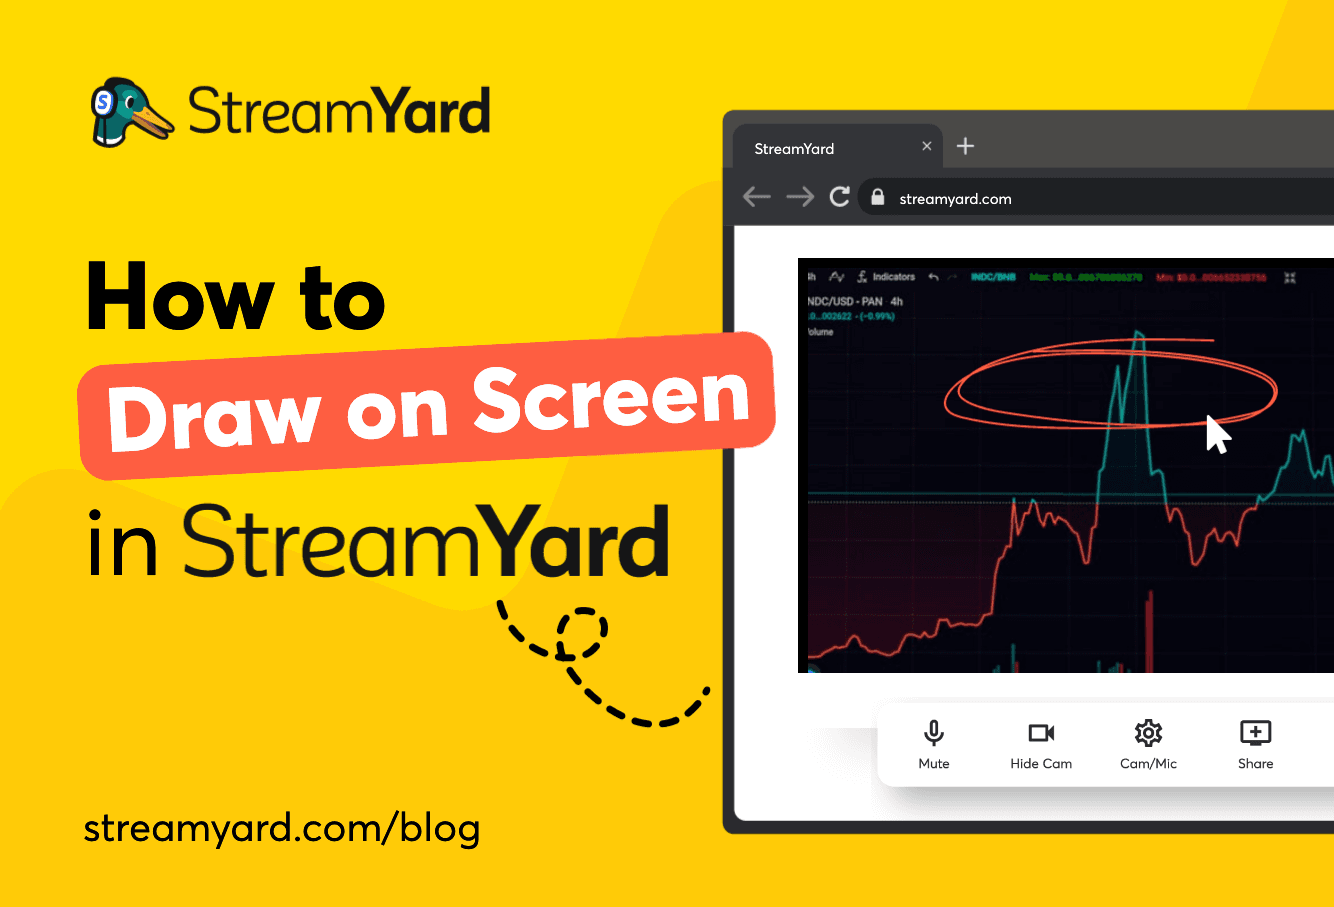
- In a StreamYard studio on your Mac, click Share.
- Choose to share a window, and pick the QuickTime Player window that shows your iPhone.
- Add it to the layout alongside your camera and microphone.
This setup lets you:
- Record or stream a clear, presenter‑led walkthrough where viewers see both your face and the phone screen.
- Apply branded overlays, logos, and visual elements live so you don’t have to add them in post.
- Keep presenter notes visible only to you in another window or monitor while your audience sees only the polished layout.
Because StreamYard supports multi‑participant screen sharing, you can even have a teammate demo on their own device in the same studio while you narrate.
StreamYard’s help center walks through this QuickTime‑based workflow and notes that native mobile screen sharing isn’t directly supported, which is why the Mac bridge is recommended. (StreamYard Support)
How do tools like Loom and OBS fit into an iPhone screen‑recording workflow?
Sometimes readers already use other tools and wonder how everything fits together.
- Loom on iOS is designed for quick async updates. You can record screen‑only, camera‑only, or audio‑only, but on iPhone you cannot record screen and camera at the same time due to an iOS limitation. (Loom Support) It’s handy for sending a link to one teammate; less suited to live, multi‑person demos.
- OBS is a desktop app focused on local recording and streaming. To bring in iPhone video and audio, OBS typically relies on third‑party iPhone camera apps or capture methods, and those guides explicitly call out iPhone microphone audio capture as a specialized setup. (OBS Support)
By contrast, a StreamYard studio sits in a browser, keeps layouts and audio controls straightforward, and, on paid plans, combines cloud recording with local multi‑track capture so you don’t have to manage giant raw files manually. (StreamYard Support) For most US‑based creators who primarily care about clarity, branding, and fast reuse, that mix tends to be more practical than juggling multiple tools.
What we recommend
- Use the built‑in iPhone Screen Recording for quick clips: add it to Control Center, long‑press, turn on the Microphone, and record.
- If you’re producing recurring demos, trainings, or client content, route your iPhone into a StreamYard studio via a Mac so you can control audio, layouts, and branding in one place. (StreamYard Support)
- Keep a simple test ritual: record 5–10 seconds, check audio and framing, then do your full take.
- When in doubt, favor workflows that help you reuse recordings across platforms—that’s where a StreamYard‑based setup quickly outgrows what the on‑device recorder can do.