Tác giả: Will Tucker
How to Screen Record on iPhone (And When to Use StreamYard Instead)
Last updated: 2026-01-10
To screen record on iPhone, use the built‑in Screen Recording button in Control Center so your captures save straight to Photos. When you need multi‑guest, branded, higher‑quality recordings you can reuse everywhere, record with StreamYard on your laptop instead and simply show your iPhone on screen.
Summary
- Use Control Center to start/stop native iPhone screen recordings in a couple of taps.
- Turn on the microphone in the Screen Recording control if you want voiceover.
- iPhone recordings are quick but limited for long, polished, or multi‑guest content.
- For presenter‑led, reusable recordings, capture your iPhone screen through StreamYard on your computer.
How do you turn on screen recording on your iPhone?
If Screen Recording isn’t showing in Control Center yet, you only have to enable it once.
- Open Settings on your iPhone.
- Tap Control Center.
- In More Controls, find Screen Recording and tap the green +.
- Optional: drag it higher in the Included Controls list so it’s easy to reach.
From now on, the Screen Recording button will be available every time you open Control Center. Apple documents this workflow in its iPhone user guide. (Apple Support)
How do you screen record on iPhone step by step?
Once Screen Recording is in Control Center, recording is just a three‑tap routine.
-
Open Control Center
- On iPhones with Face ID: swipe down from the top‑right corner.
- On iPhones with a Home button: swipe up from the bottom edge.
-
Start the recording
- Tap the Screen Recording icon (a solid dot inside a circle).
- You’ll see a 3‑second countdown, then the recording starts. (Apple Support)
-
Record what you need
- Navigate through apps, walk through your demo, or show gameplay.
- Keep an eye on the red status bar or Dynamic Island indicator so you know you’re still recording.
-
Stop the recording
- Tap the red status bar (or red Screen Recording pill near Dynamic Island) and confirm Stop, or
- Open Control Center again and tap the Screen Recording icon a second time.
-
Find your video
- Your recording is saved automatically to the Photos app. (Apple Support)
- Open Photos › Recents (or Albums › Screen Recordings) to watch, trim, and share.
That’s all most people ever need: a quick capture, a light trim, and a share.
How do you record iPhone screen with microphone audio?
By default, iPhone captures internal audio, but not your microphone. If you’re walking someone through a process, you’ll want your voice in the video.
Here’s how to add your mic audio:
- Open Control Center.
- Press and hold (or long‑press) the Screen Recording button until a panel opens.
- Tap the Microphone icon at the bottom so it turns On.
- Tap Start Recording and wait for the 3‑second countdown. (Apple Support)
Now your screen recording will include anything the microphone hears—your voice, nearby sounds, and ambient noise. Third‑party guides confirm that the resulting video has your mic audio attached when this toggle is on. (How‑To Geek)
Pro tip: record in a quiet room and hold the phone steady, or use wired/ Bluetooth earbuds with a mic for clearer narration.
What are the built‑in limitations of iPhone screen recording?
Apple’s tool is intentionally simple, which is perfect for quick clips but constraining for more polished content.
Key limits to be aware of:
-
No simultaneous screen mirroring and recording
You can’t record your screen and mirror to another display (like AirPlay to Apple TV) at the same time. (Apple Support) -
Recording length depends on storage and heat
There’s no advertised fixed time cap, but very long recordings can hit storage limits or trigger thermal throttling on older devices. -
Single track only
Everything—your screen and audio—ends up baked into a single video file. There’s no separate track for your voice if you want to fix it later. -
No built‑in branding or layout control
You get exactly what’s on your screen. If you want a webcam box, logo, captions, or presenter notes, you add them later in an editor.
For capturing a bug, a quick how‑to, or a snippet of gameplay, those trade‑offs are fine. Once you’re aiming at tutorials, launches, or customer‑facing content, they’re exactly what push many creators toward recording their iPhone through a studio like StreamYard instead of on the iPhone.
How can StreamYard upgrade your iPhone screen recordings?
Here’s a practical workflow a lot of creators use:
- Plug your iPhone into your laptop and show the phone screen via QuickTime, AirPlay, or a mirroring app.
- Open a StreamYard studio in your browser.
- Share that mirrored window as your screen share, alongside your camera.
From there, we treat your iPhone like any other source so you can:
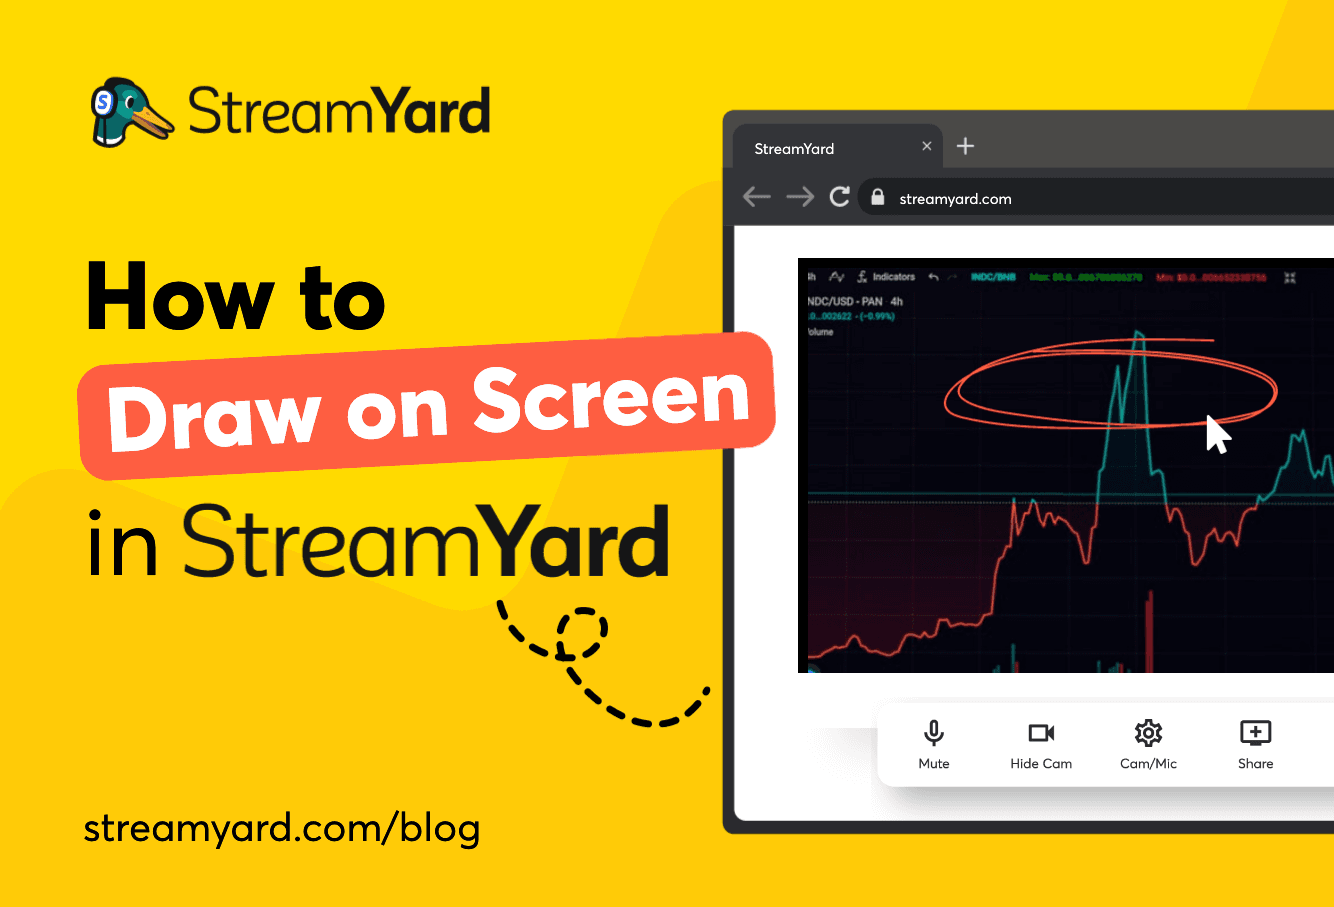
- Control layouts live – Put your face and your phone side‑by‑side, switch to full‑screen iPhone, or bring in slides with picture‑in‑picture. Presenter‑visible screen sharing and layouts are built into the studio. (StreamYard Pricing)
- Independently manage mic and system audio – Turn your mic up, mute notification sounds, or mix background music without affecting the iPhone feed.
- Capture local multi‑track recordings – On all plans, you can use local recording so each participant has separate audio/video files for clean editing later; free plans have 2 hours per month, while paid plans have unlimited local recording. (StreamYard Support)
- Record landscape and portrait in one session – Show your phone in portrait for app demos, then flip your layout for widescreen explainers without starting a new recording.
- Apply branding as you go – Overlays, lower thirds, and logos are part of the live studio, so your exported file already looks on‑brand.
- Keep notes private – Presenter notes stay visible only to you in the StreamYard studio while you walk through your iPhone demo.
- Include multiple people on screen – Have a teammate screen‑share another device or browser tab while your iPhone is visible, creating a collaborative walkthrough.
Because StreamYard runs in the browser and includes both cloud and local recording, your iPhone walkthrough ends up as a studio‑quality recording you can download, clip, and republish anywhere. Paid plans also offer more storage (for example, up to 50 hours of permanent storage on certain tiers) and let you download recordings directly. (StreamYard Support)
When should you stay on‑device and when should you move to a studio?
If you’re in a hurry, here’s a simple rule of thumb:
Use iPhone’s built‑in recording when:
- You need a fast, one‑off capture (bug reports, quick how‑tos, text‑a‑friend demos).
- You’re okay with single‑track video and minimal editing.
- You’re working entirely from the phone and don’t have a laptop handy.
Use StreamYard on your laptop when:
- You’re recording presenter‑led tutorials or marketing content using your iPhone screen.
- You want your face, your phone, slides, and branding on screen at the same time.
- You need multi‑guest interviews or co‑hosted walkthroughs where everyone’s audio/video is captured on separate tracks. (StreamYard Support)
In practice, many US creators use iPhone screen recording as their scratchpad and StreamYard as the production studio where they record durable, reusable content.
How do OBS and Loom compare for iPhone‑centric recordings?
Sometimes people search “how to screen record on iPhone” and then quickly bump into questions about desktop or web tools. Here’s how two popular alternatives fit into an iPhone‑first workflow.
OBS Studio
OBS is free, open‑source desktop software for video recording and live streaming that can capture your entire display, windows, and many other sources. (OBS Project) To show your iPhone there, you still mirror the phone to your computer and add that window as a source.
OBS makes sense when you want deep control over encoding, formats, and complex scenes, and you’re comfortable tuning settings and managing local files yourself. But it requires installation, compatible hardware, and more setup time than a browser‑based studio.
Loom
Loom’s iOS app can record your screen, your camera, or audio only, but because of iOS limitations it can’t record screen and camera at the same time. (Loom Support) Its free Starter plan caps you at 5‑minute screen recordings and 25 videos per person, while paid plans lift most of those limits. (Loom Pricing)
Loom is useful for quick async updates where you just want a link, but its per‑user pricing can add up for teams, whereas StreamYard pricing is per workspace, which often ends up cheaper when several people create or join recordings together.
For many teams in the US, the balance ends up like this: use the native iPhone recorder for ultra‑light captures, consider Loom for short async clips, use OBS when you want to fine‑tune every encoding detail, and use StreamYard as the default when you care most about ease, branded layouts, and multi‑participant recordings you can reliably reuse.
What we recommend
- Use iPhone Screen Recording + mic for fast, on‑device captures that live in your Photos app.
- When you’re creating tutorials, launches, or recurring content, mirror your iPhone and record through a StreamYard studio so you get layouts, branding, and multi‑track audio.
- Reach for OBS only if you specifically want complex desktop scenes and are happy managing hardware settings.
- Treat Loom as a lightweight async option; rely on StreamYard when you want recordings that feel like finished content the moment you hit “stop.”