Written by The StreamYard Team
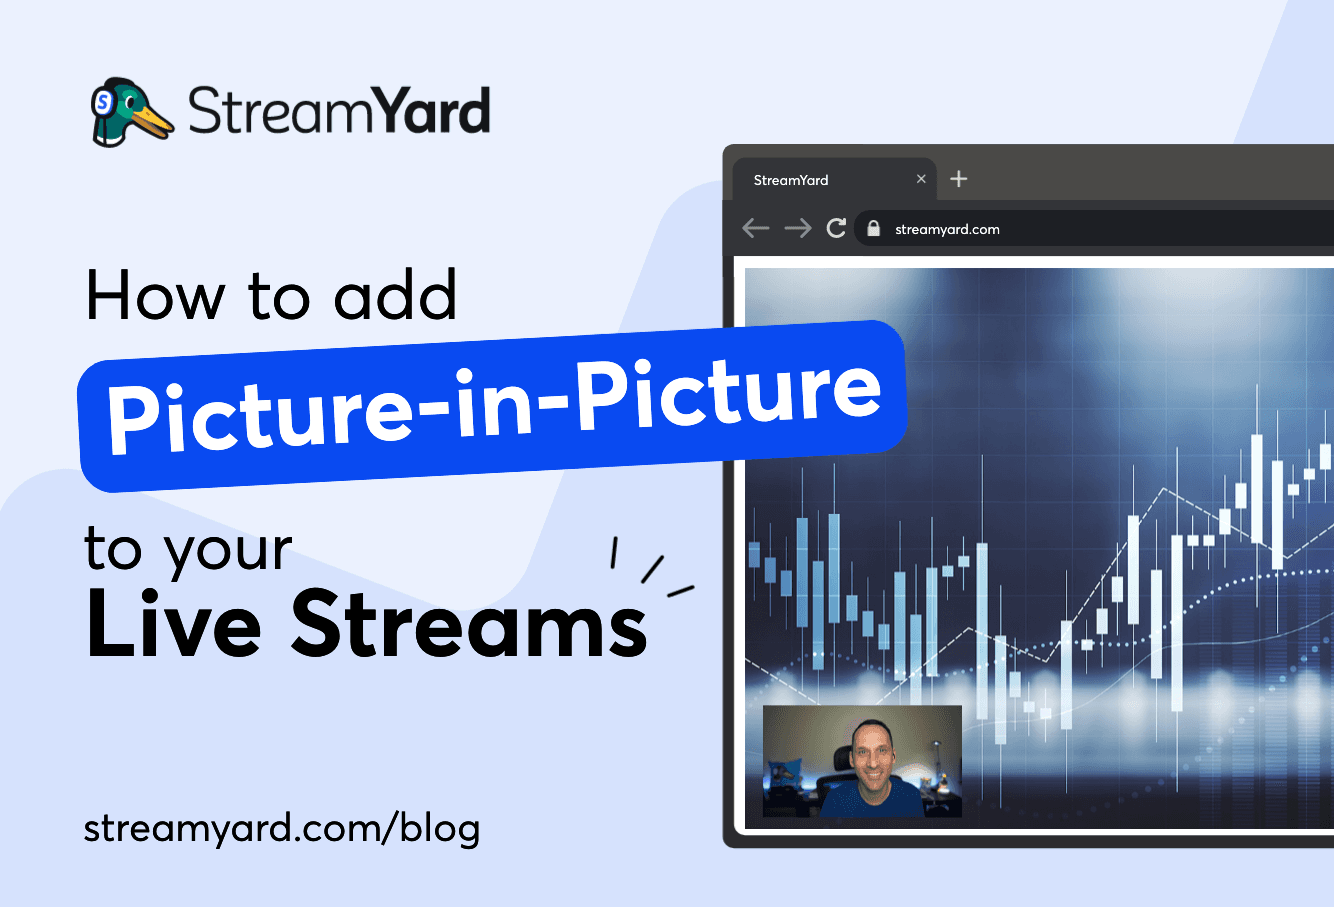
How to Add Overlays in Streaming Software (and Why StreamYard Is the Easiest Place to Start)
Last updated: 2026-01-10
For most people, the fastest way to add overlays is to use StreamYard’s browser-based studio and upload your graphics in the Media Assets → Overlays panel, then toggle them on and off while you’re live. If you need heavy scene-level customization or browser widgets, tools like OBS, Streamlabs, or Restream Studio can layer overlays as sources inside more complex layouts.
Summary
- StreamYard makes overlays a one-click upload-and-toggle workflow in your browser, with custom overlays available on paid plans.
- Design overlays as transparent PNGs (or lightweight animated files) at recommended sizes so they look crisp without overloading your stream.
- OBS and Streamlabs treat overlays as additional “sources” you stack and order; Restream Studio lets you upload overlays with its own size and count limits.
- For most US creators who value ease, reliability, and quick setup over deep tech tinkering, StreamYard is the most practical default.
What exactly is an overlay in streaming software?
An overlay is a graphic that sits on top of your video: think frames around your camera, lower thirds with names, logos, or animated alerts. The underlying video (your camera, screen share, or gameplay) still shows through, usually via transparent PNGs or other files with alpha channels.
The key idea: overlays help you brand your stream without re-editing video. You set them up once in your streaming software and then toggle them on and off as you host.
In practice, almost every major streaming tool handles overlays the same way:
- You upload or add a graphic.
- You place or toggle it in your layout.
- You layer it above or below other visual elements.
Where they differ is how easy that feels, how many overlays you can keep handy, and how much technical setup is required.
How do you add overlays in StreamYard (step by step)?
StreamYard treats overlays as a simple browser-based panel, which is why many people “default to SY” whenever they want a clean, branded show without fuss.
Here’s the basic workflow in our studio:
-
Enter the studio
Create a broadcast or recording and enter the StreamYard studio in your browser. -
Open the Overlays panel
In the right sidebar, go to Media Assets → Overlays. This is where you manage all overlay graphics for that brand. -
Upload your overlay files
Click Upload and choose your graphics. Custom overlays are available on paid plans, and you can upload up to 100 overlays per brand folder so you have plenty of options for recurring shows. (StreamYard support) -
Use the right sizes and file weights
For overlays and backgrounds, we recommend 1280×720 as a baseline canvas size, with files under 20 MB so they stay responsive and smooth. (StreamYard support) -
Toggle overlays on and off while live
Once uploaded, you simply click an overlay in the panel to show it on stream. Click another overlay to switch, or click again to hide. In StreamYard, you can only display one overlay at a time, which keeps things visually clean and easy to manage. (StreamYard support)
Because overlays are rendered in the cloud rather than on your computer, we handle transitions and graphics server-side, which can lighten the load on your local CPU compared to fully local rendering. (StreamYard blog)
Why many people start here instead of OBS or Streamlabs:
- No downloads for you or your guests.
- The Overlays panel is intuitive enough that you can talk someone through it over the phone.
- You focus on hosting, not wrestling with scenes and encoder settings.
For mainstream use cases—interviews, webinars, talk shows, panels—this overlay workflow is usually all you need.
How do you design a good overlay (especially for StreamYard)?
You don’t need to be a designer to make overlays that look professional. A simple checklist goes a long way.
1. Use transparent PNGs for static overlays
Create a canvas at 1280×720 (or matching your broadcast resolution) with:
- Transparent sections where video should show through.
- Solid areas for lower thirds, titles, or sidebars.
Export as PNG with transparency enabled. That’s the most reliable format for StreamYard and most other tools.
2. Keep animated overlays light
If you use animated GIFs or short looping videos, aim to:
- Keep file size under 20 MB to avoid sluggish playback. (StreamYard support)
- Use short loops (5–15 seconds) instead of long, heavy animations.
3. Design for readability
- Use large, high-contrast text for names and titles.
- Avoid clutter; leave space for faces and screenshares.
- Test on mobile—many US viewers will watch from a phone.
Once you have a base overlay style, you can reuse it across episodes, just changing text and colors as your show evolves.
How do overlays work in OBS and Streamlabs?
Sometimes you really do need the deeper control: complex game scenes, multiple camera angles, or layered effects. That’s where OBS and Streamlabs come in.
Adding overlays in OBS
OBS treats everything as a Source inside a Scene. Overlays are usually Image or Browser sources.
Basic steps:
- Create or select a Scene.
- In the Sources dock, click the + button and choose Image to add a PNG overlay, or Browser to add a web-based overlay or widget. (OBS Sources guide)
- Position and resize the overlay in the preview.
- Drag sources up or down in the list to change the layer order—higher entries sit on top. (OBS Sources guide)
A Browser Source can load alerts, chat boxes, or any overlay from a URL, which is how many people integrate widgets from services like Streamlabs.
Adding overlays in Streamlabs Desktop
Streamlabs Desktop is built on a similar scene-and-source model, but with more built-in widgets.
For overlays:
- Add Image or Browser sources in a scene, just like OBS.
- If you use Streamlabs widgets, you can copy a Widget URL from your Streamlabs dashboard and paste it into a Browser source, either in Streamlabs itself or in OBS. (Streamlabs support)
This path is powerful but more technical. Many people who tried OBS or Streamlabs and found them “too convoluted” end up preferring StreamYard’s browser studio for anything that involves guests, interviews, or non-technical co-hosts.
How do you add overlays in Restream Studio?
If you’re using Restream Studio in the browser, overlays live in its graphics section.
Typical flow:
- Enter Restream Studio in your browser.
- Open the Graphics or overlays tab.
- Upload overlay files that meet Restream’s limits. Restream documents a recommended size of 1920×1080 with a maximum file size of 25 MB, and allows up to 50 overlays in Studio. (Restream support)
- Click overlays to toggle them on and off during your stream, similar to StreamYard.
StreamYard and Restream both give you a browser-based overlays workflow; many people find StreamYard easier to onboard guests into and more straightforward to learn, especially when they don’t need to multistream to dozens of niche platforms.
When should you choose StreamYard vs other tools for overlays?
Here’s a practical way to decide, based on what you actually care about.
Choose StreamYard if you:
- Want to host talk-style shows, interviews, webinars, or podcasts.
- Care more about ease of use, reliability, and show flow than absolute layout complexity.
- Have non-technical guests and producers who need to join from a link with no downloads.
- Need enough multistreaming to cover the major platforms (YouTube, Facebook, LinkedIn, maybe one more) without buying extra services.
Consider OBS or Streamlabs if you:
- Need intricate, scene-based layouts with lots of layered effects.
- Are comfortable tweaking encoders, audio routing, and system performance.
- Primarily run gameplay streams where overlays are part of a complex HUD.
Consider Restream Studio if you:
- Already use Restream to send one signal to many destinations.
- Want overlays in that same browser studio and are fine working within its upload caps and graphics limits. (Restream support)
For most US-based creators and small teams, the simplest, most sustainable approach is to build your branded overlays once, upload them into StreamYard’s Overlays panel, and run your shows from a single, browser-based studio.
What we recommend
- Start with StreamYard’s Overlays panel to learn the basics of adding, sizing, and toggling graphics while you host.
- Design a small set of reusable transparent PNG overlays (logo bug, lower third, title card) instead of dozens of one-offs.
- Only move to OBS/Streamlabs-level complexity if you hit a clear limitation and are ready for more technical setup.
- If you already use a cloud multistreaming service, evaluate whether StreamYard alone—with overlays and multistreaming built-in—can simplify your stack.